Setting up the CryptoCloud payment gateway on your marketplace is a straightforward process that allows you to securely accept cryptocurrency payments. With multiple integration methods, you can easily configure payment settings to meet your needs. Follow this guide for detailed steps to integrate and start accepting crypto payments seamlessly.
Sign up on the payment system website if you do not have an account yet.
Log in to your account.
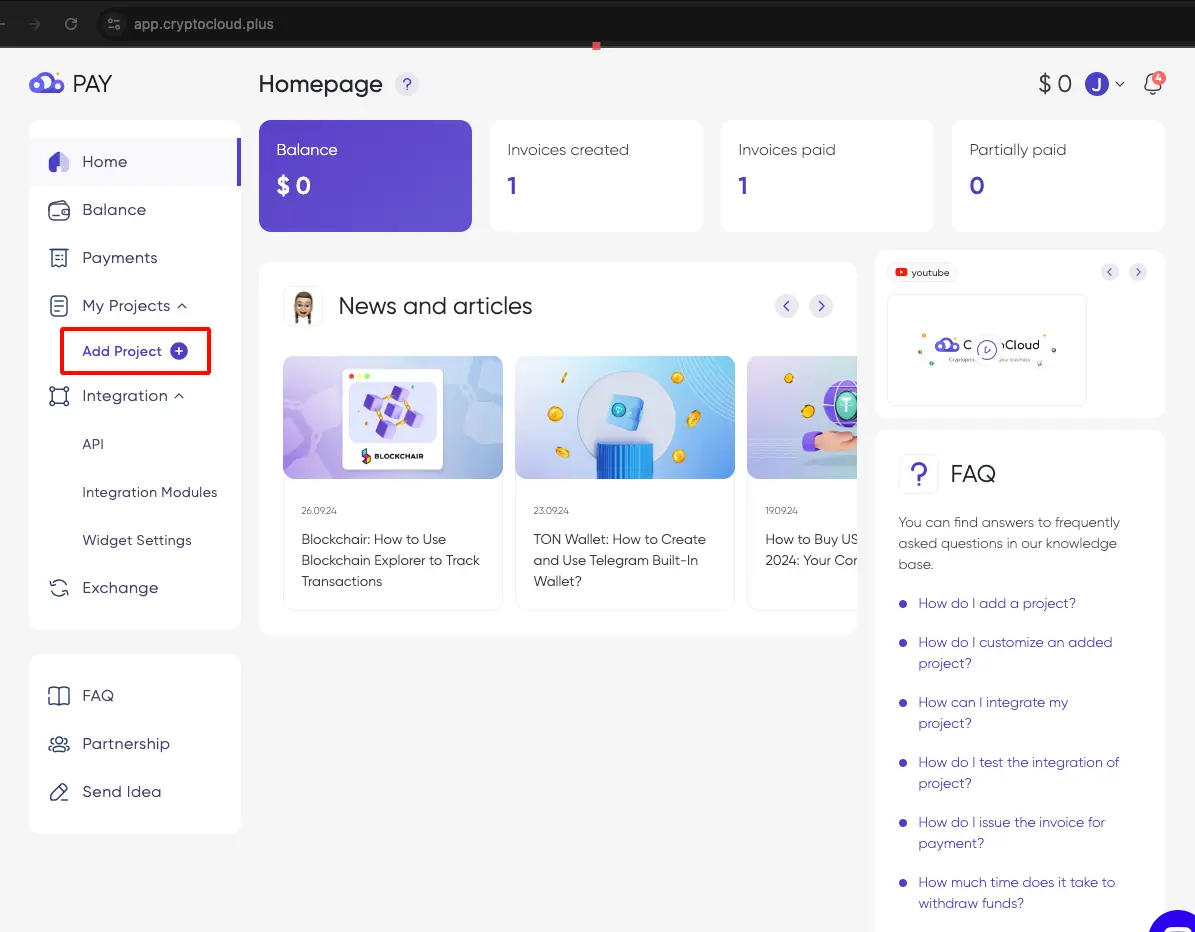
In the main menu, click Add Project.
Pic. 1
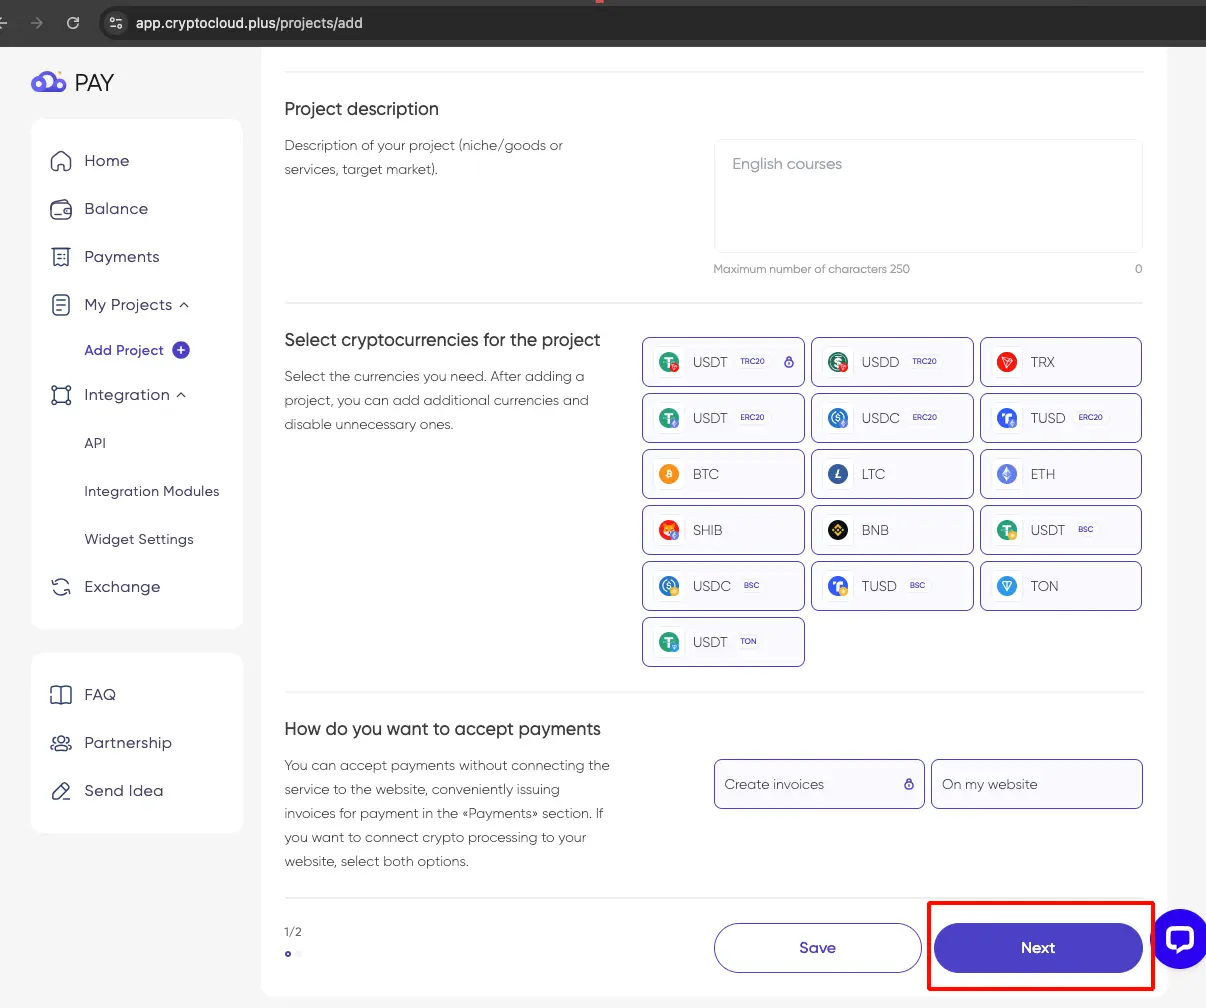
Fill out the form and click Next at the bottom.
Pic. 2
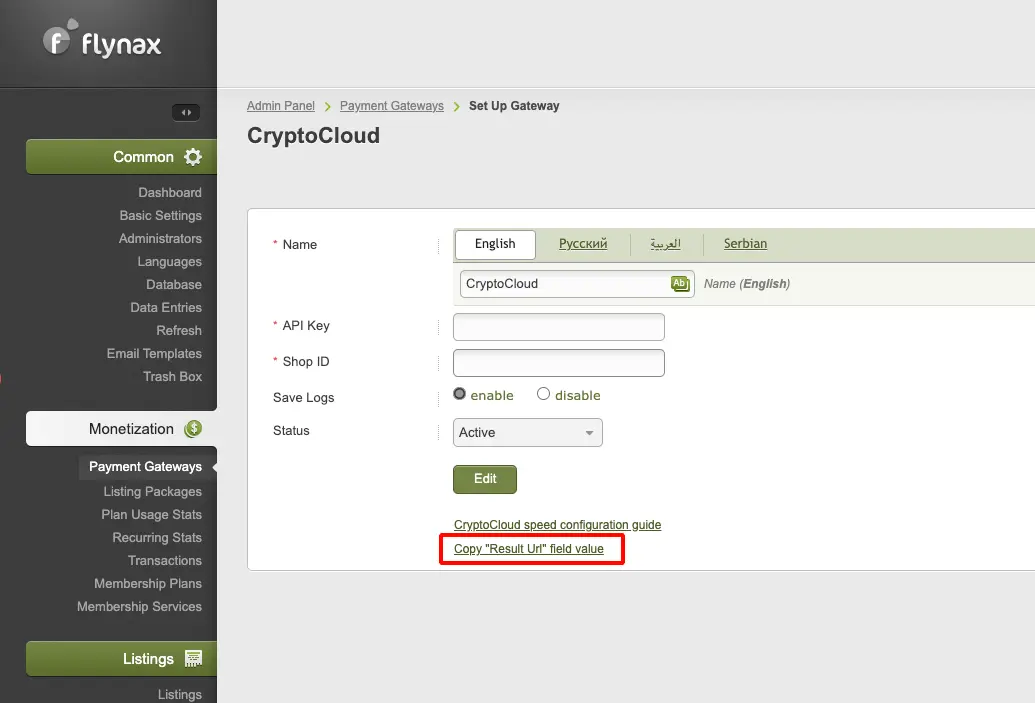
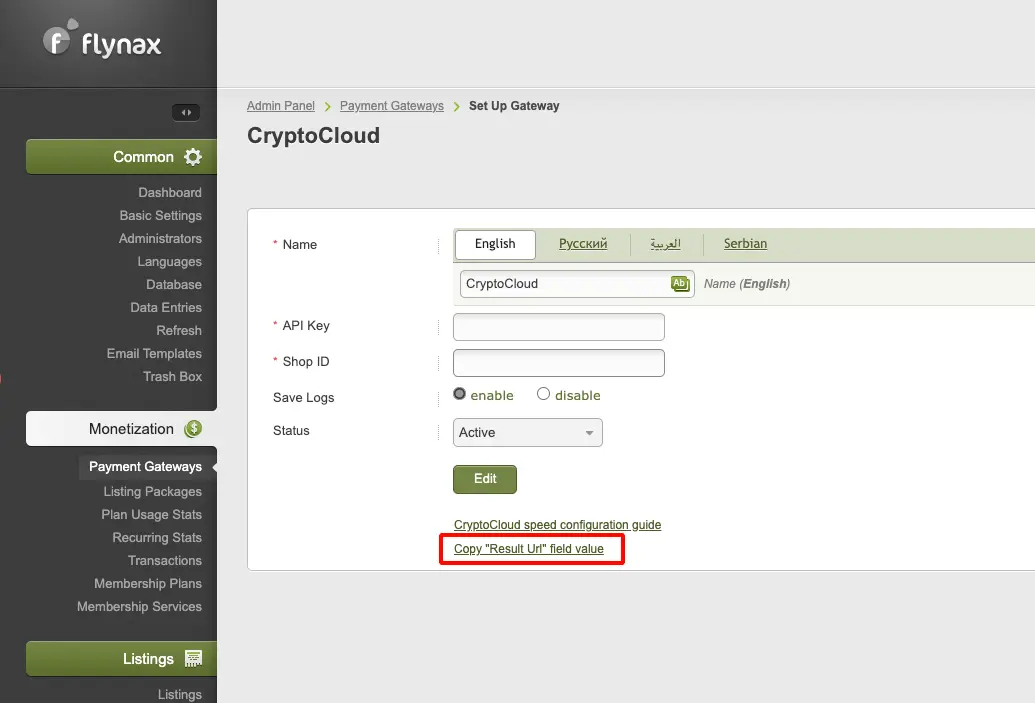
Go to the admin panel of your website in the Monetization > Payment gateways section and click the Edit icon for the cryptoCloud payment system.
On the Edit page, click the Copy value link for the “Result URL” field.
Pic. 3
Return to the payment system website and complete filling out the form by pasting the copied URL into the fields: Successful URL, Failed URL, and Notification URL. For the CMS settings field, select Other CMS.
Pic. 4
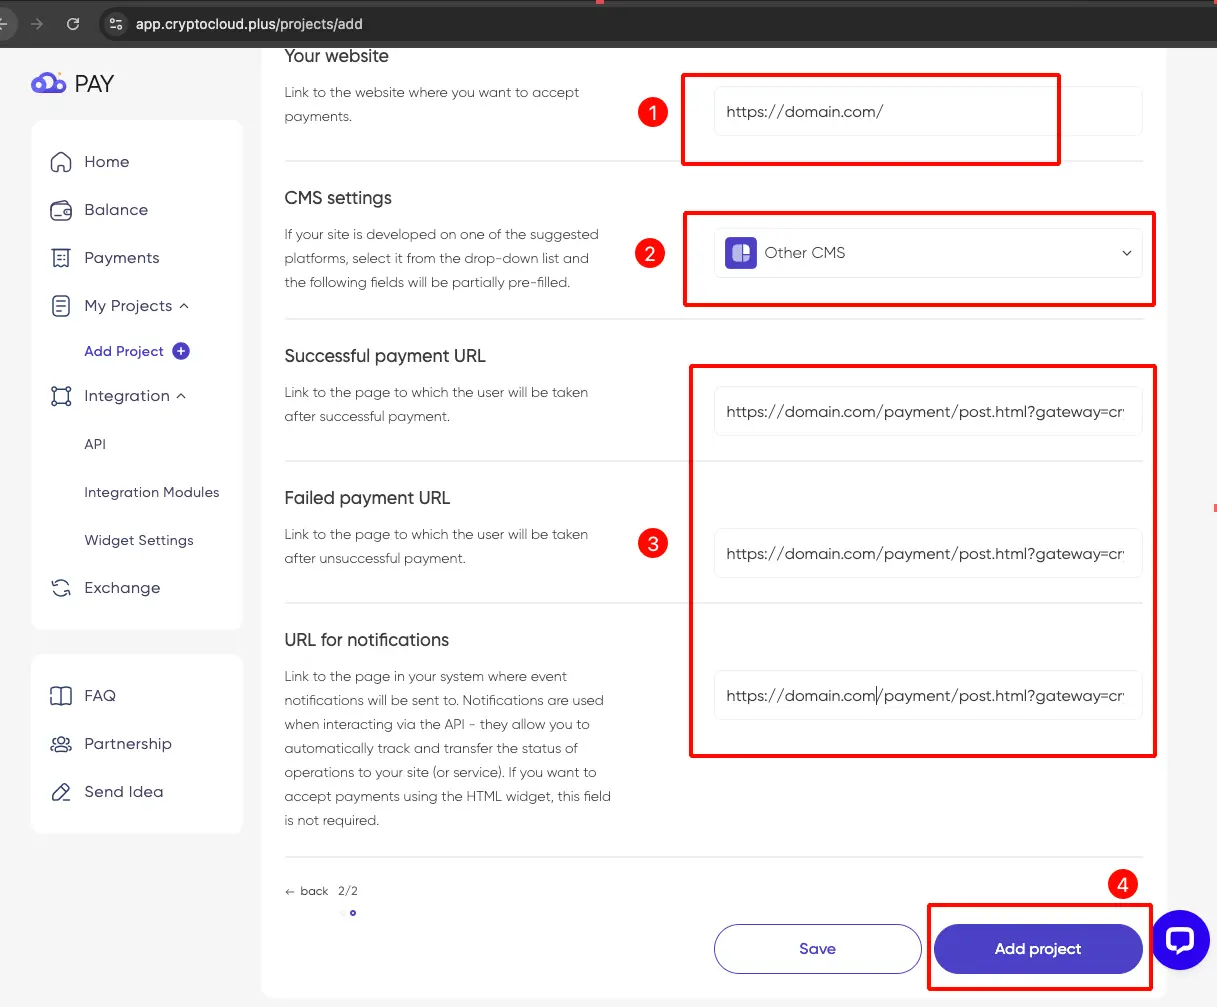
Click Add Project.
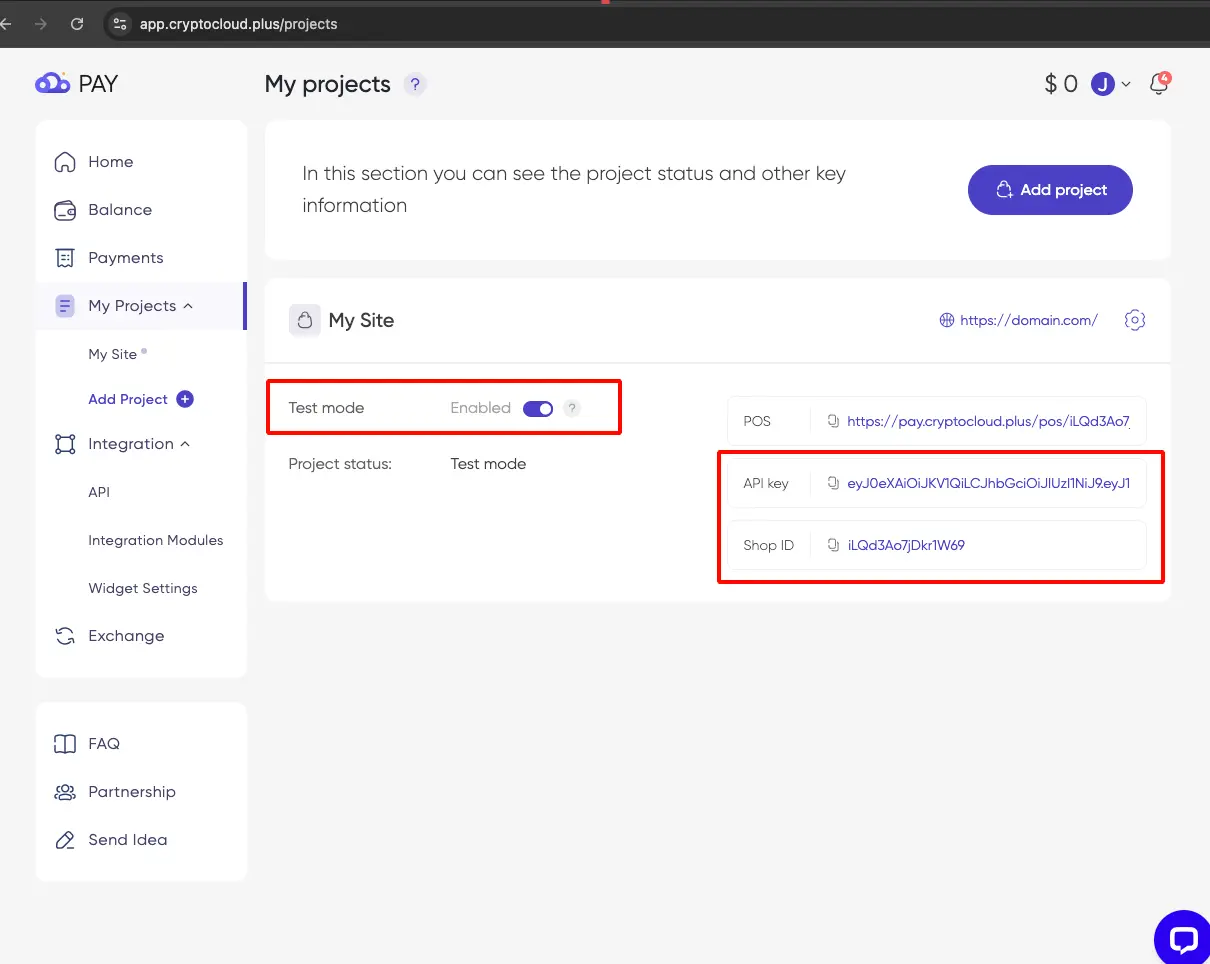
On the next screen, copy the data from the fields API key and Shop ID (See pic. 5) and paste them into the corresponding fields in the admin panel in the payment system settings.
Pic. 3
The payment system is ready to work and is in test mode by default. You can make a couple of test payments on the site and if the payment goes through, then disable the test mode.
Pic. 5
