Creating a Facebook App for the Social Network Login plugin #
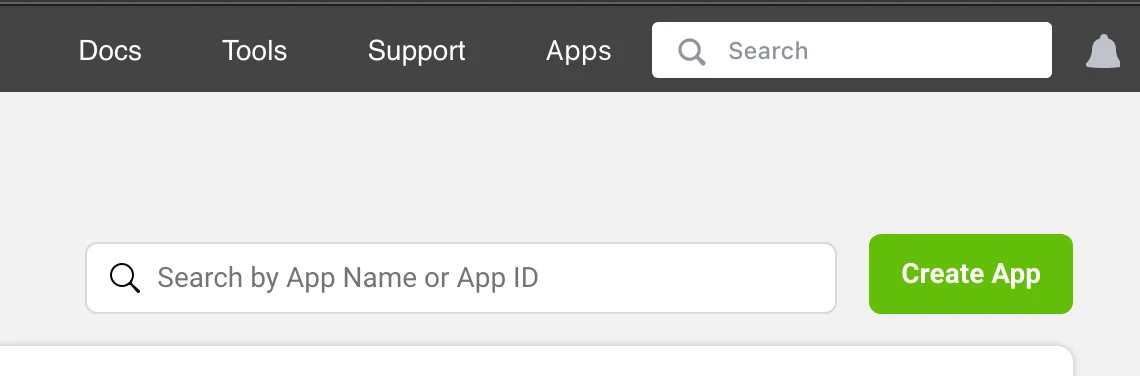
The Guide will help you create a Facebook App for the Social Network Login plugin, which is designed to run on Flynax classified ads software. To create a Facebook app, go to https://developers.facebook.com/apps/ and click the Create App button.
Pic 1
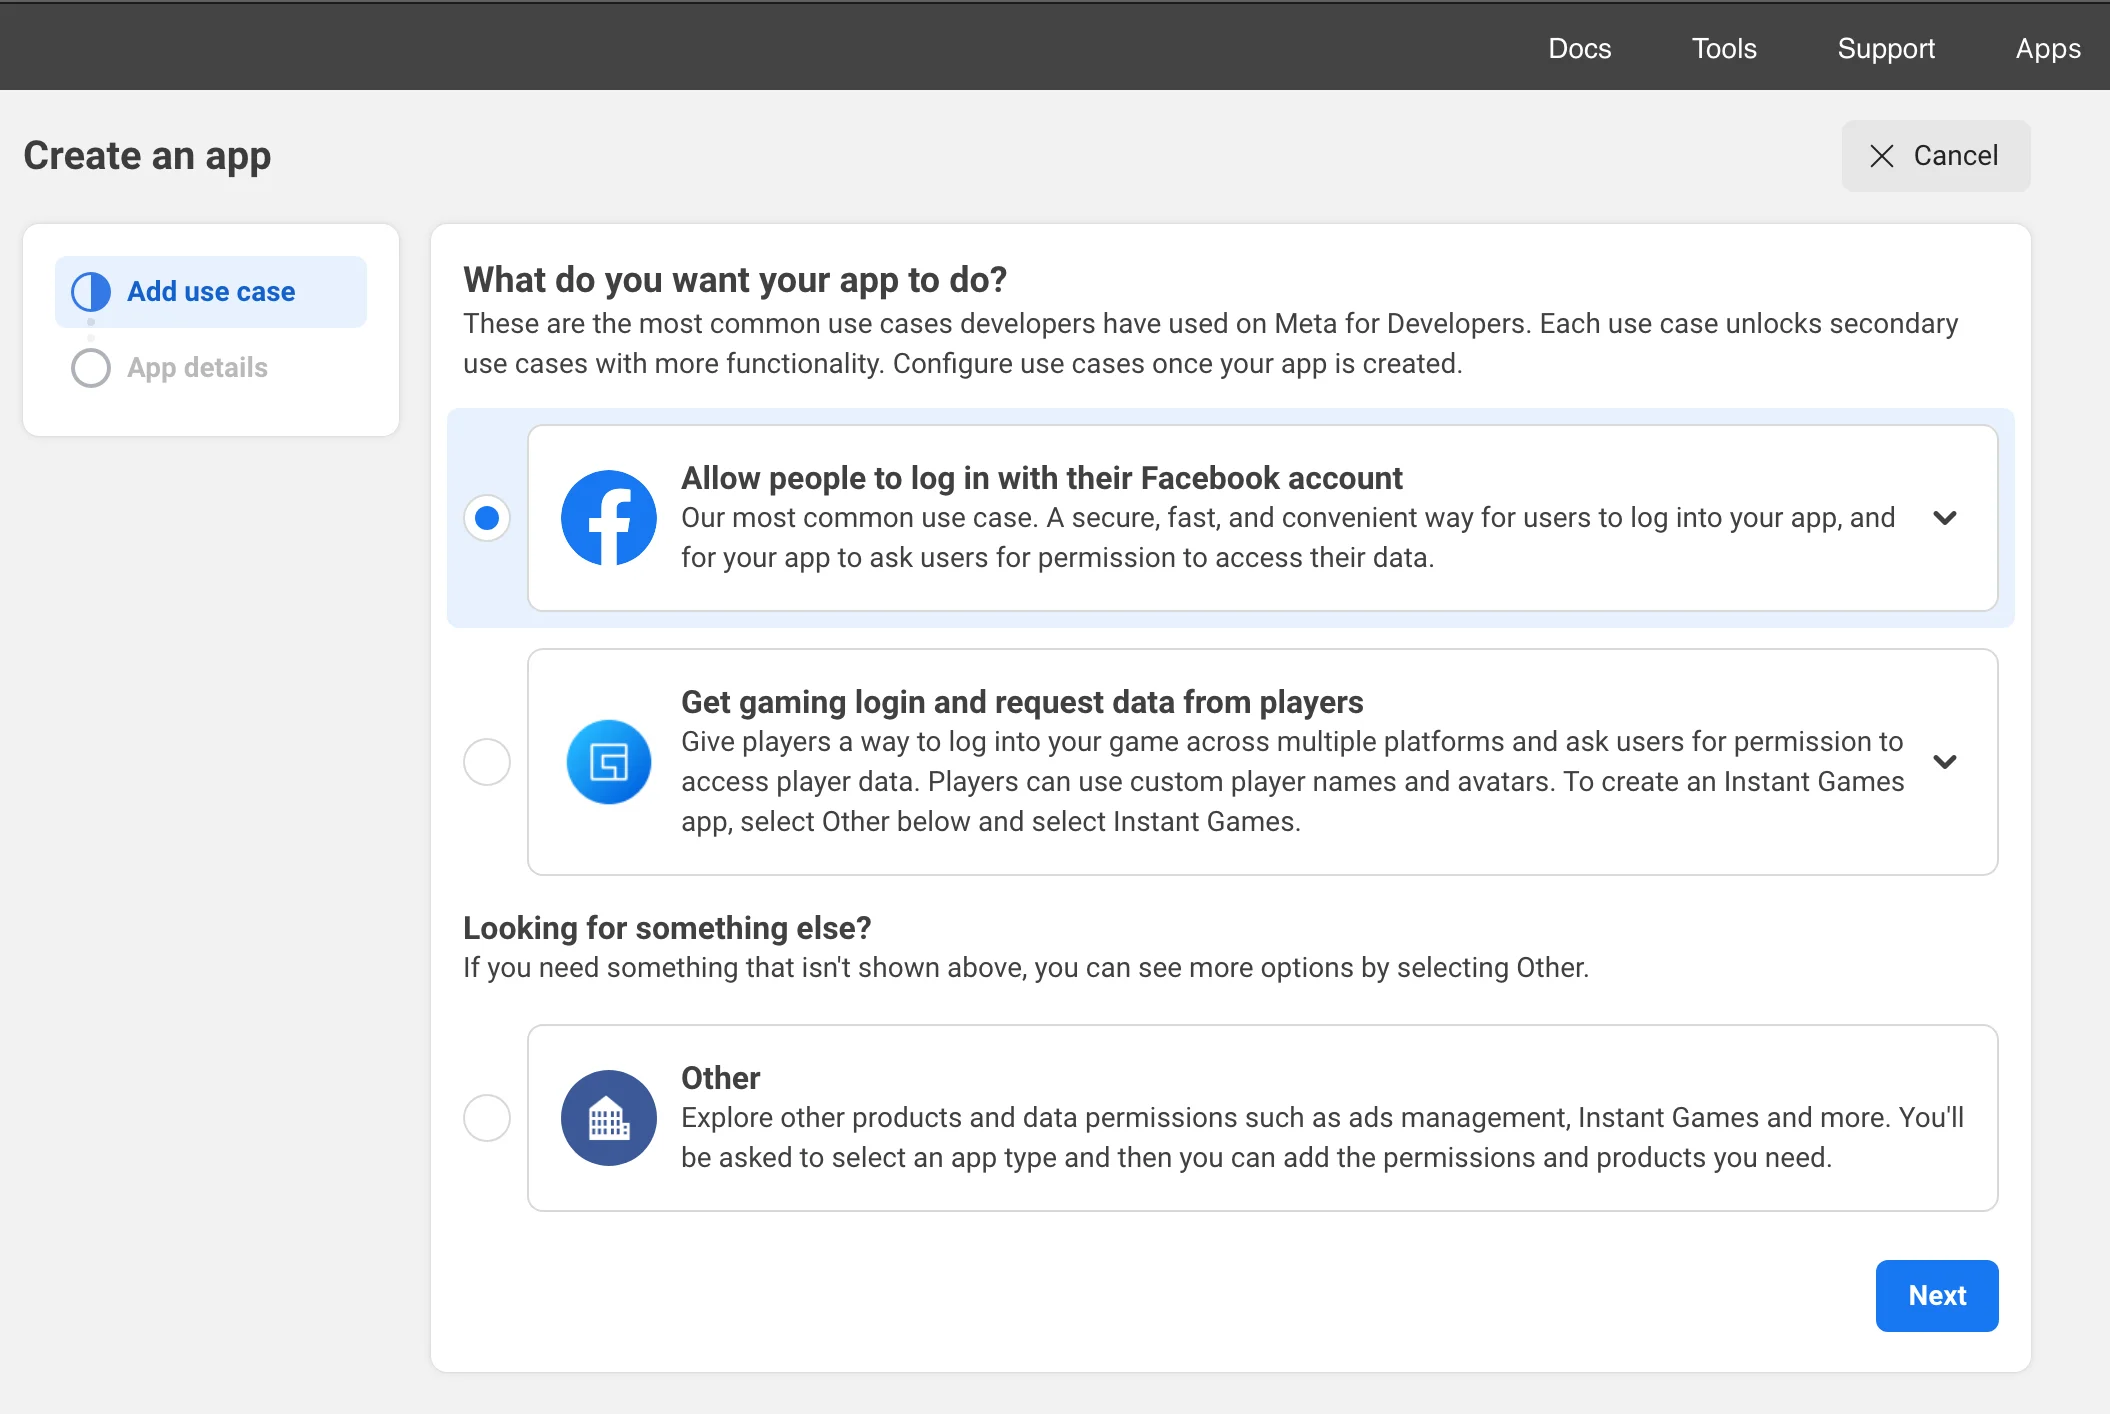
Select Allow people to log in with their Facebook accounts and click the Next button.
Pic 2
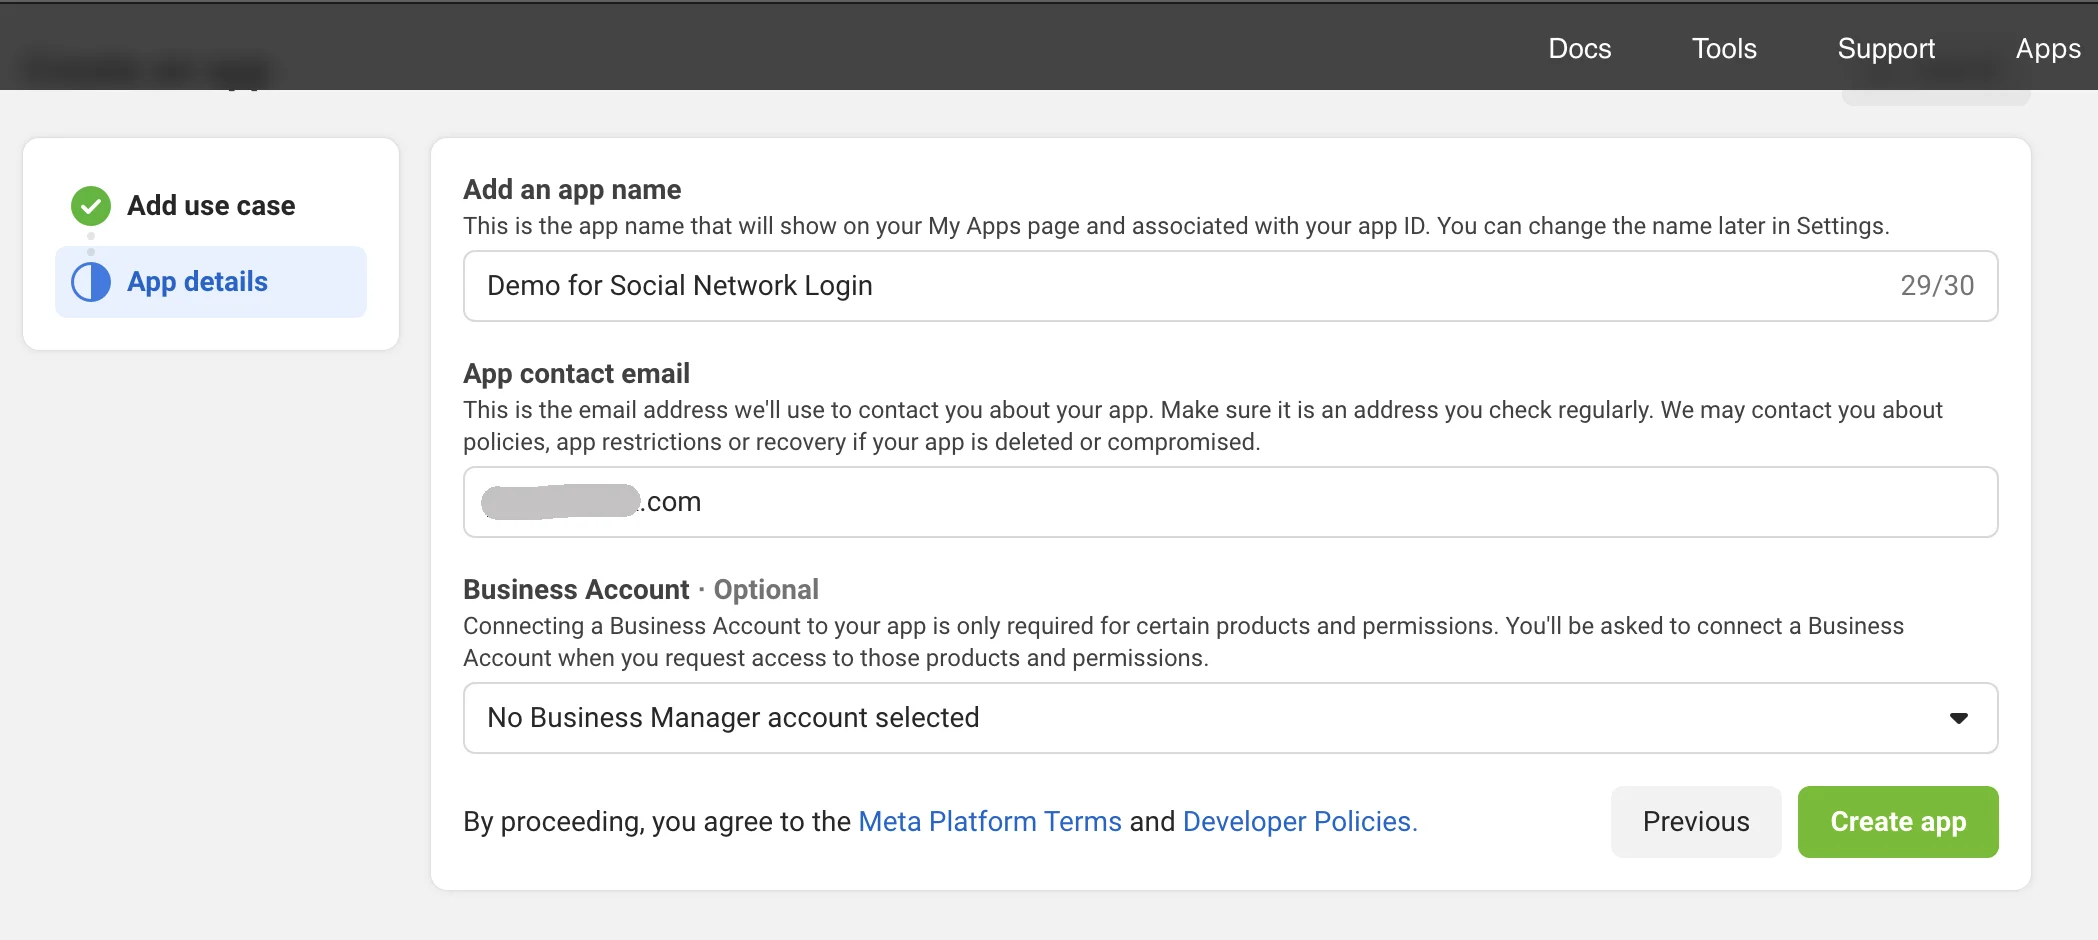
In the next step, you’ll need to enter the app name and app contact email. Select the Business Account if you already have one and click Create App. When filling in the app form, you may be asked to enter a password. Enter the password if required.
Pic 3
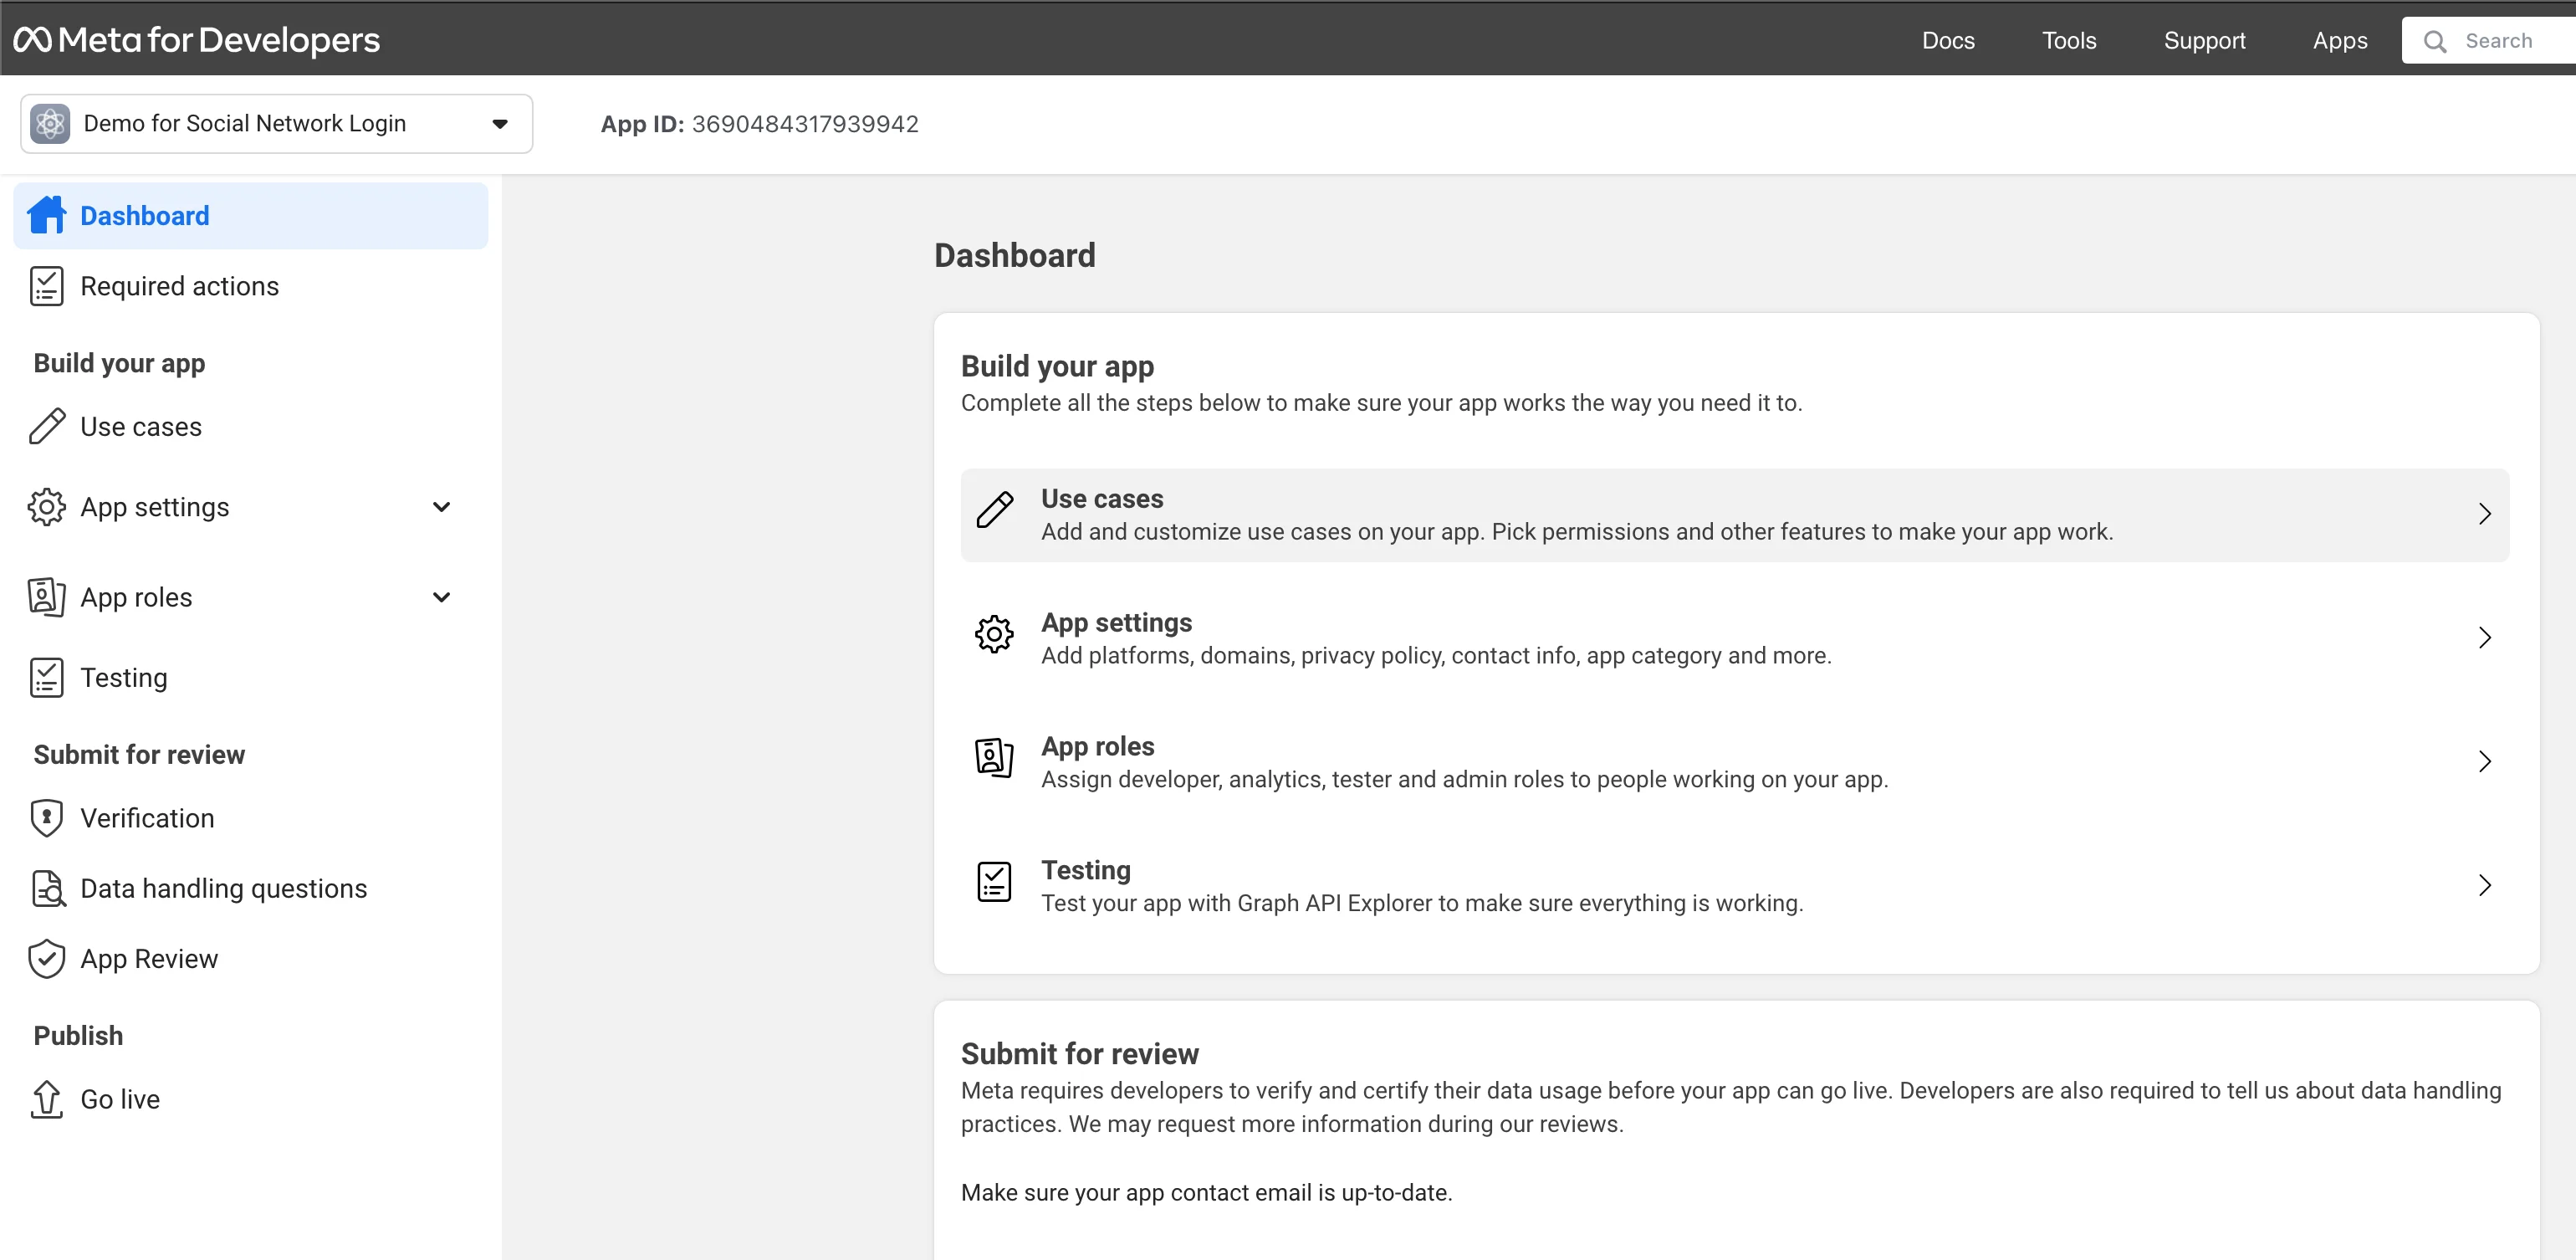
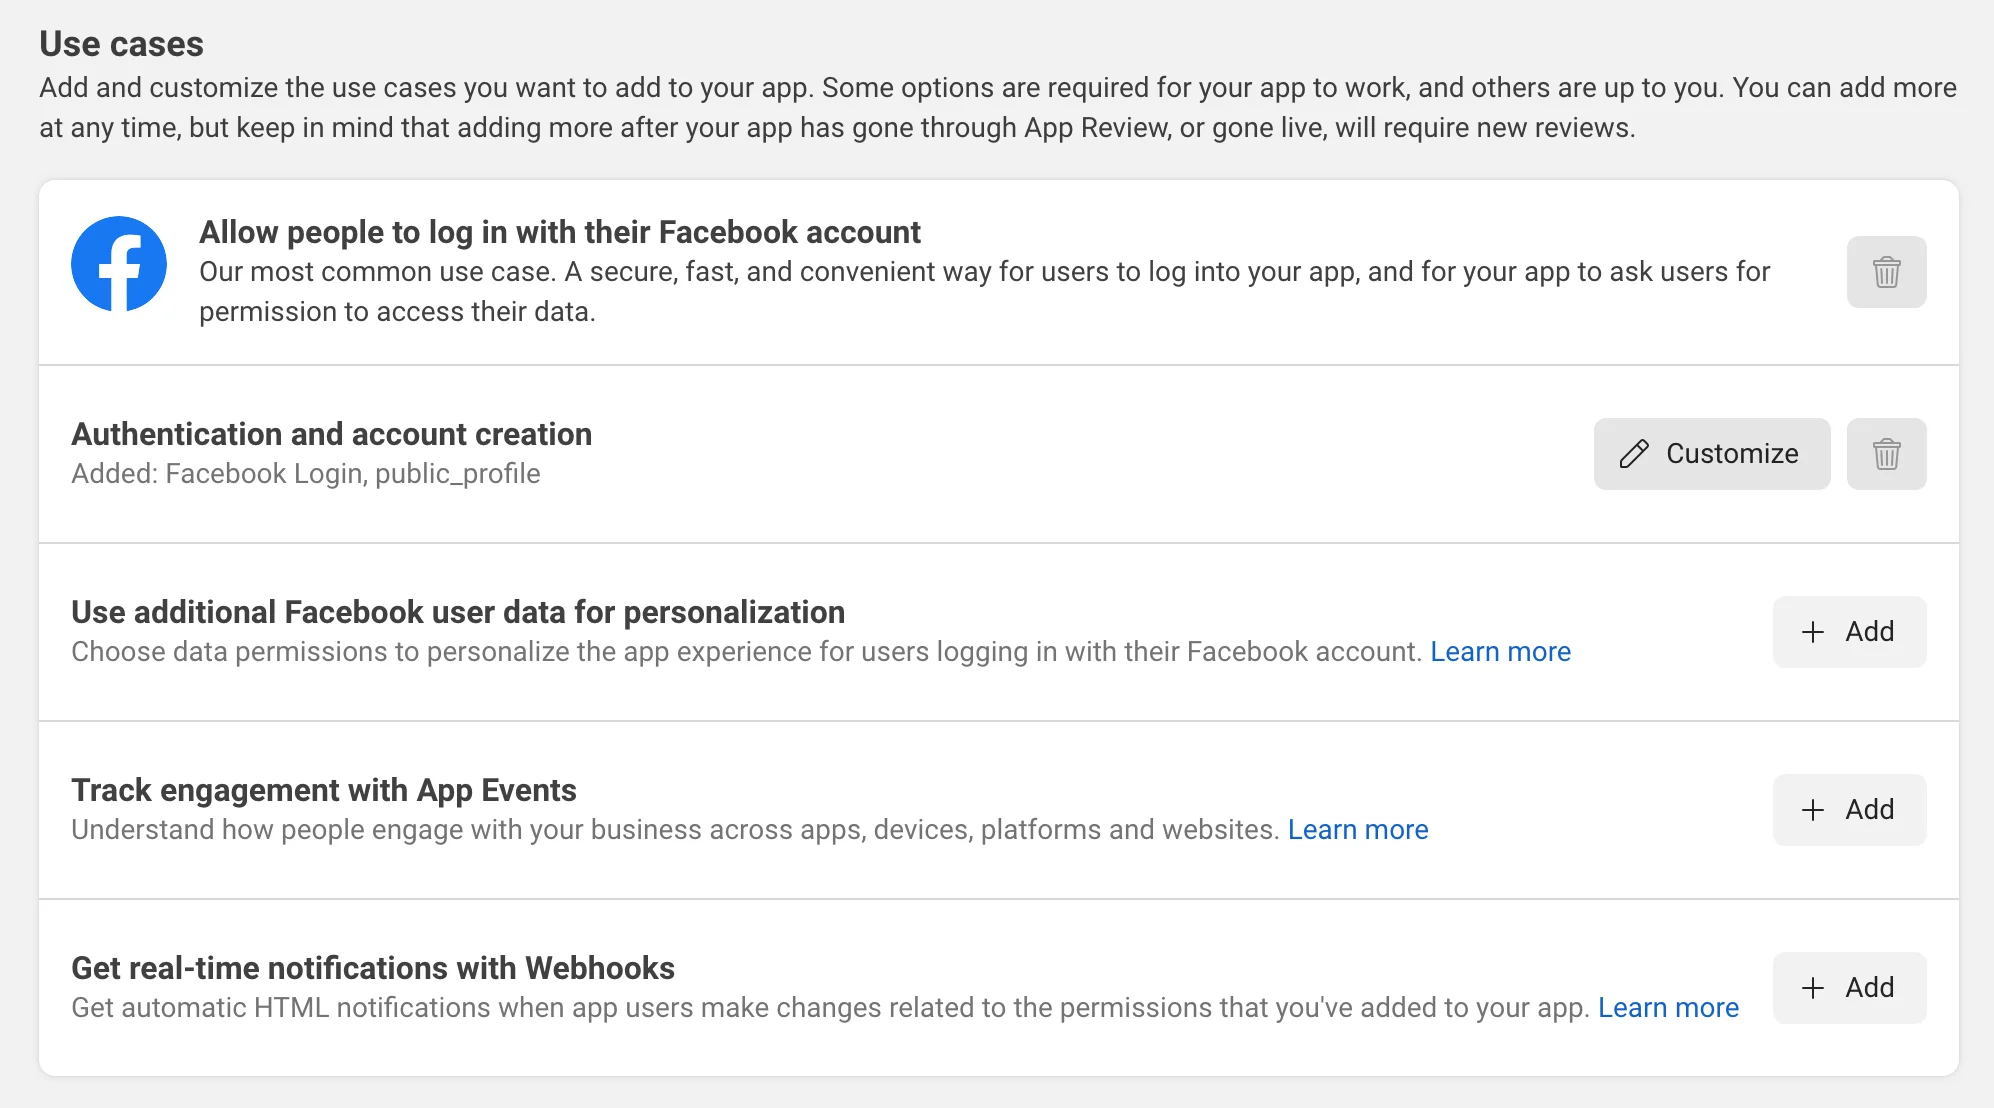
Click Use cases in the Dashboard.
Pic 4
In the Authentication and account creation section click the Customize button.
Pic 5
Go to the Permissions section > Email > Click the Add button.
Pic 6
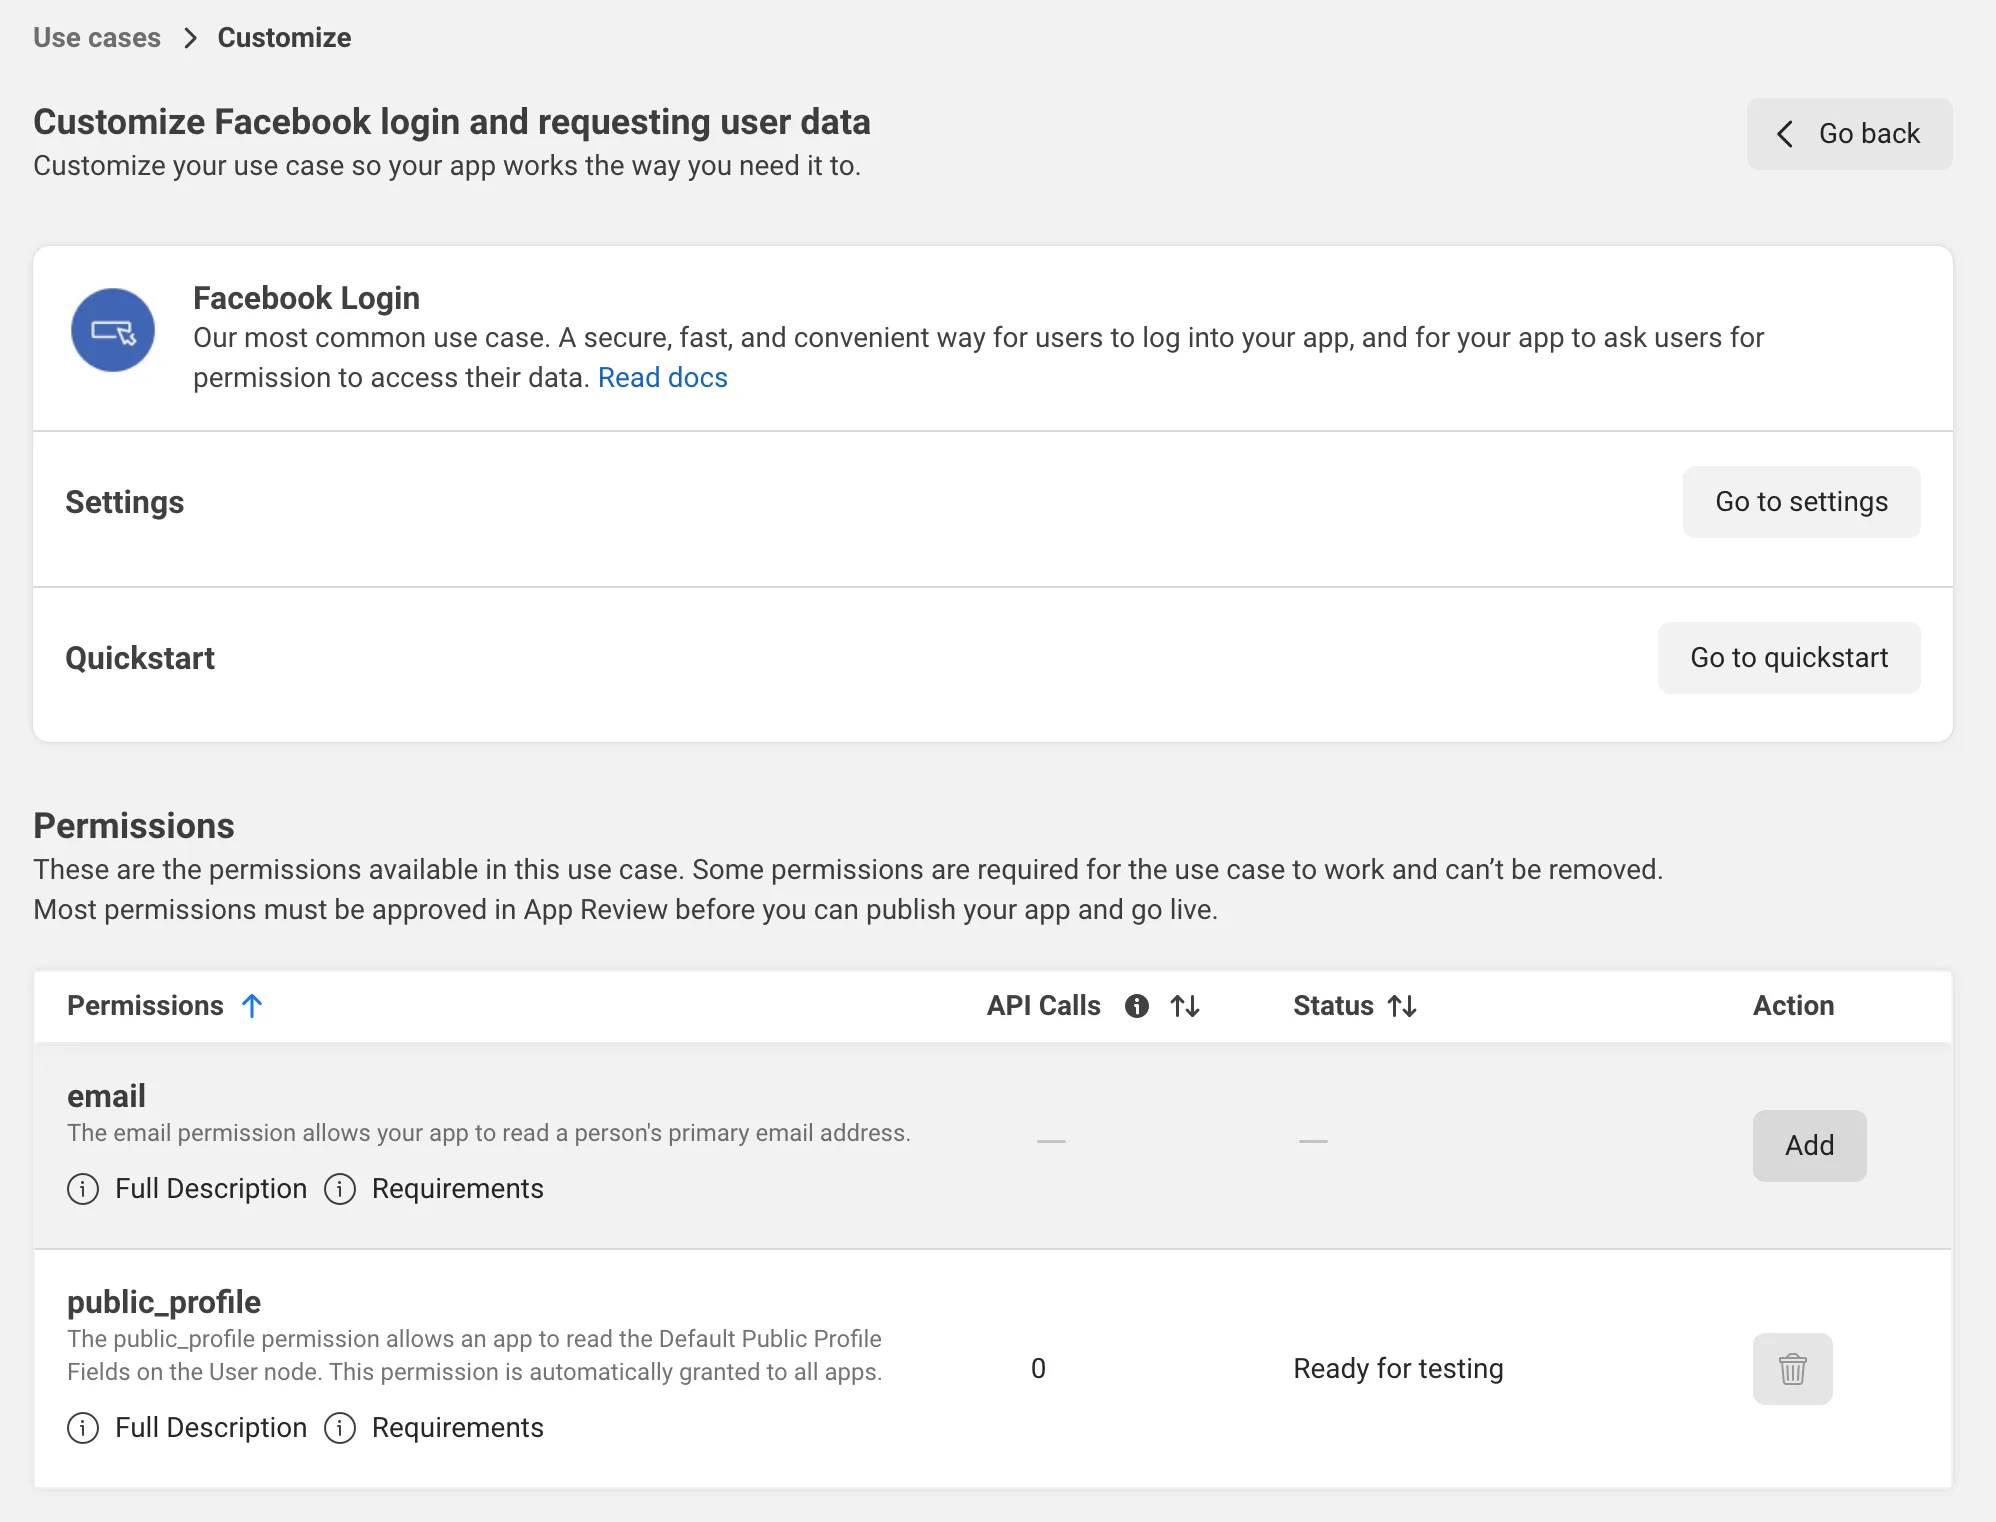
Click Go to settings in the Facebook Login section.
Pic 7
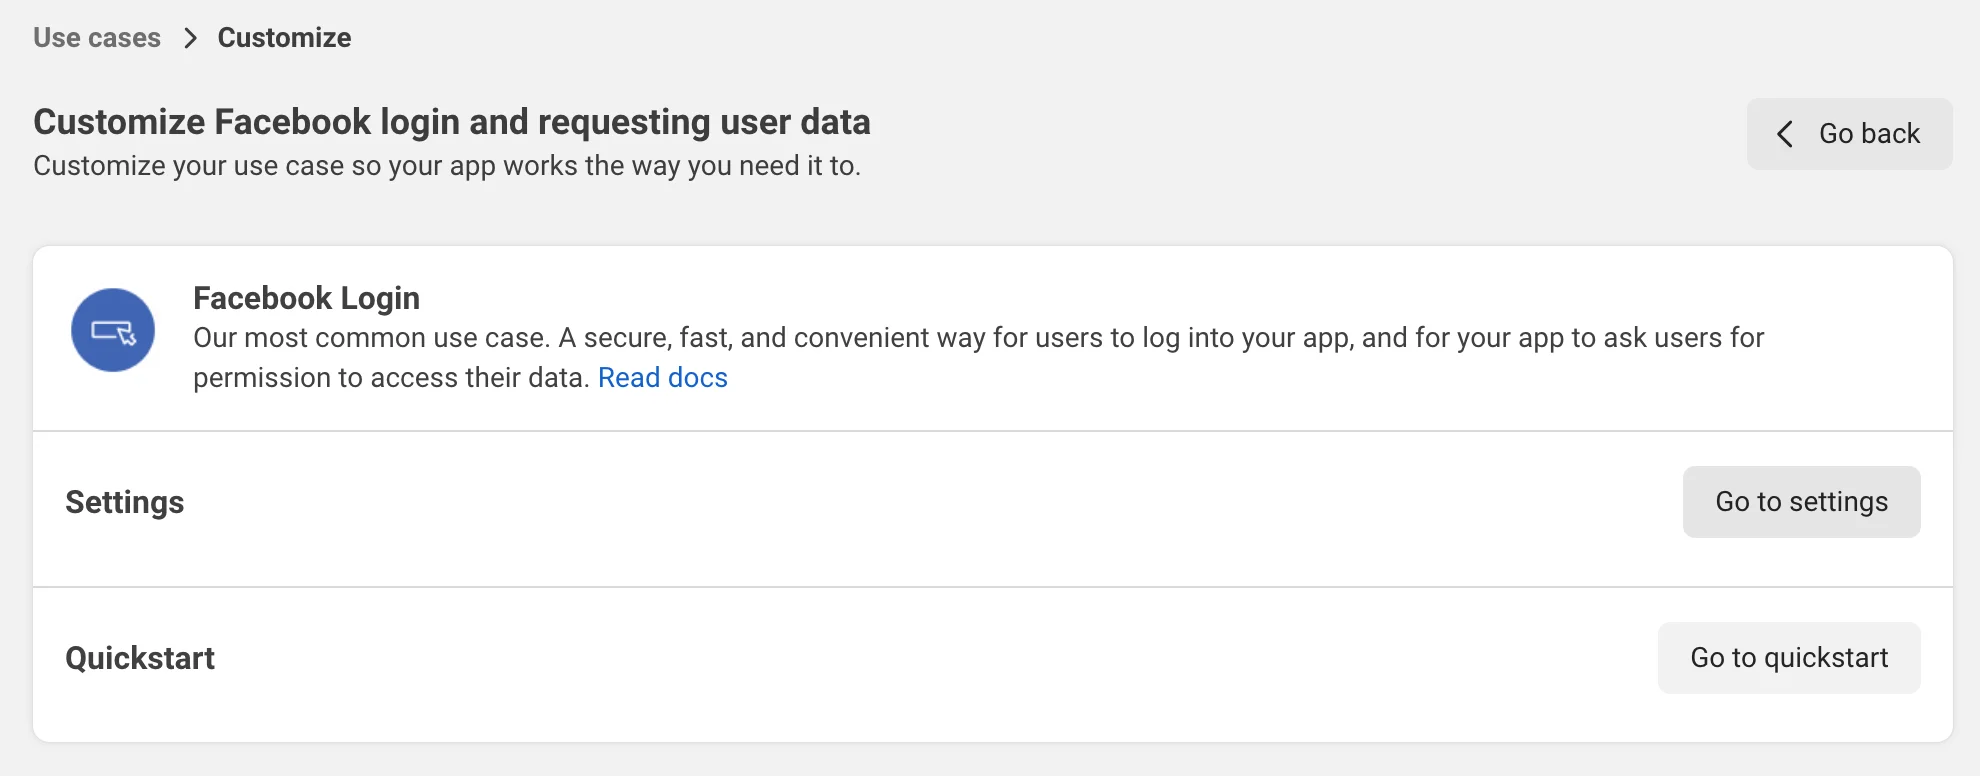
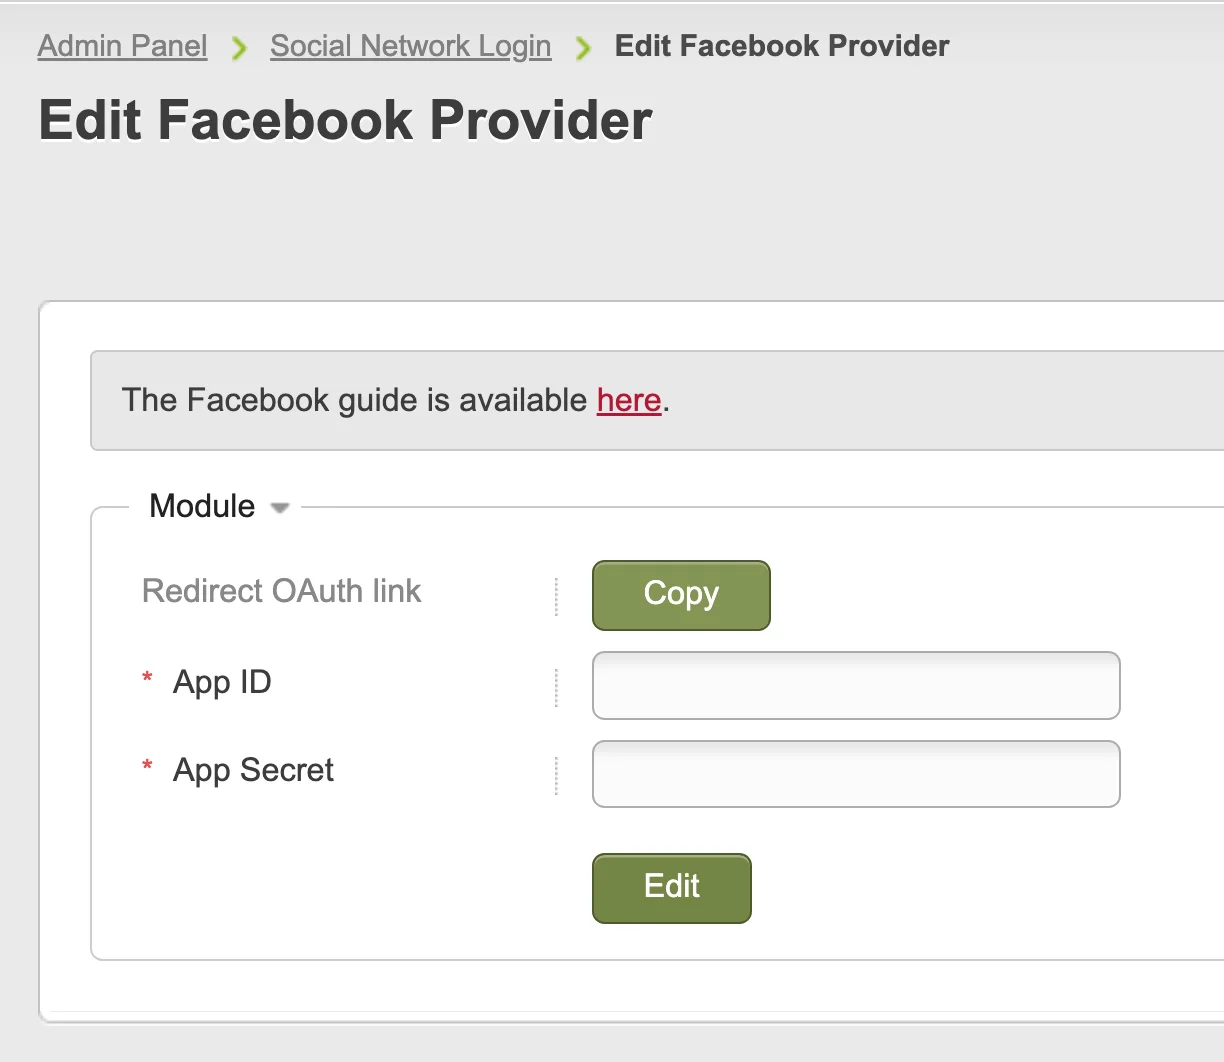
Proceed to the Flynax admin panel > Plugins > Social Network Login and click the Edit icon on the Facebook provider.
Pic 8
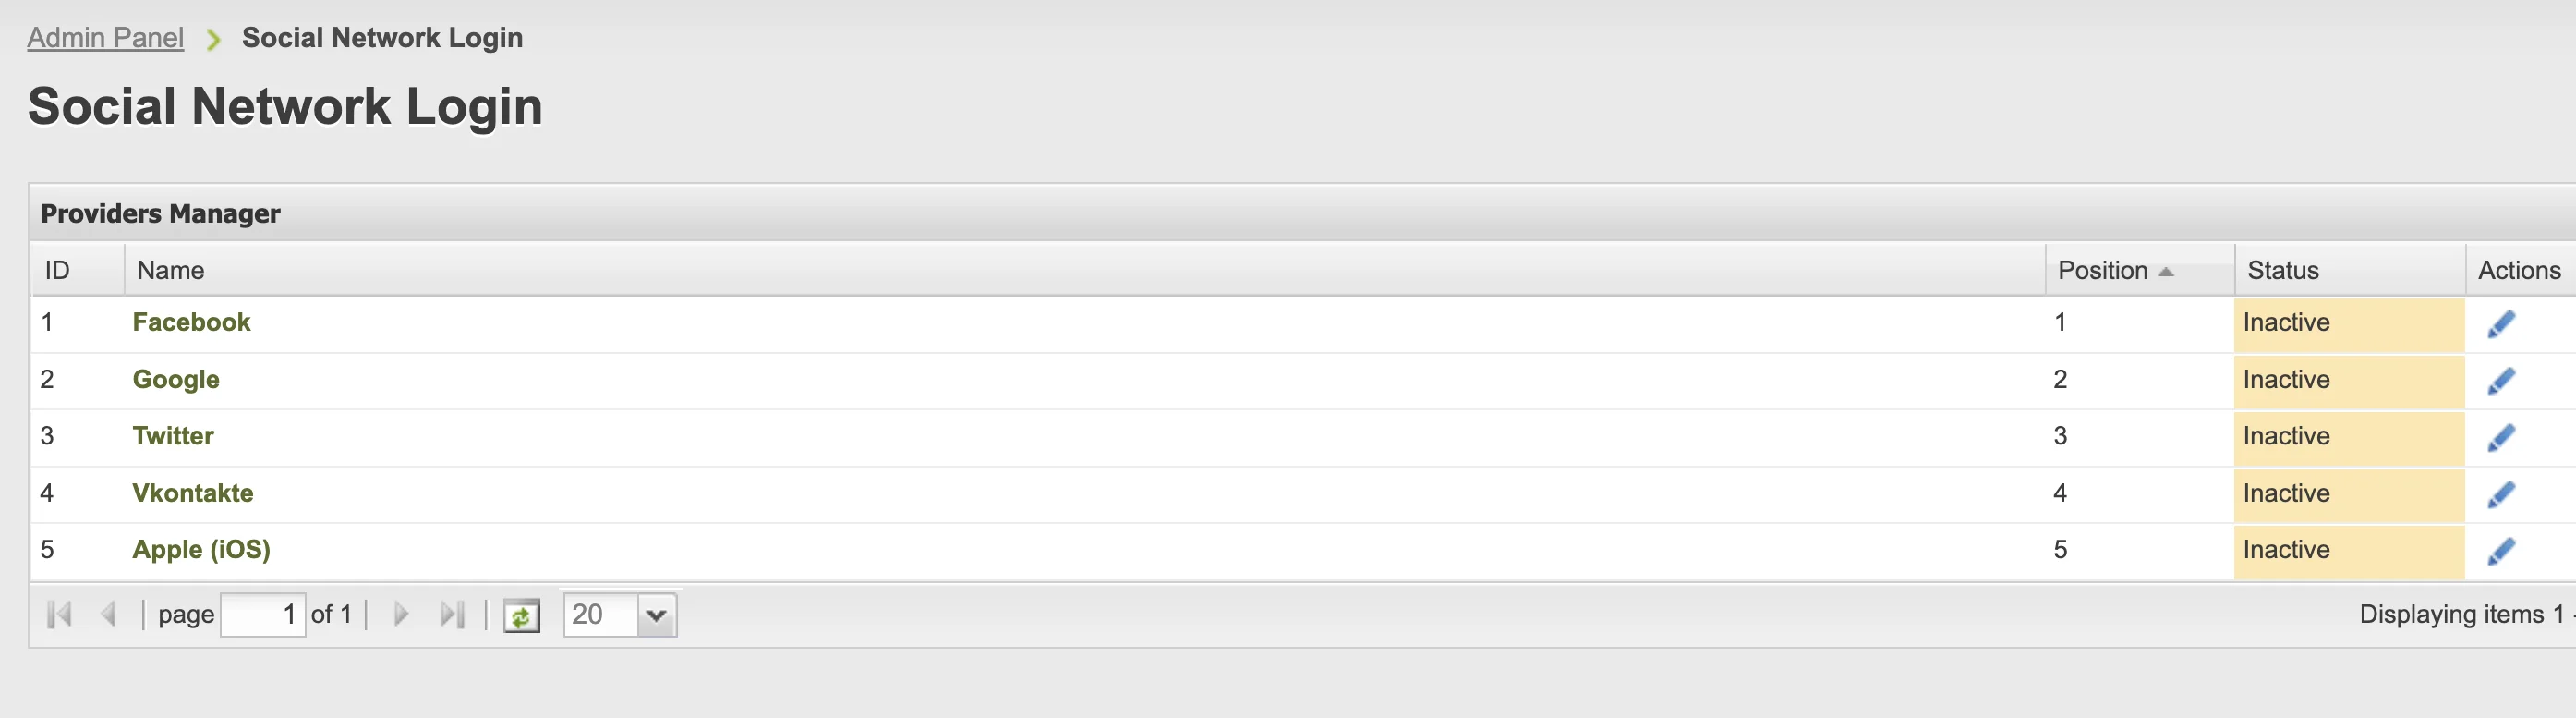
Click the Copy button to copy the Redirect OAuth link to the clipboard.
Pic 9
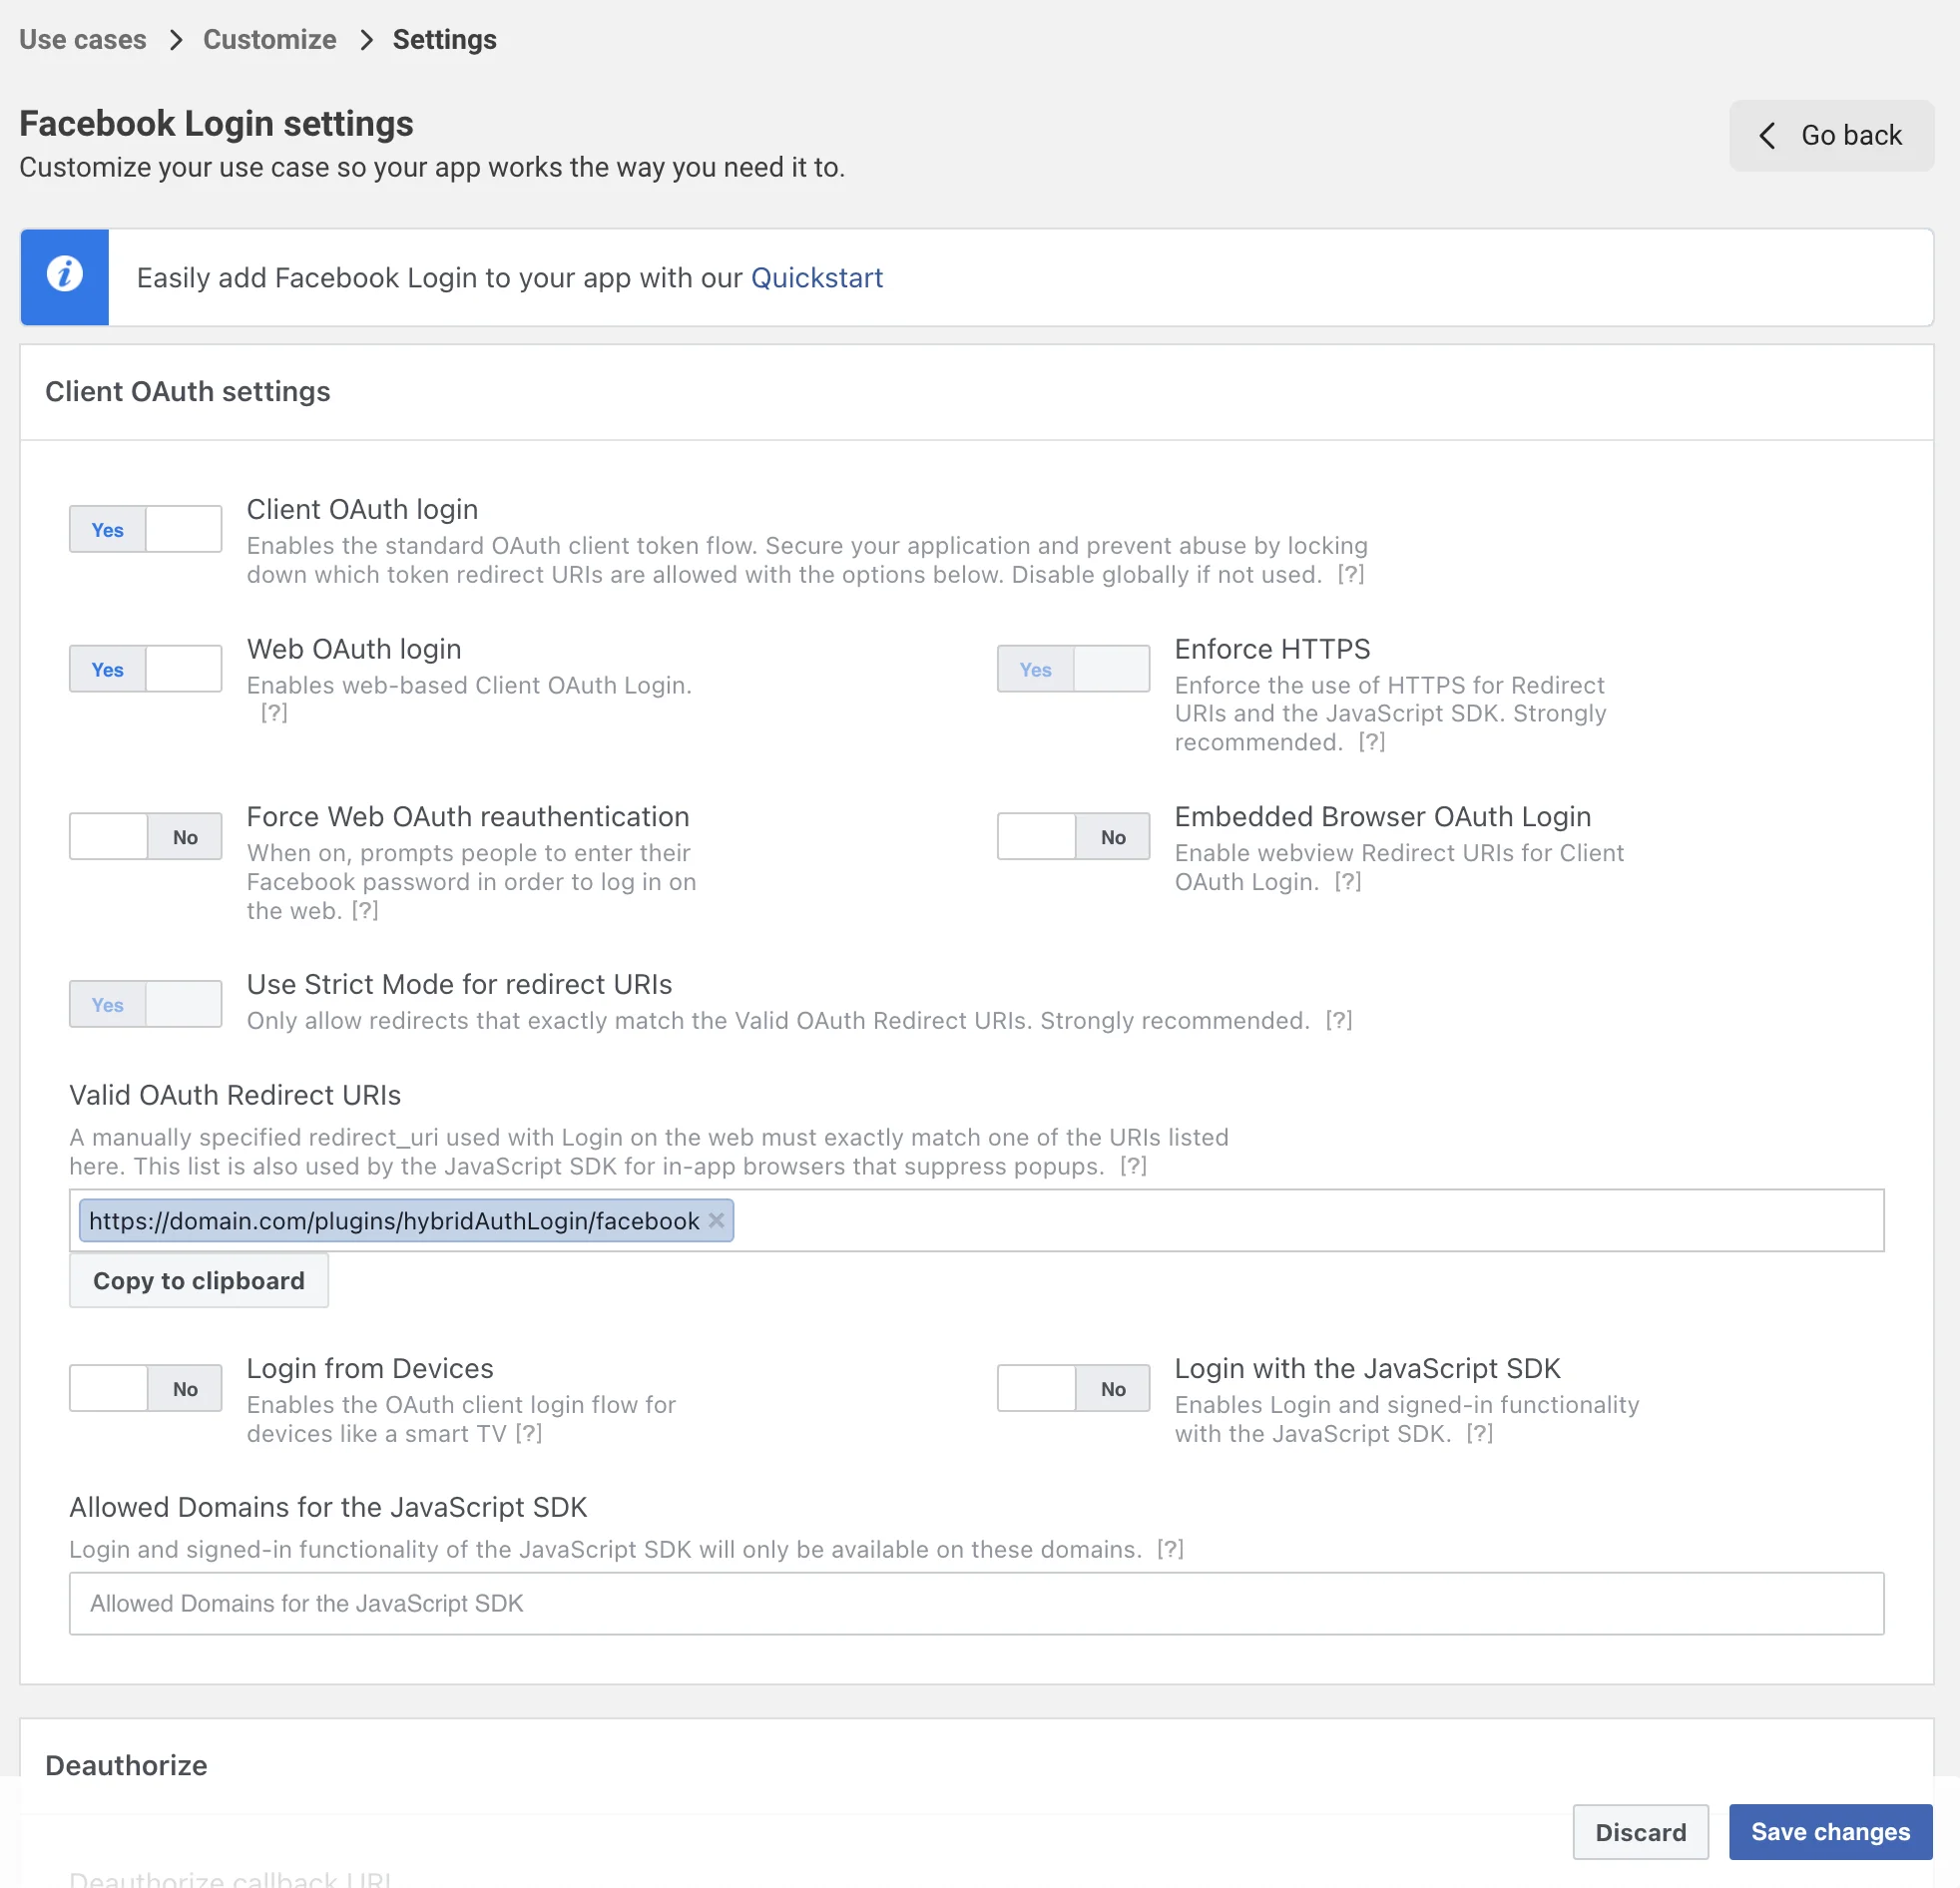
Go back to the Facebook site, paste the copied URL in the Valid OAuth Redirect URIs field, and click Save changes.
Pic 10
Then go to the Basic section that you may find in the sidebar > App Settings > Basic.
Pic 11
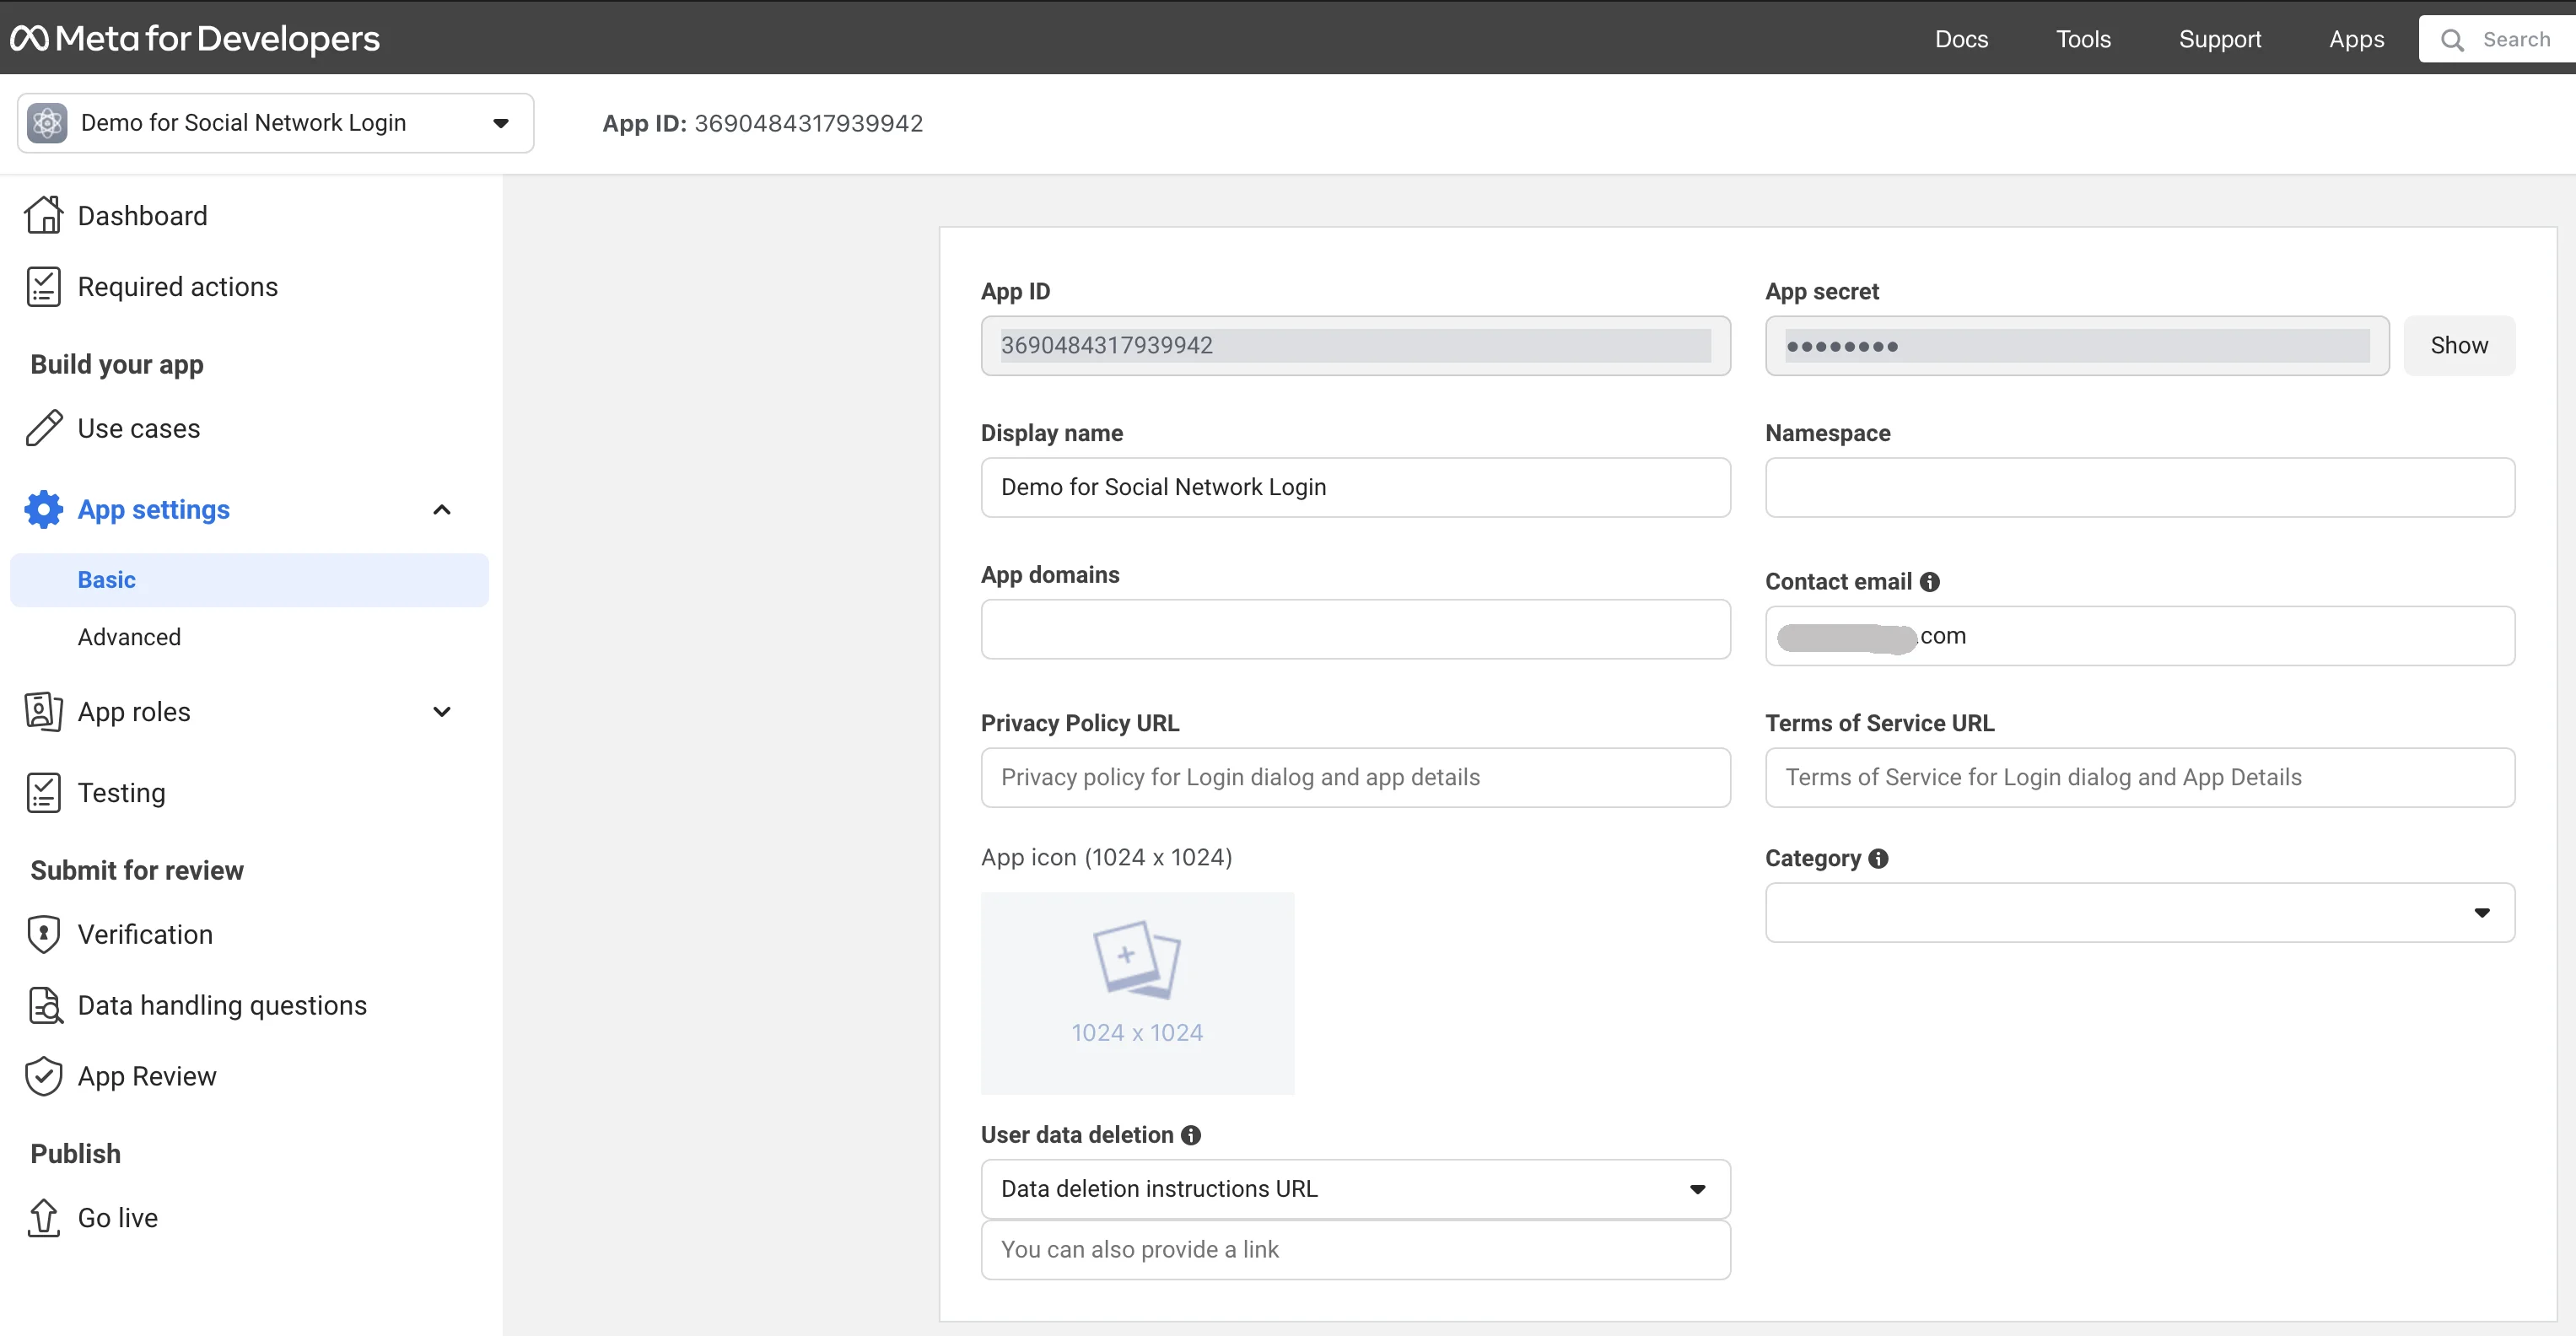
You will need to fill in the following fields:
App domains. Add your domain name, for example, domain.com;
User Data Deletion and Privacy Policy URL, the URLs of which you were supposed to get from your site. Use the URL of the Privacy Policy for both fields;
Terms of Service URL. Enter a URL of the Terms of Use from your site;
Category. Select the option that best fits your business;
Fill fields in the Data Protection Officer contact information if users on your site will be from the European Union. Then click Save changes.
Copy the App ID and App Secret from the form and enter the keys in the corresponding fields in the Facebook provider settings from the admin panel of your Flynax classified ads portal.
Pic 12
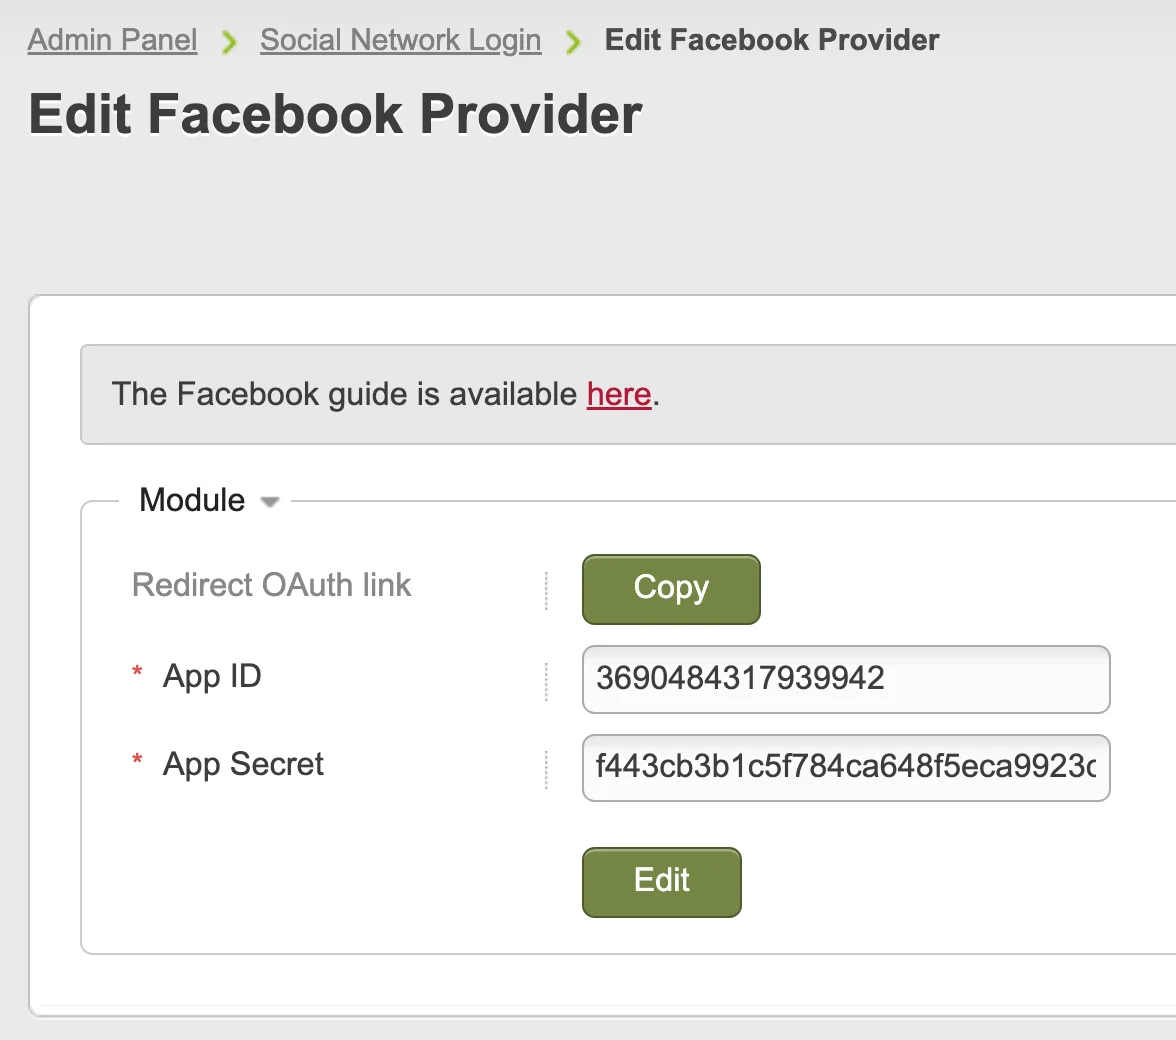
Click Edit to save the changes.
Go to the sidebar on the Facebook app page > Select Publish > Go live.
Pic 13
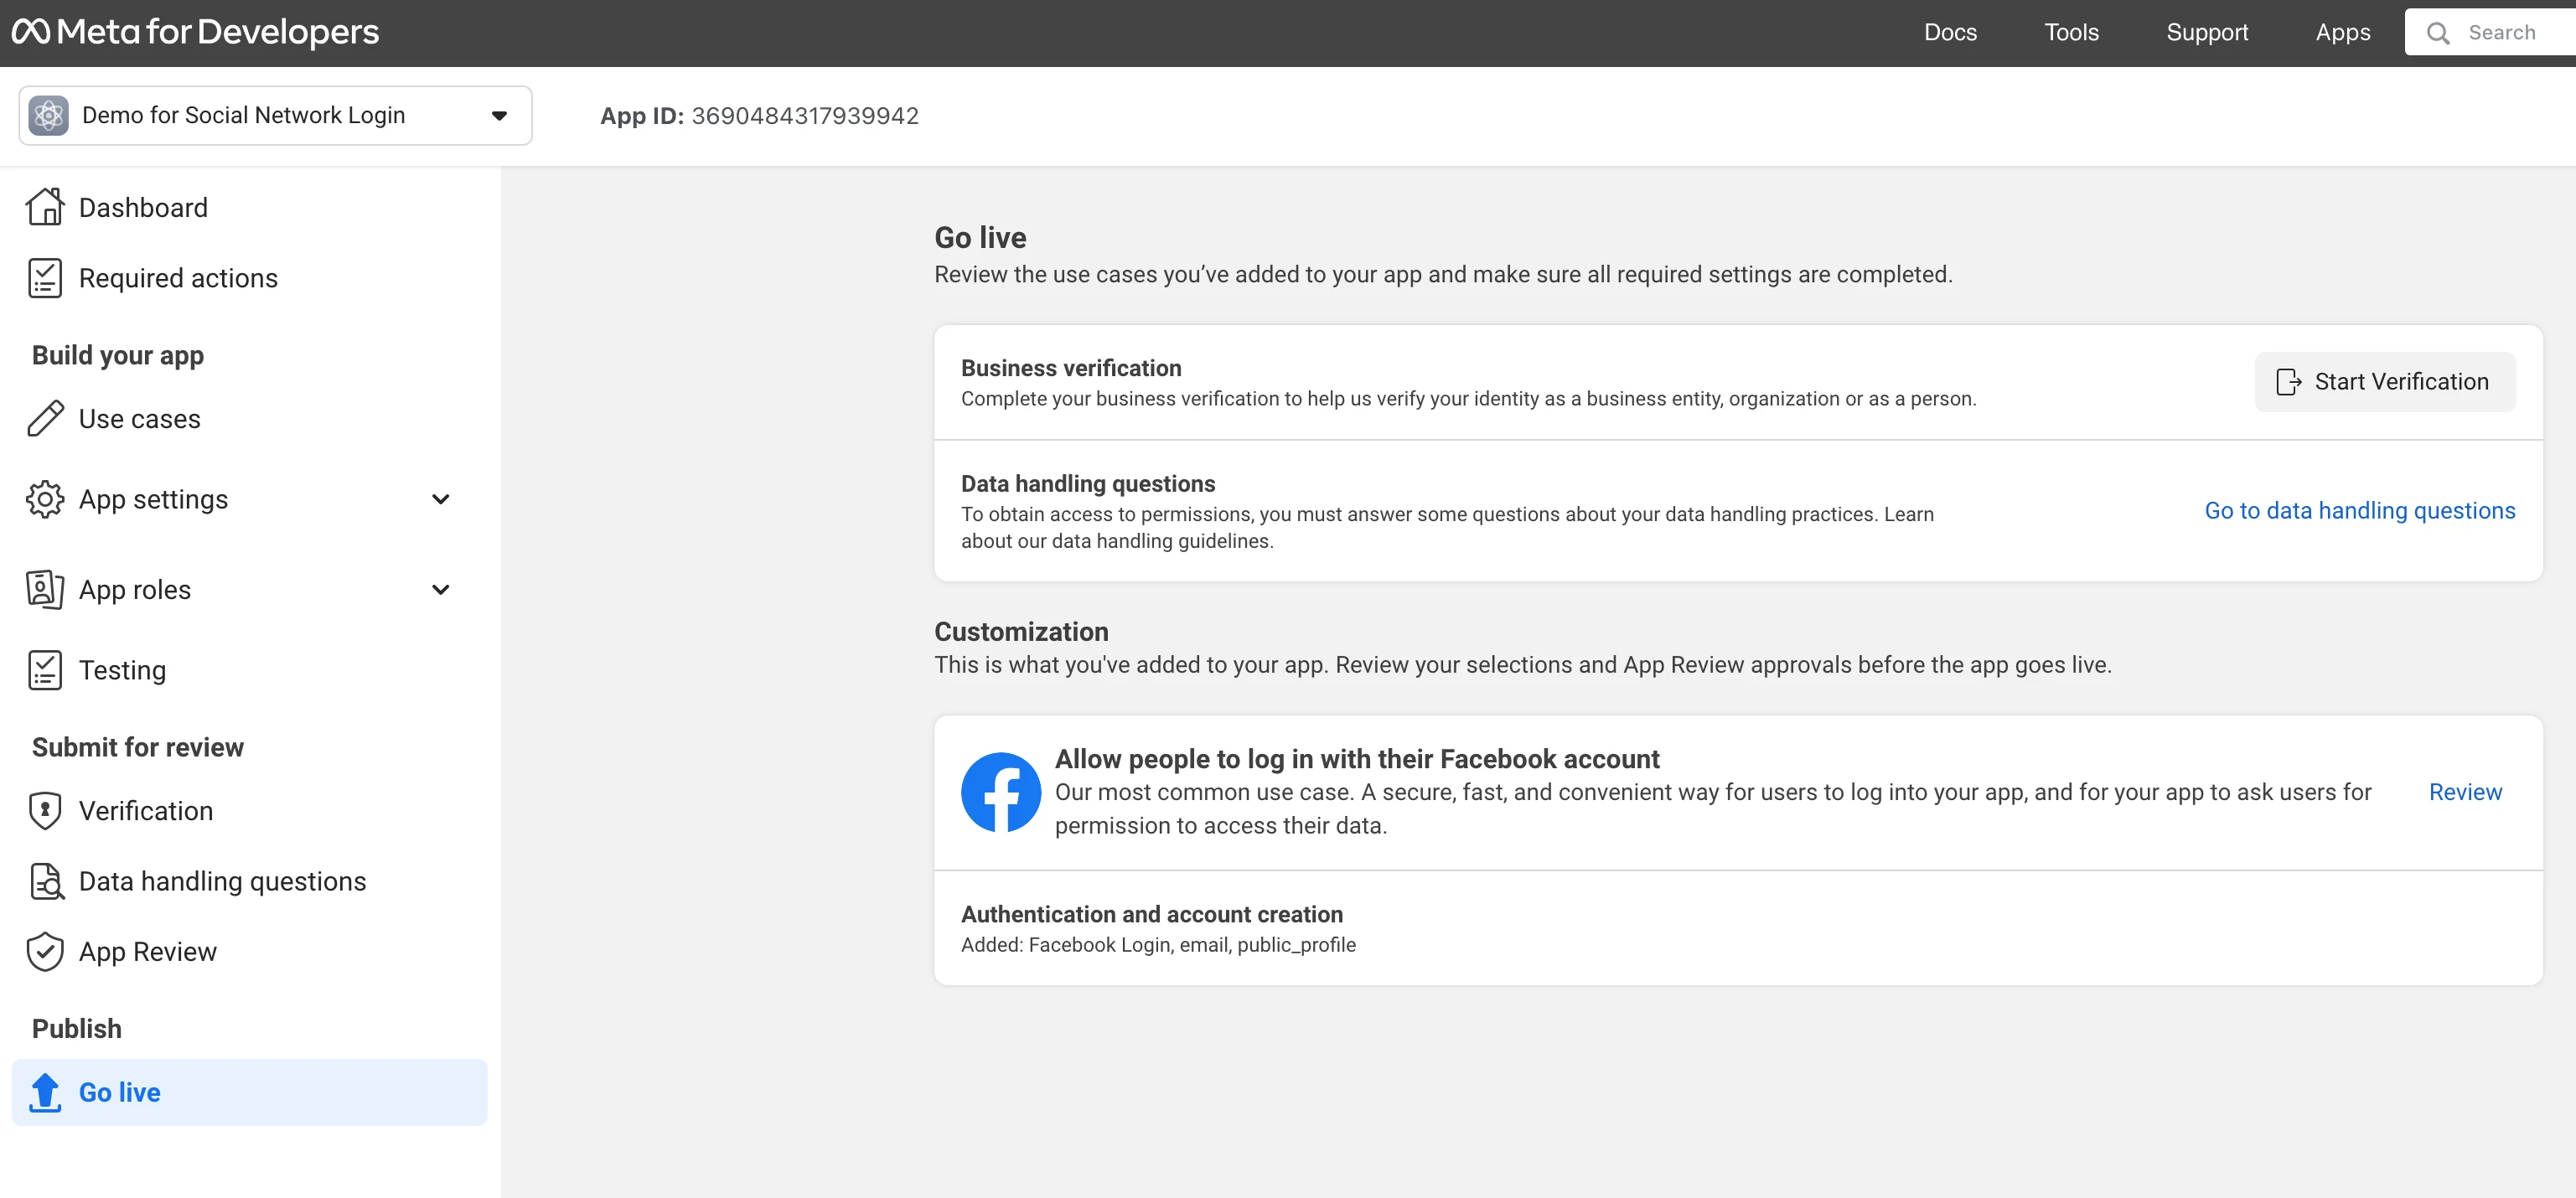
You should be able to see your verified business account in the Business Verification section. If not, you will need to go through the verification process. You can find out more about business verification here. In the Data Handling Questions section, you will need to answer some questions.
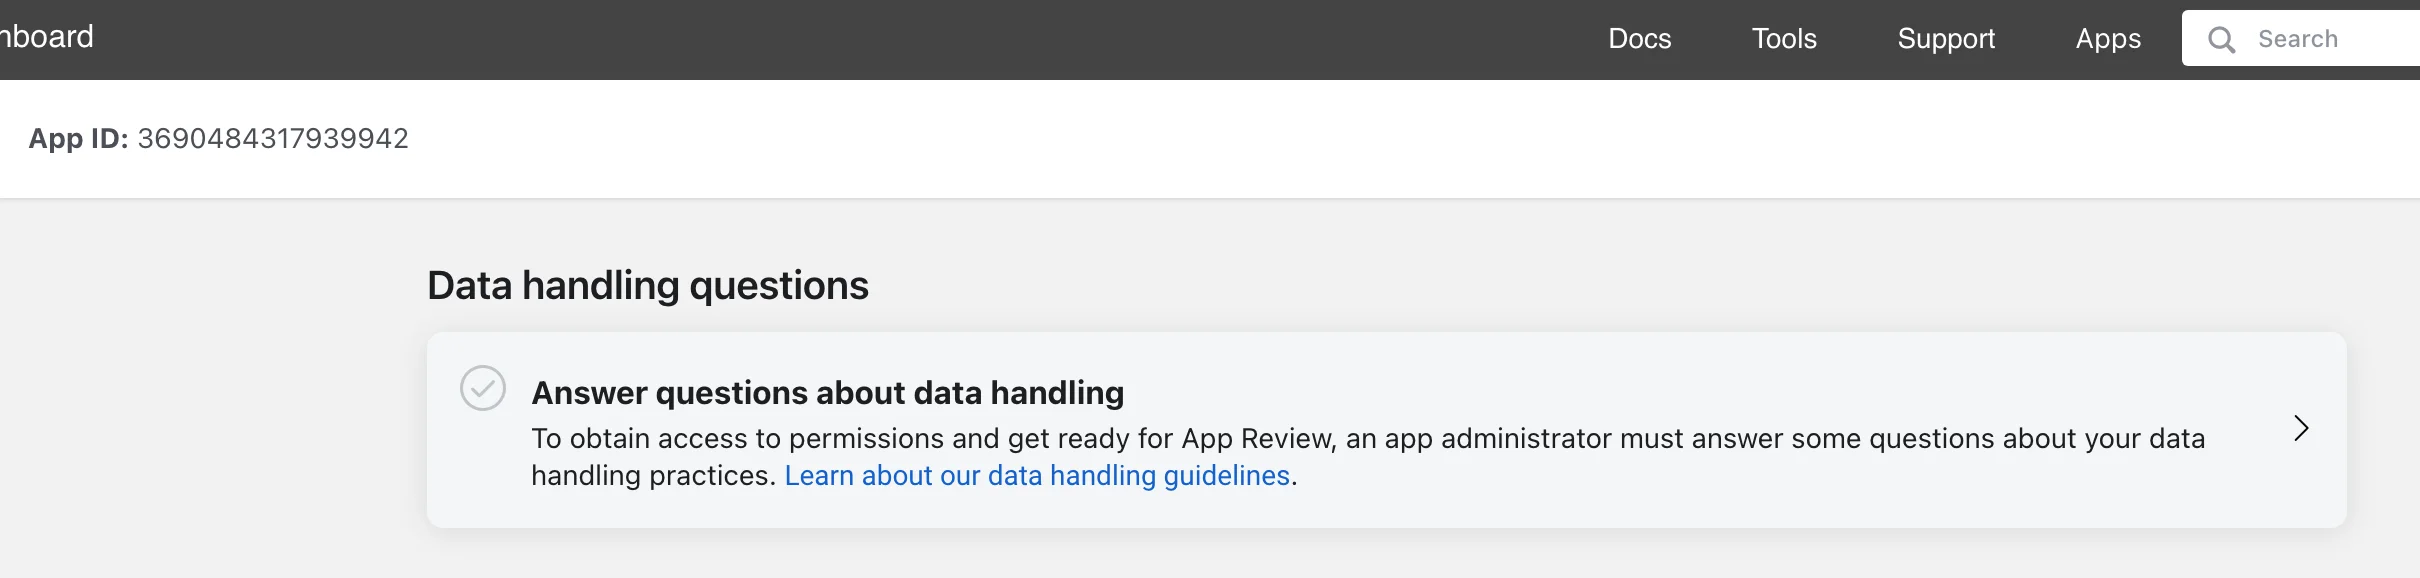
Click Go to data handling questions and then click Answer questions about data handling.
Pic 14
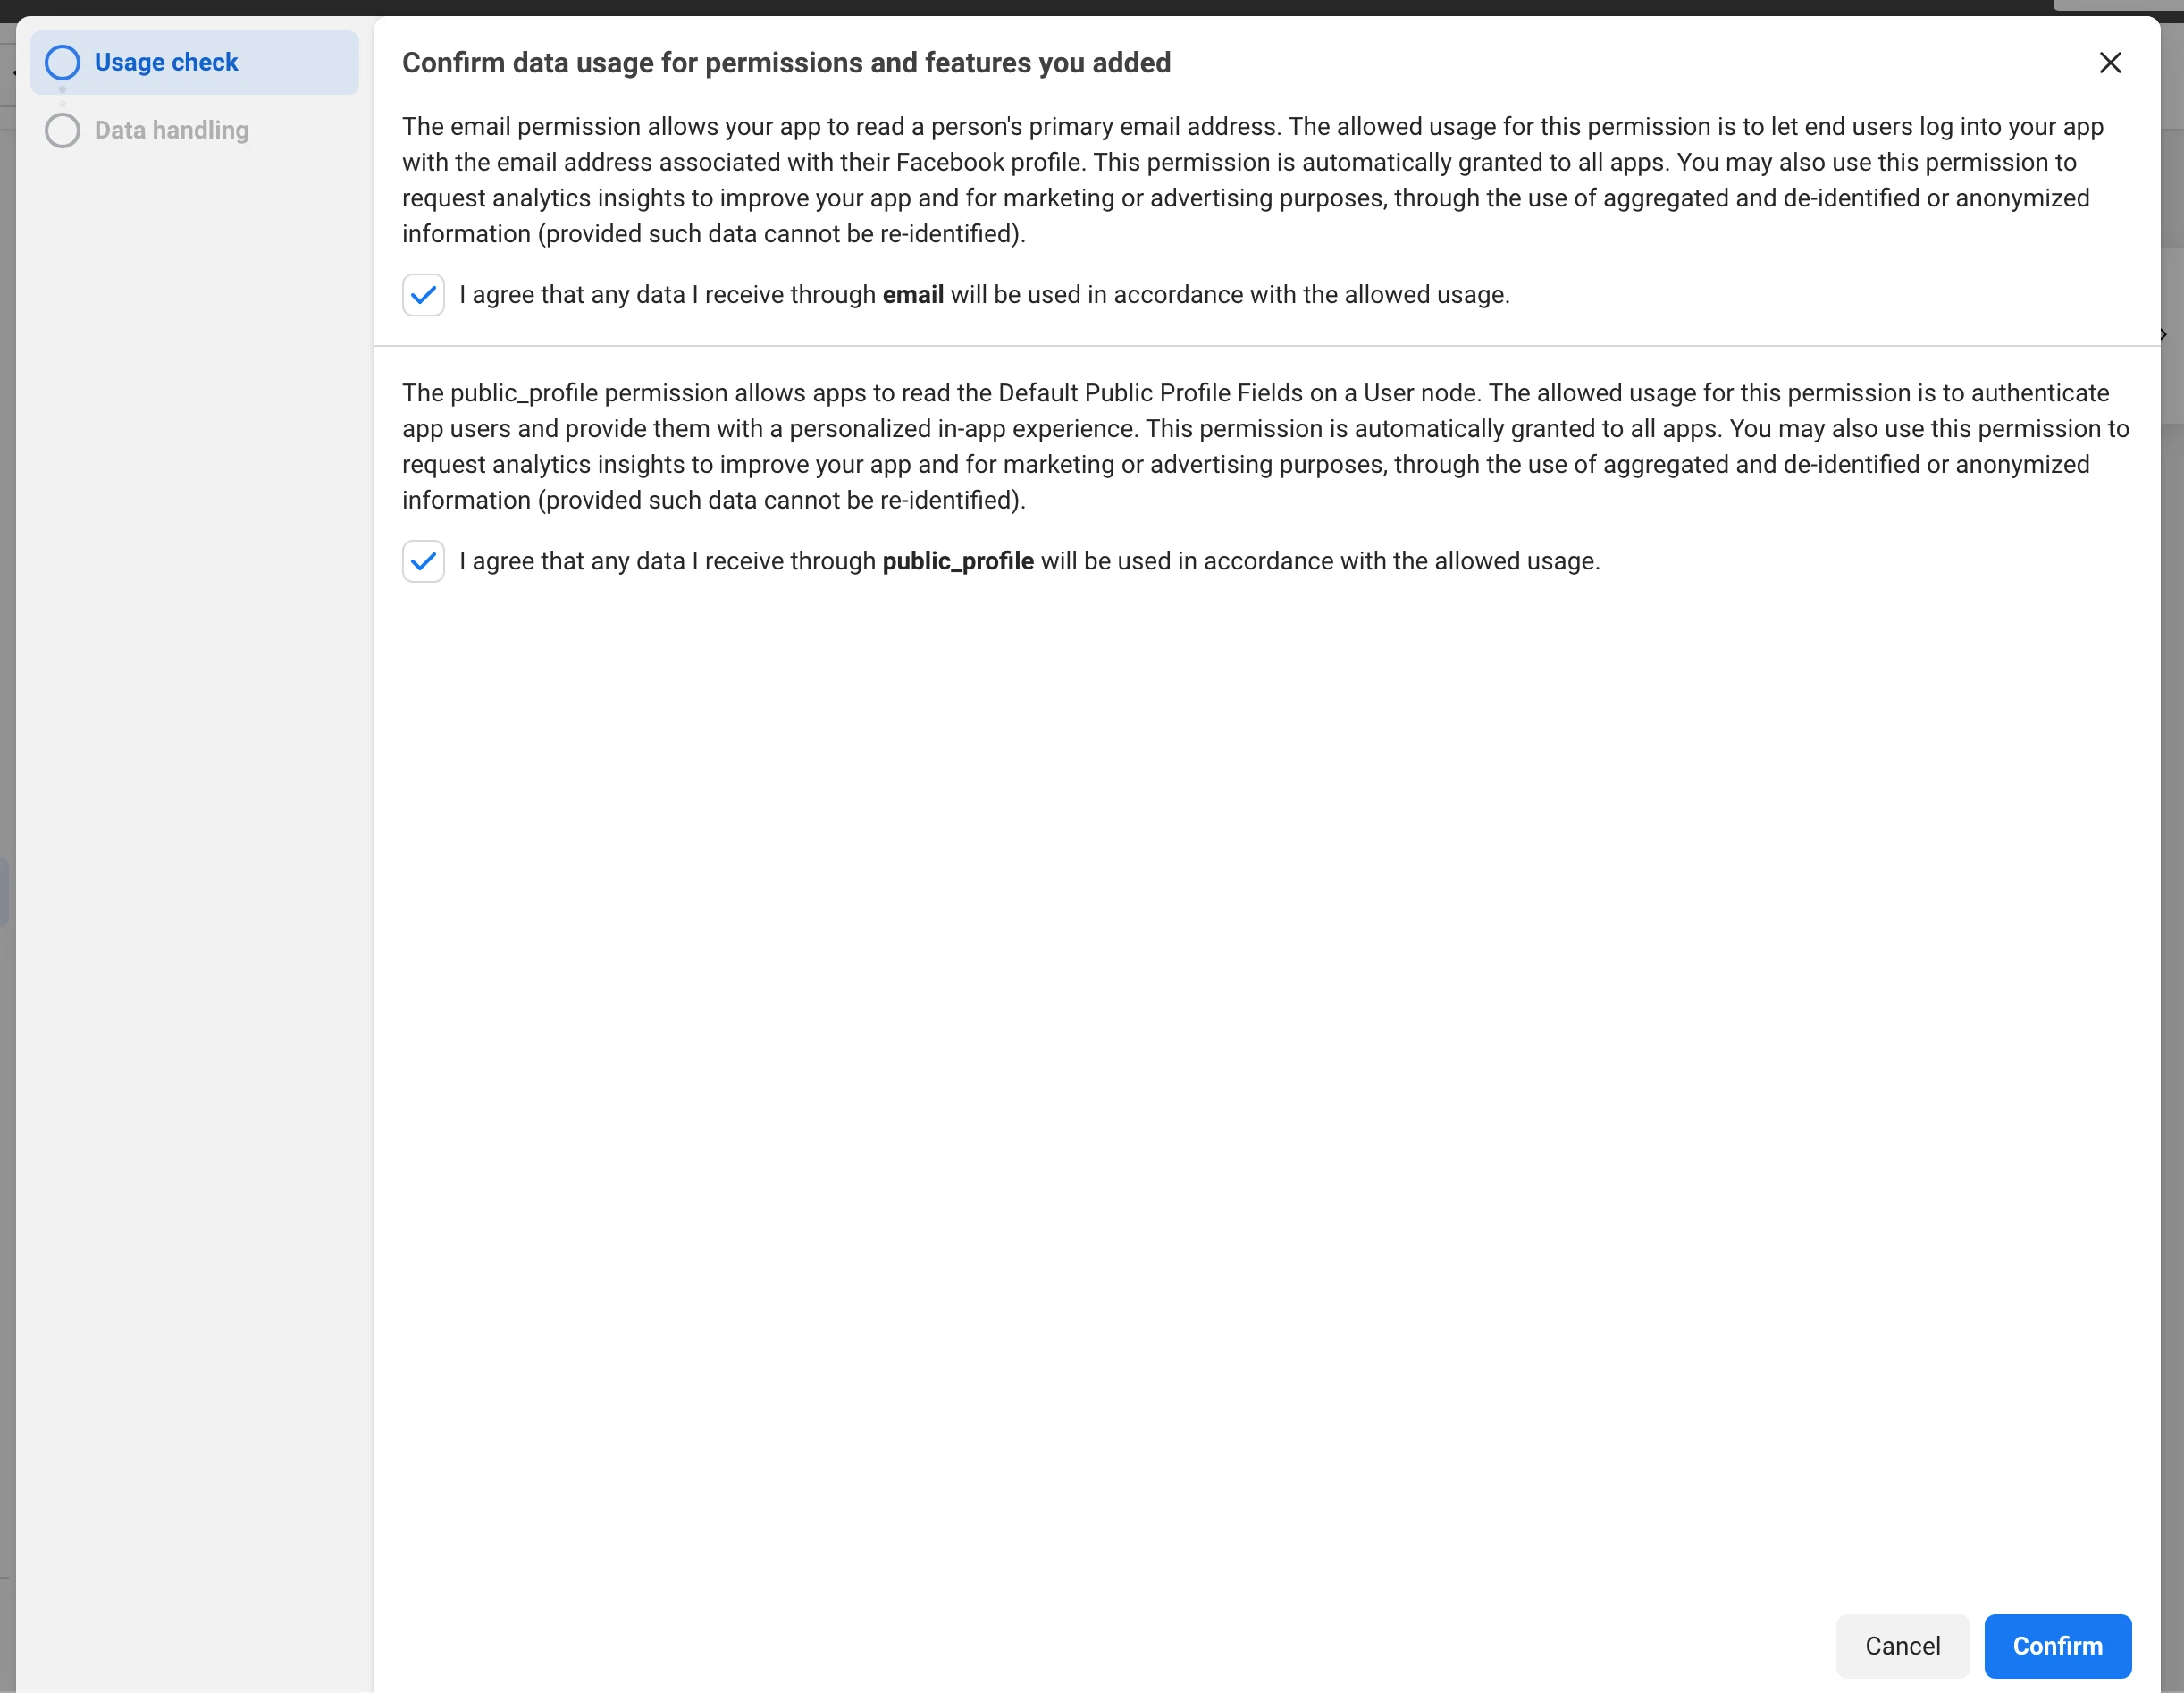
Tick the checkboxes for all the required permissions and click the Confirm button.
Pic 15
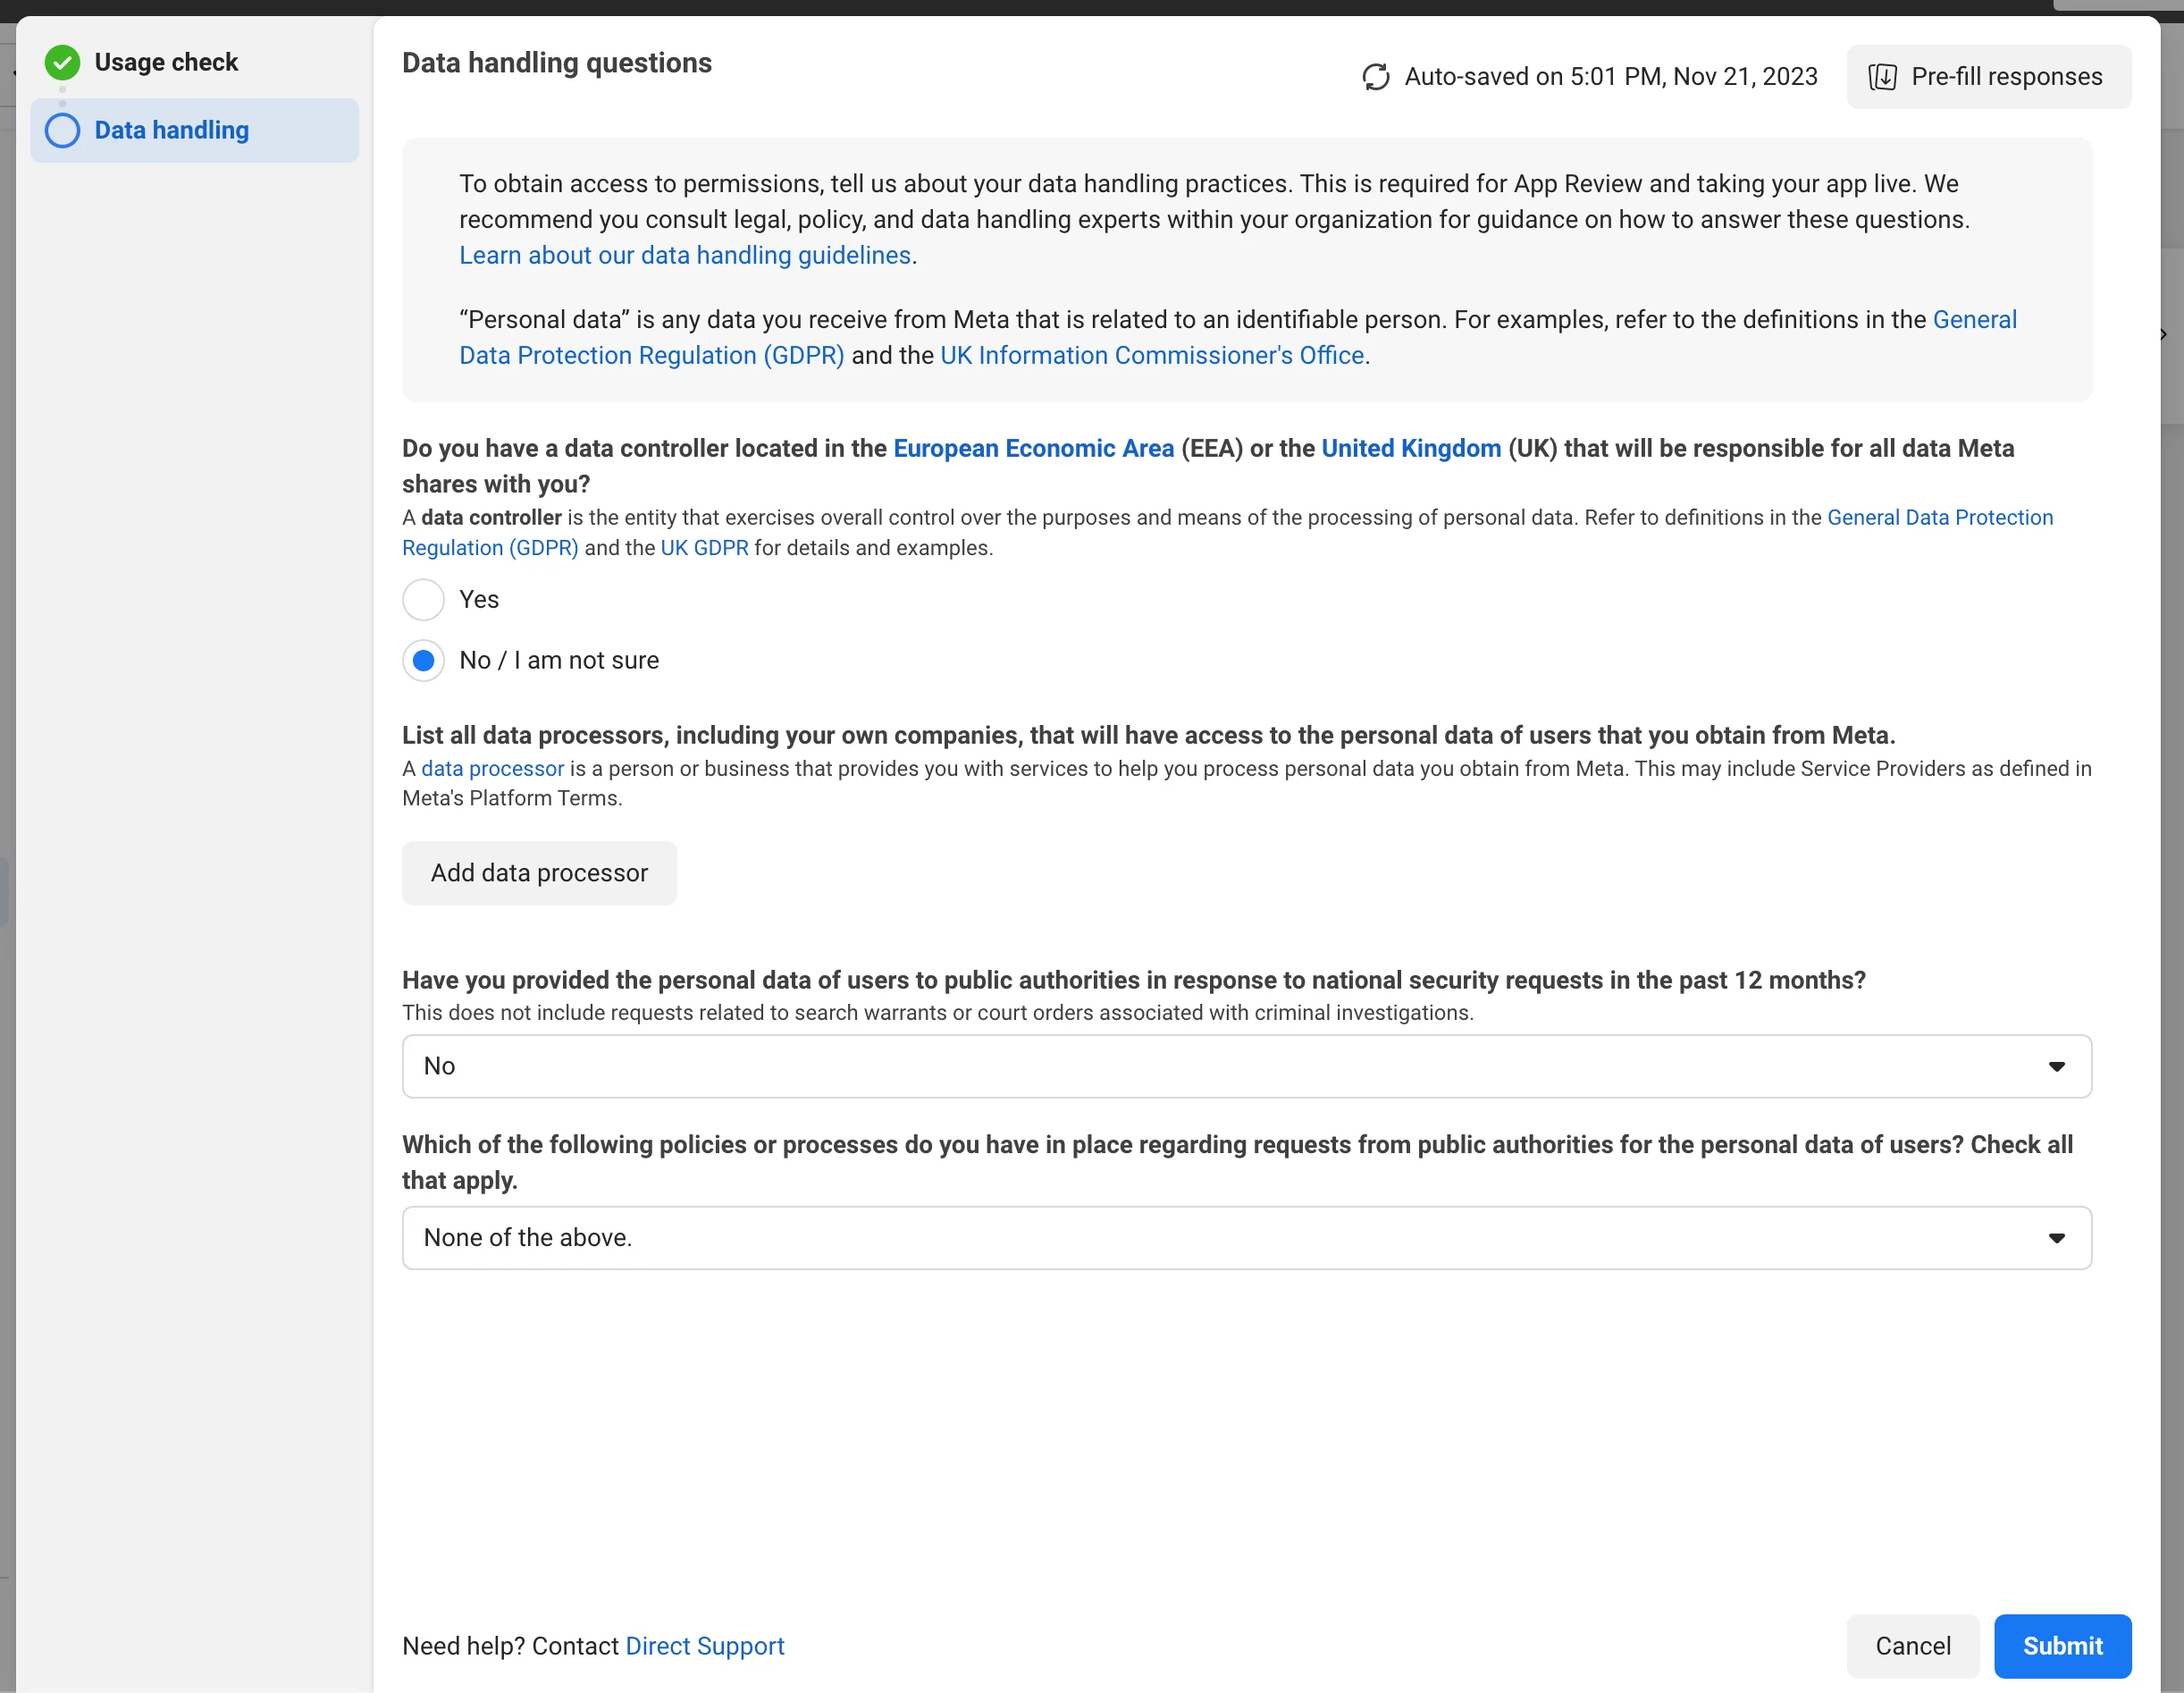
For the question Do you have a data controller based in the European Economic Area (EEA) or the United Kingdom (UK) who will be responsible for any data that Meta shares with you? Select Yes if your website will have users from the European Union or the United Kingdom. You will need to add the name of the individual or business account as the data controller. Or select No/I am not sure.
In the List all data processors section, including your own companies, that will have access to the users’ personal data that you receive from Meta, you need to enter the title of your company/business account. Click Add data processor, and after filling in the name or title of the business account; for the question For what category of services will this data processor process the personal data of users received from Meta? select Other; for the question List all countries where this data processor will process the personal data of users received from Meta. Include locations from which the data processor will access the data remotely via the Internet. select your own country.
For the question Have you provided the personal data of users to public authorities in response to national security requests in the past 12 months? Select No.
For the question Which of the following policies or processes do you have in place regarding requests from public authorities for the personal data of users? Select None of the above.
Click the Submit button.
Pic 16
Go back to the Publish > Go Live section and click the Go live button. Re-enter your password and click Submit.
If you have submitted the form correctly you will be asked to go through the Annual Data Use Checkup under the Required actions section.
Pic 17
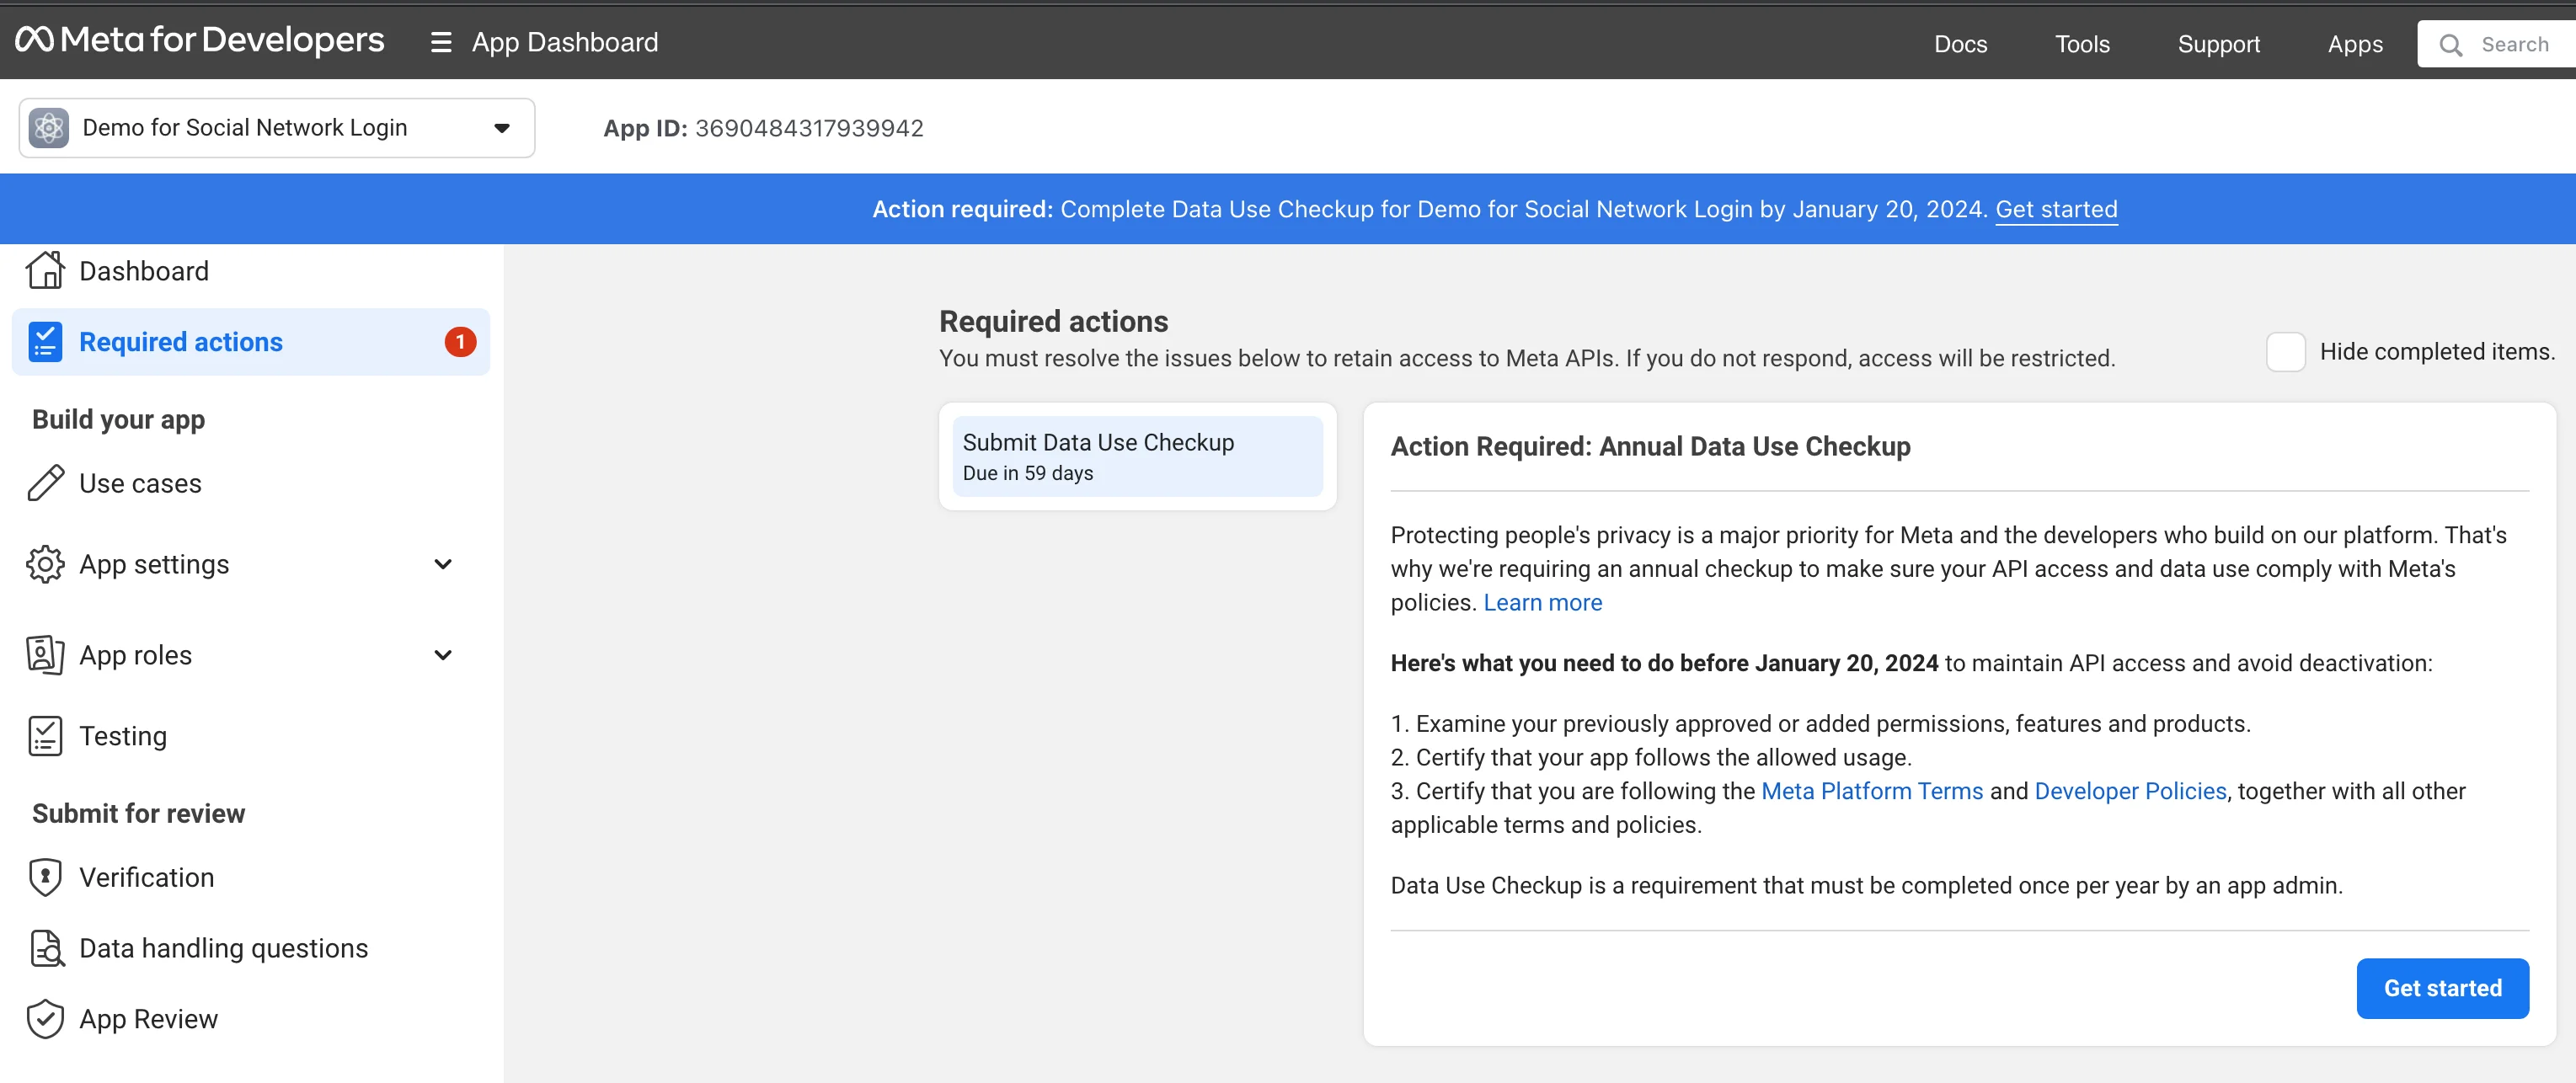
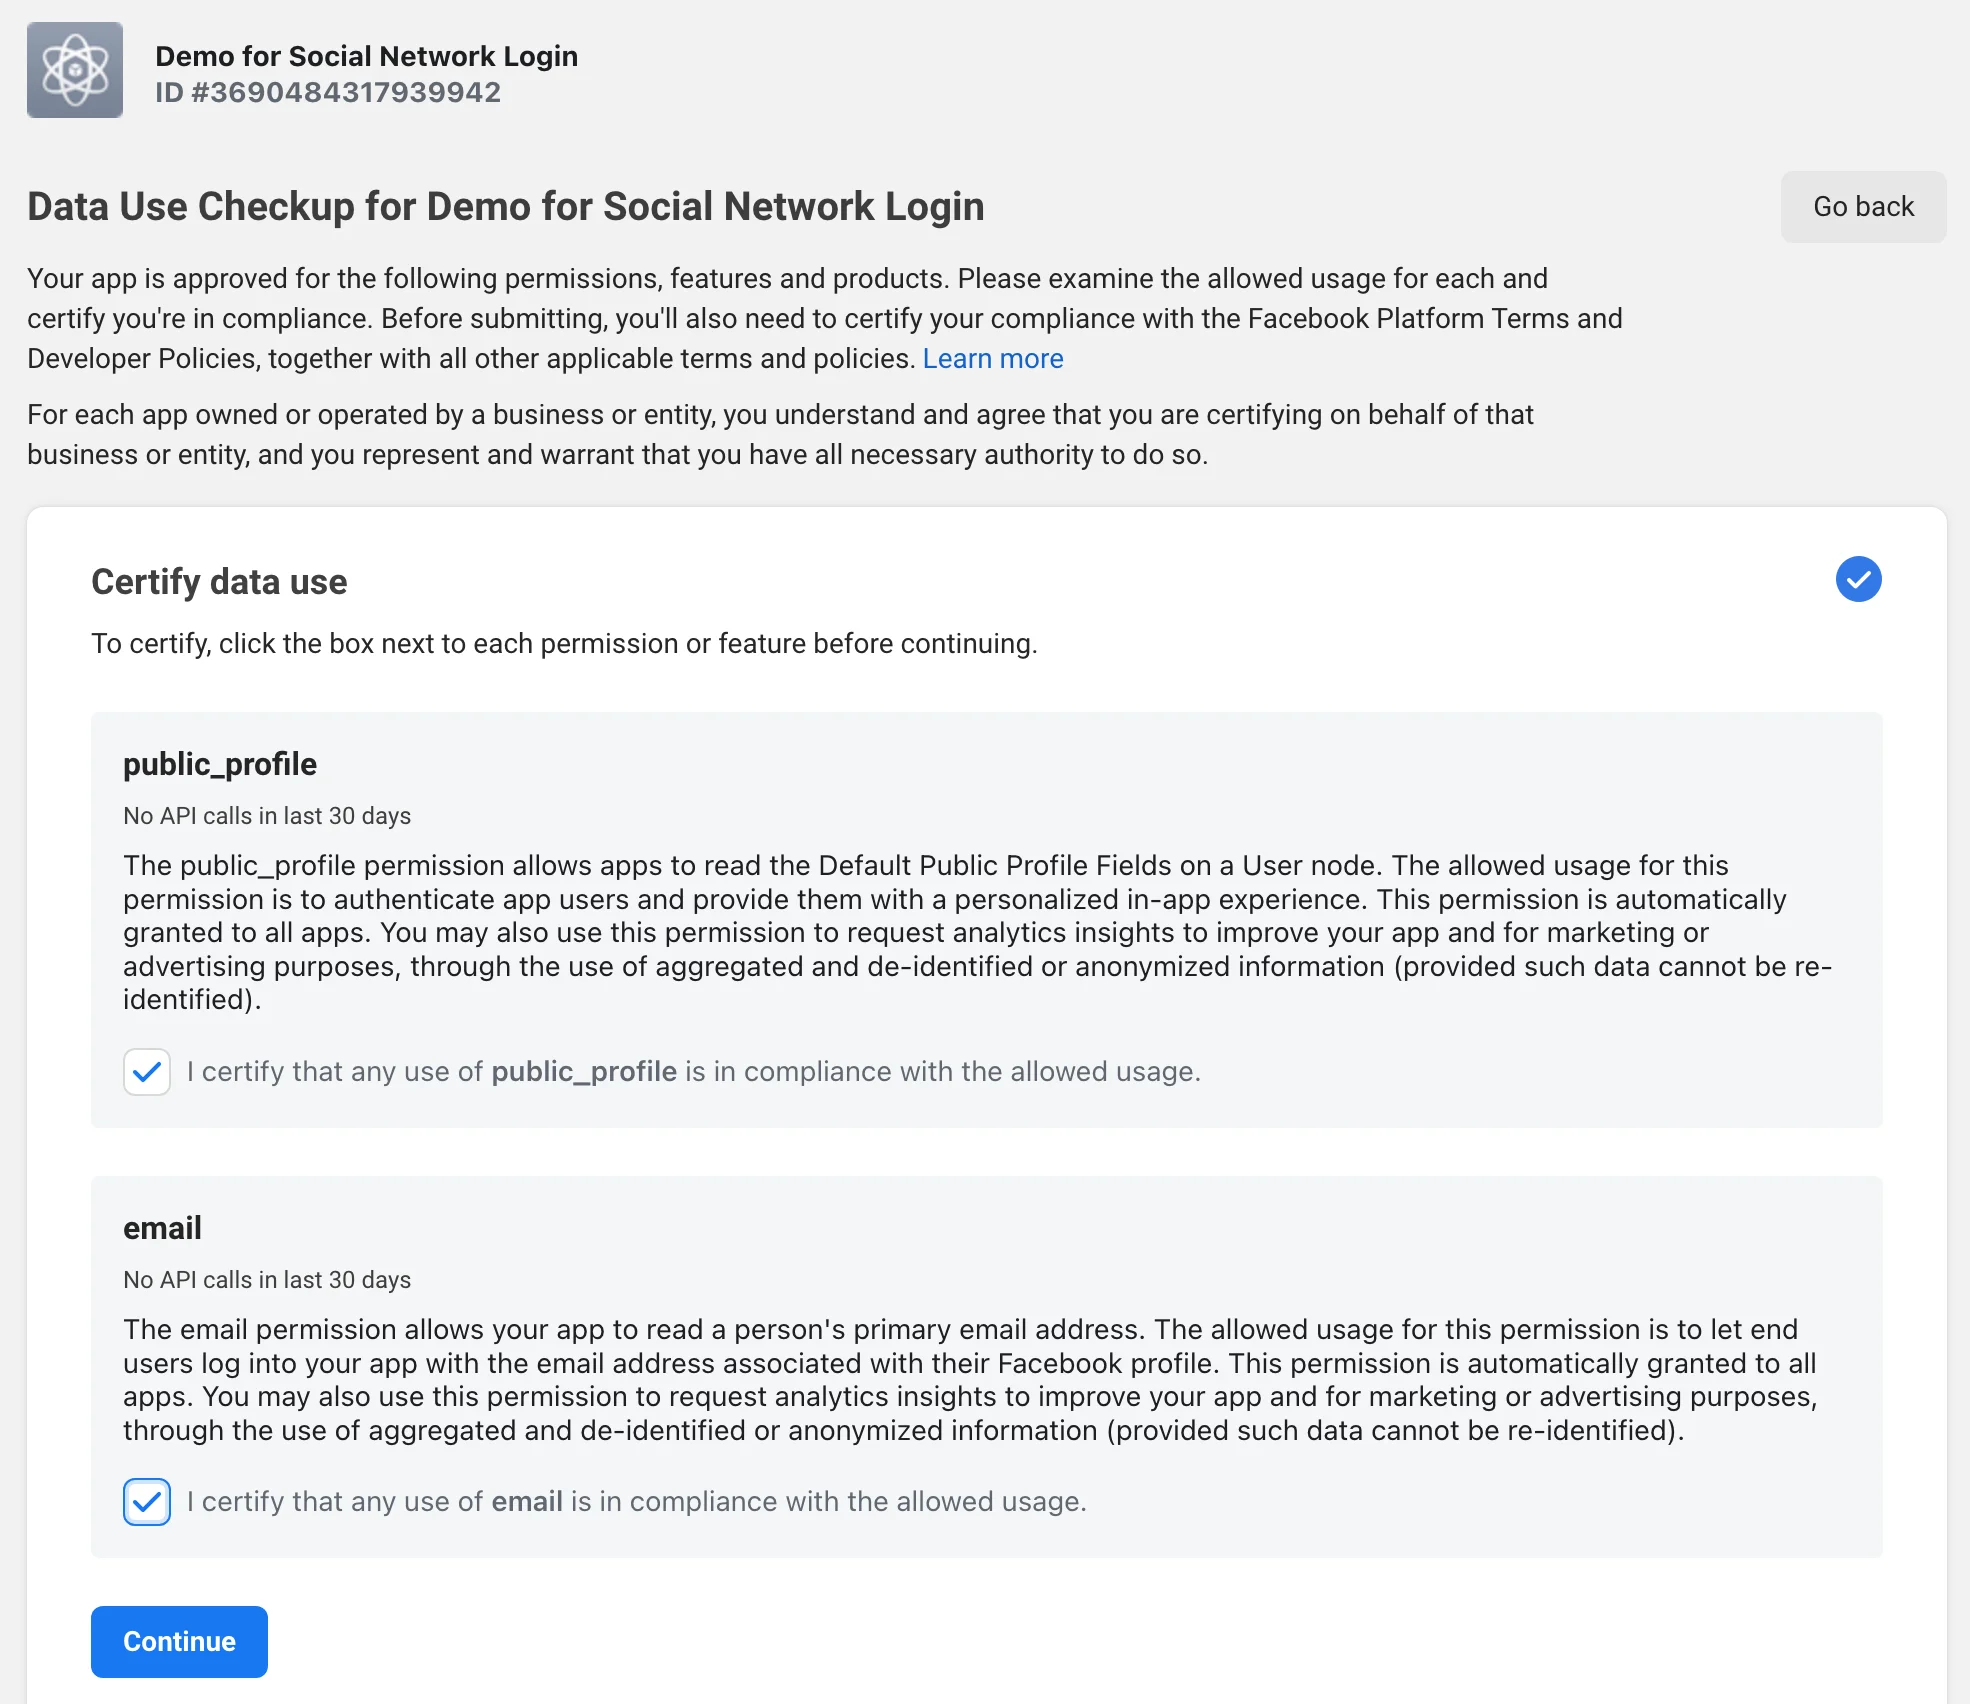
Click Get started. In the Certify data use section, select the checkboxes for all the requested permissions (public_profile, email) and click Continue.
Pic 18
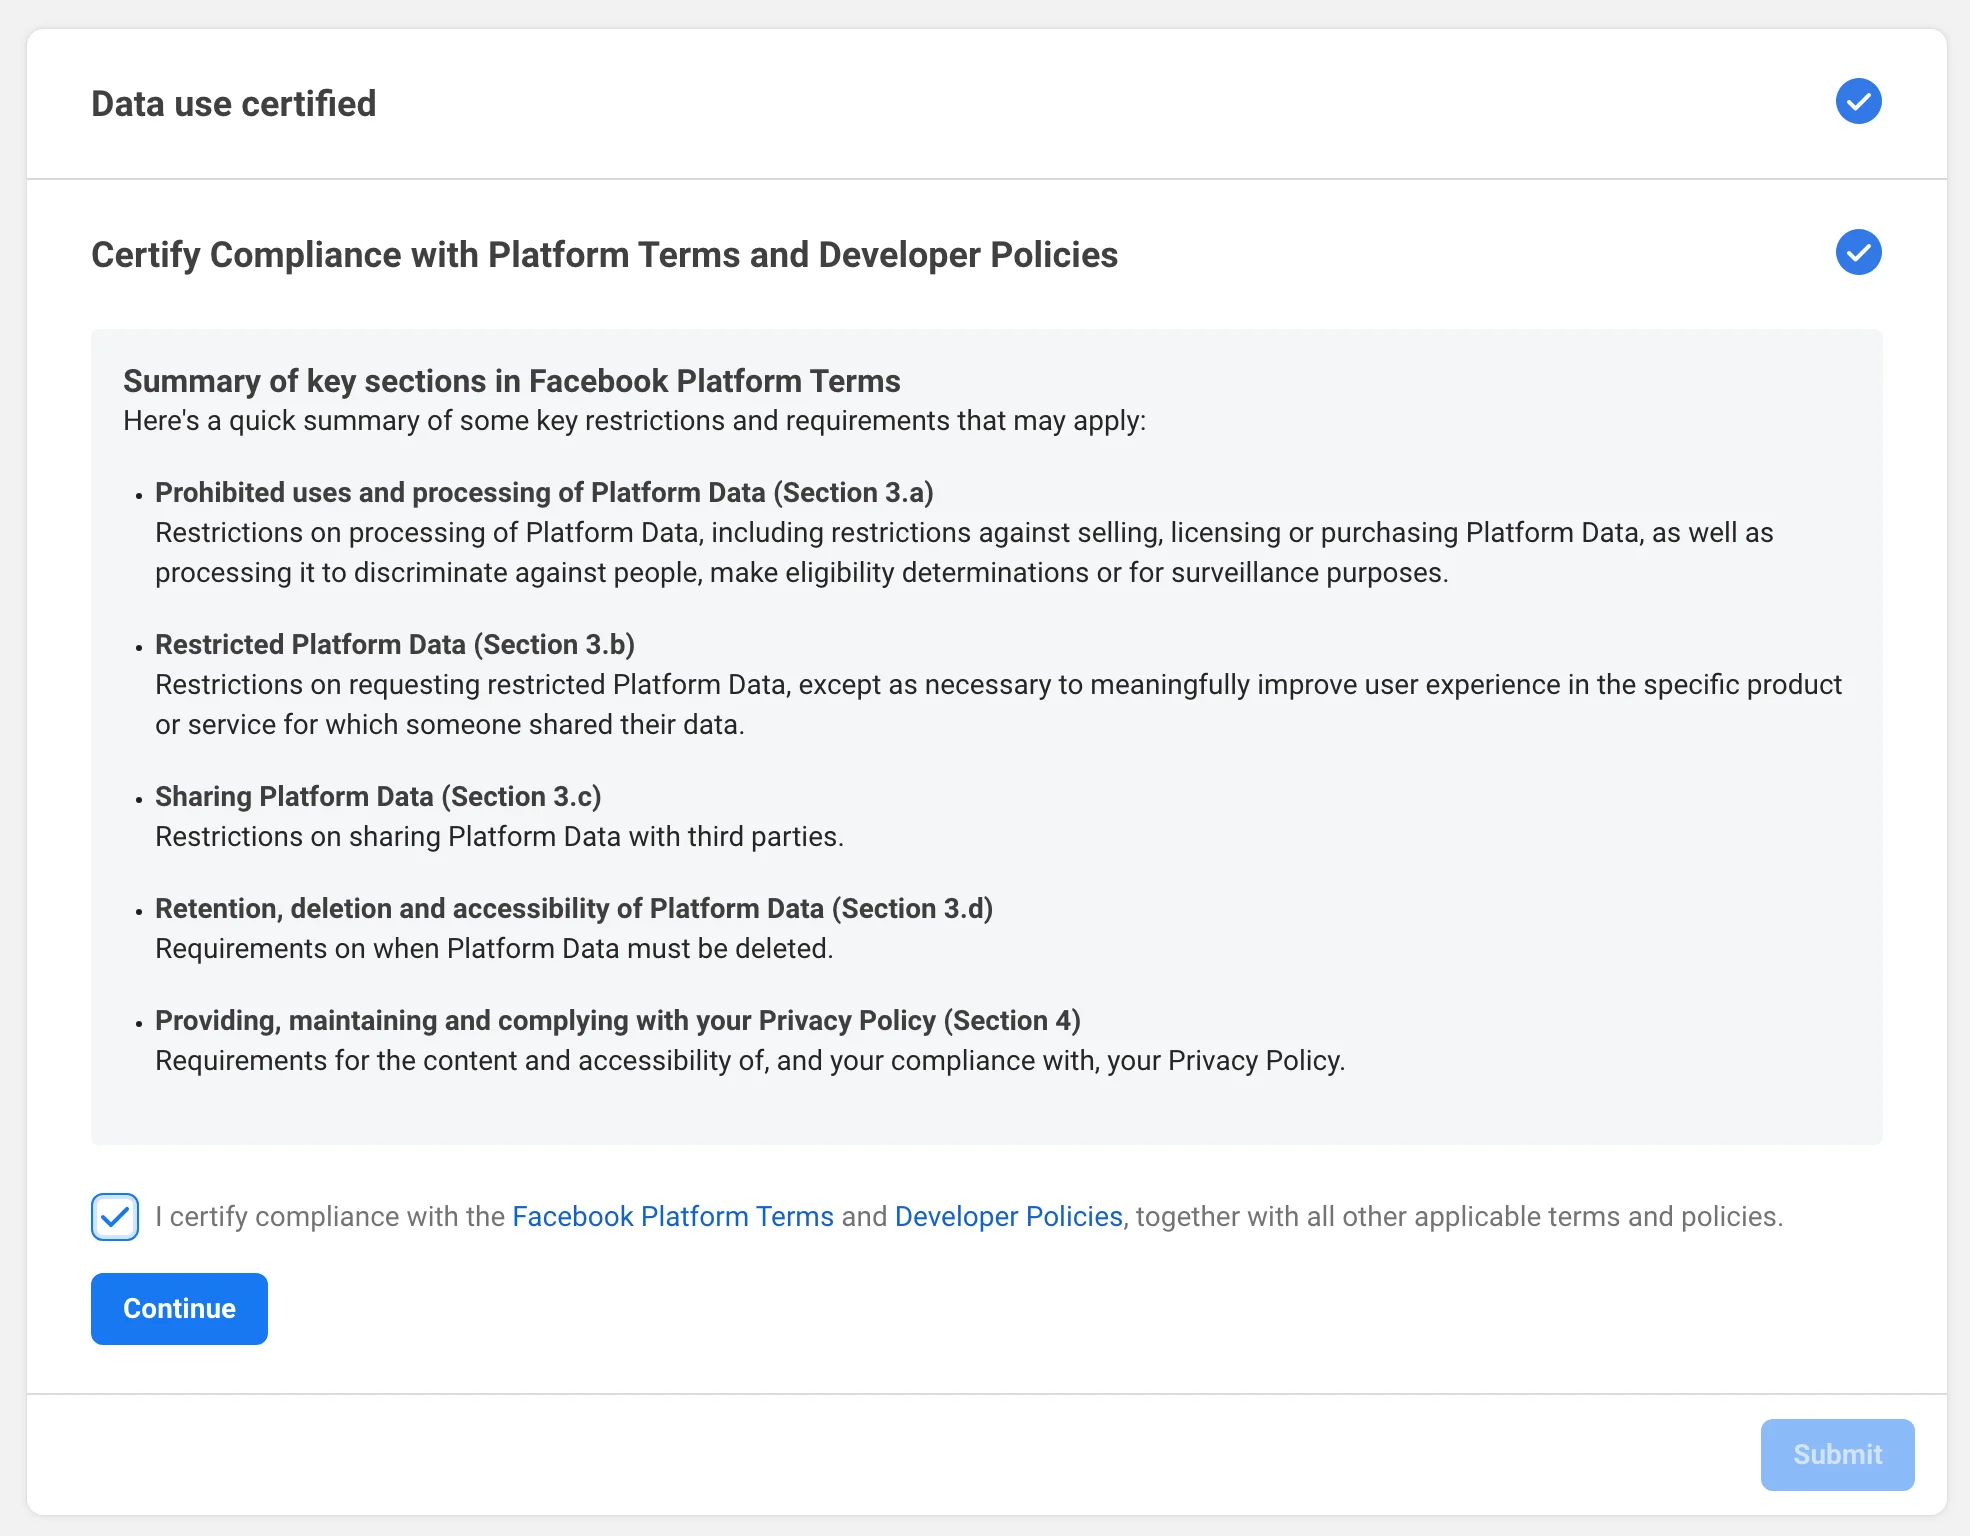
Select the checkbox for I certify compliance with the Facebook Platform Terms and Developer Policies, together with all other applicable terms and policies, and click Continue.
Pic 19
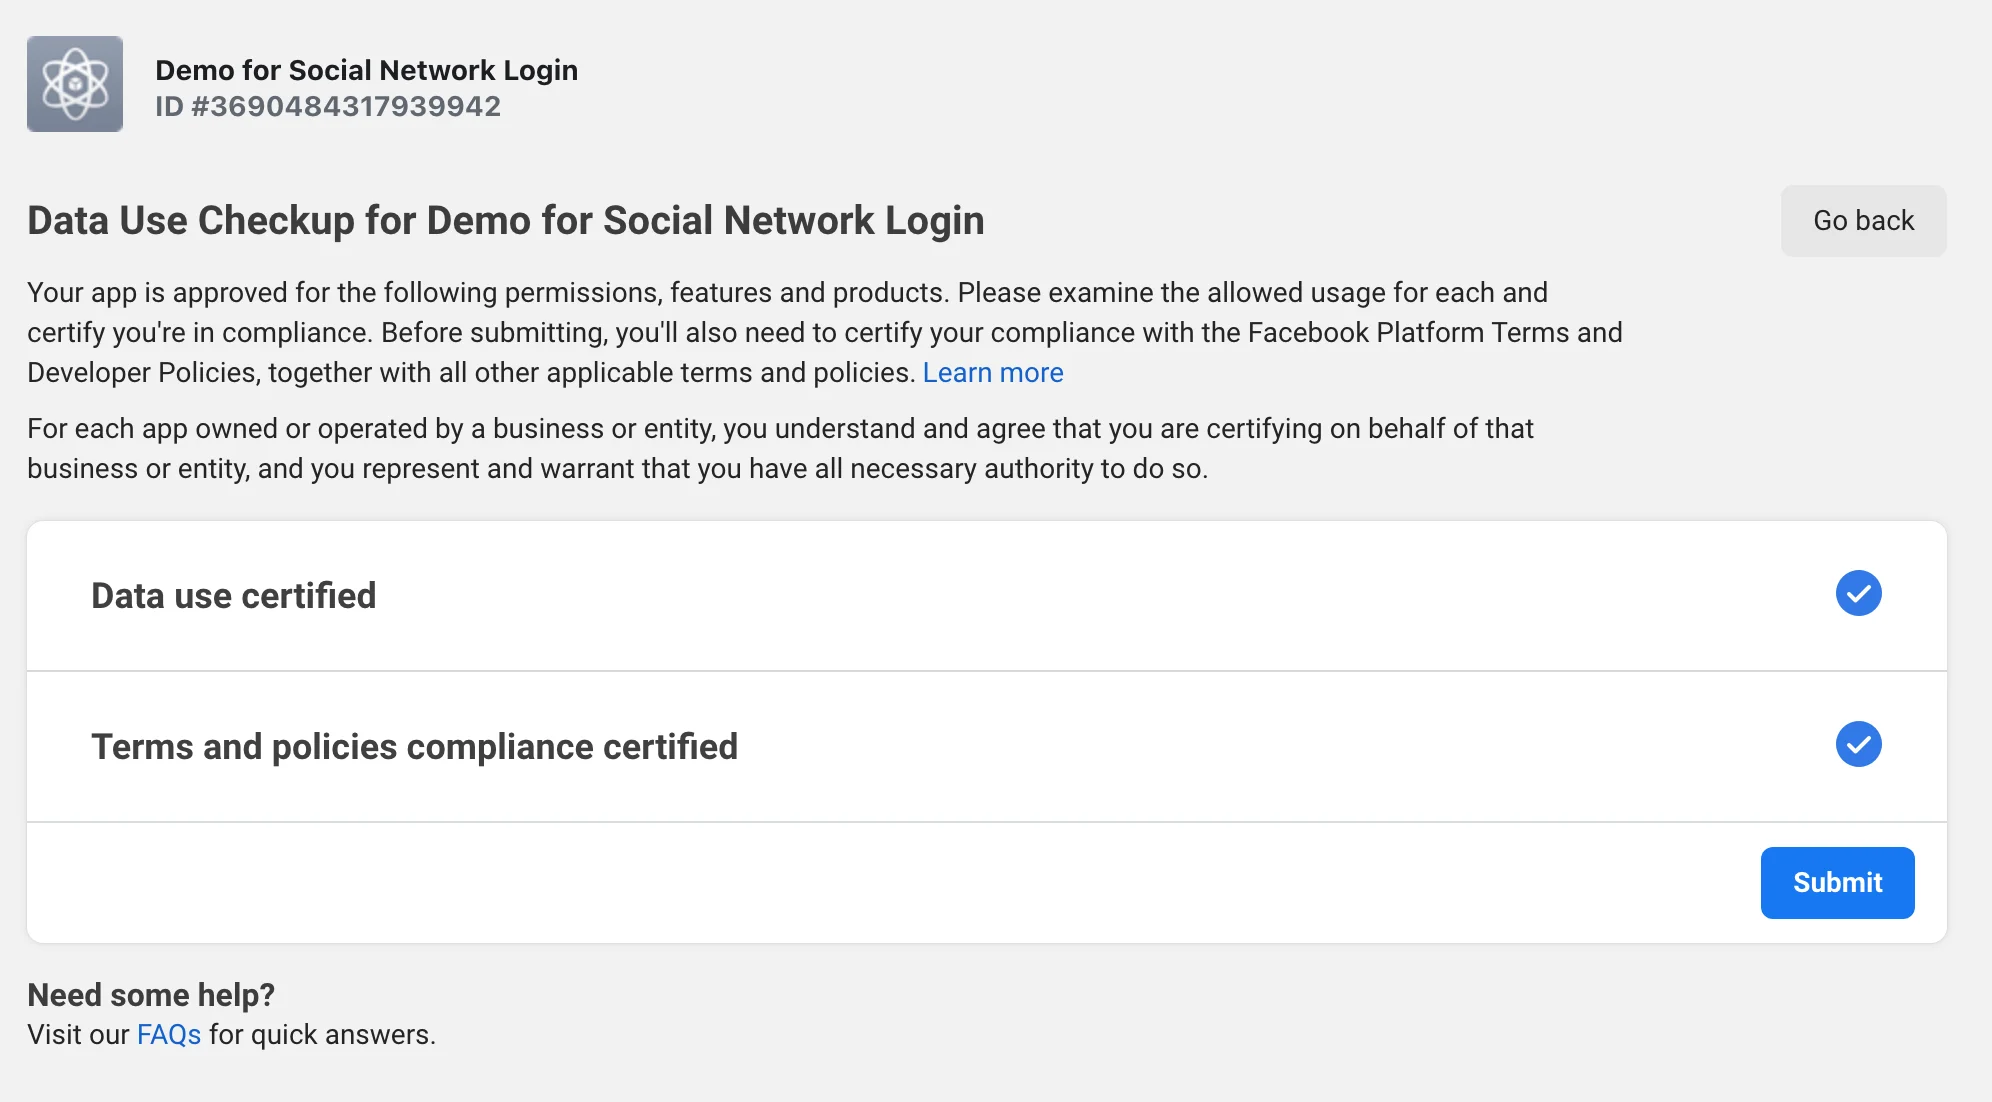
Сlick Submit.
Pic 20
Congratulations! If you don’t have anything else to do in the Required Actions section, your application is ready. The Live mode is enabled and your users can log in to your site using their Facebook accounts.
Adding the ability to log in with Facebook in the Android App #
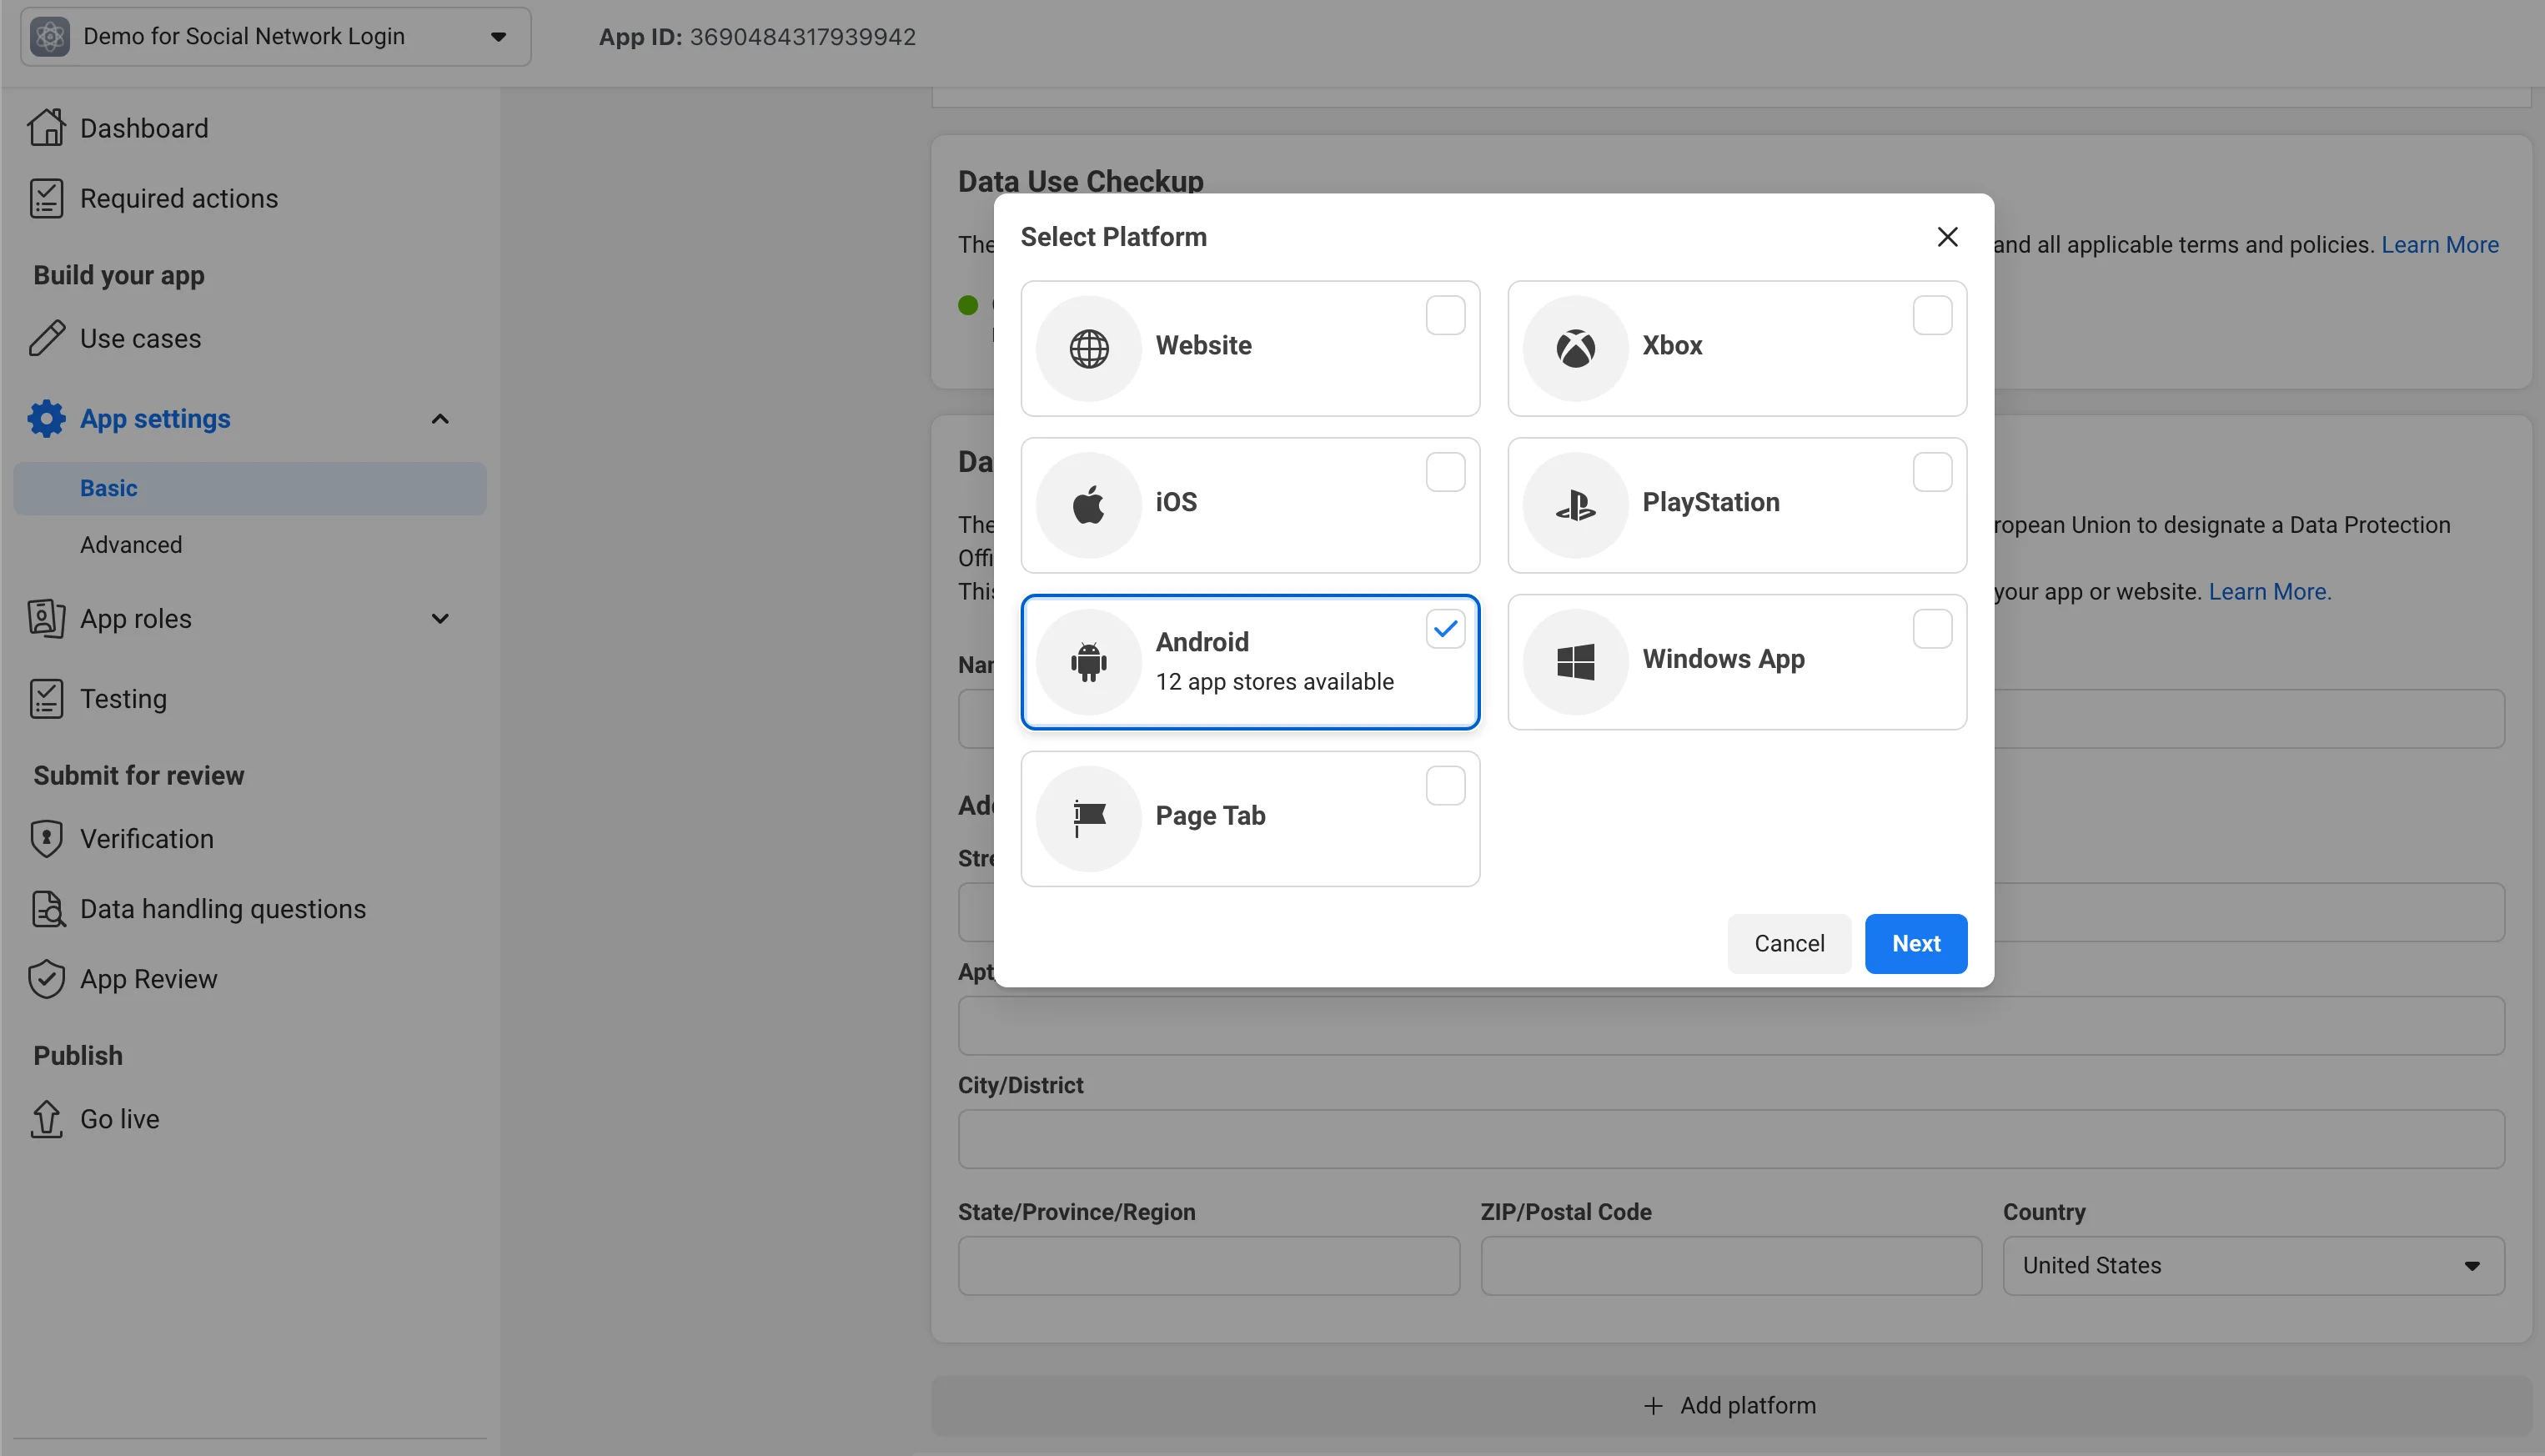
If you run an Android App then you will need to go back to the Facebook site > App Settings > Basic > Scroll down to the Add Platform button and click it. Select the Android from the pop-up and click Next.
Pic 21
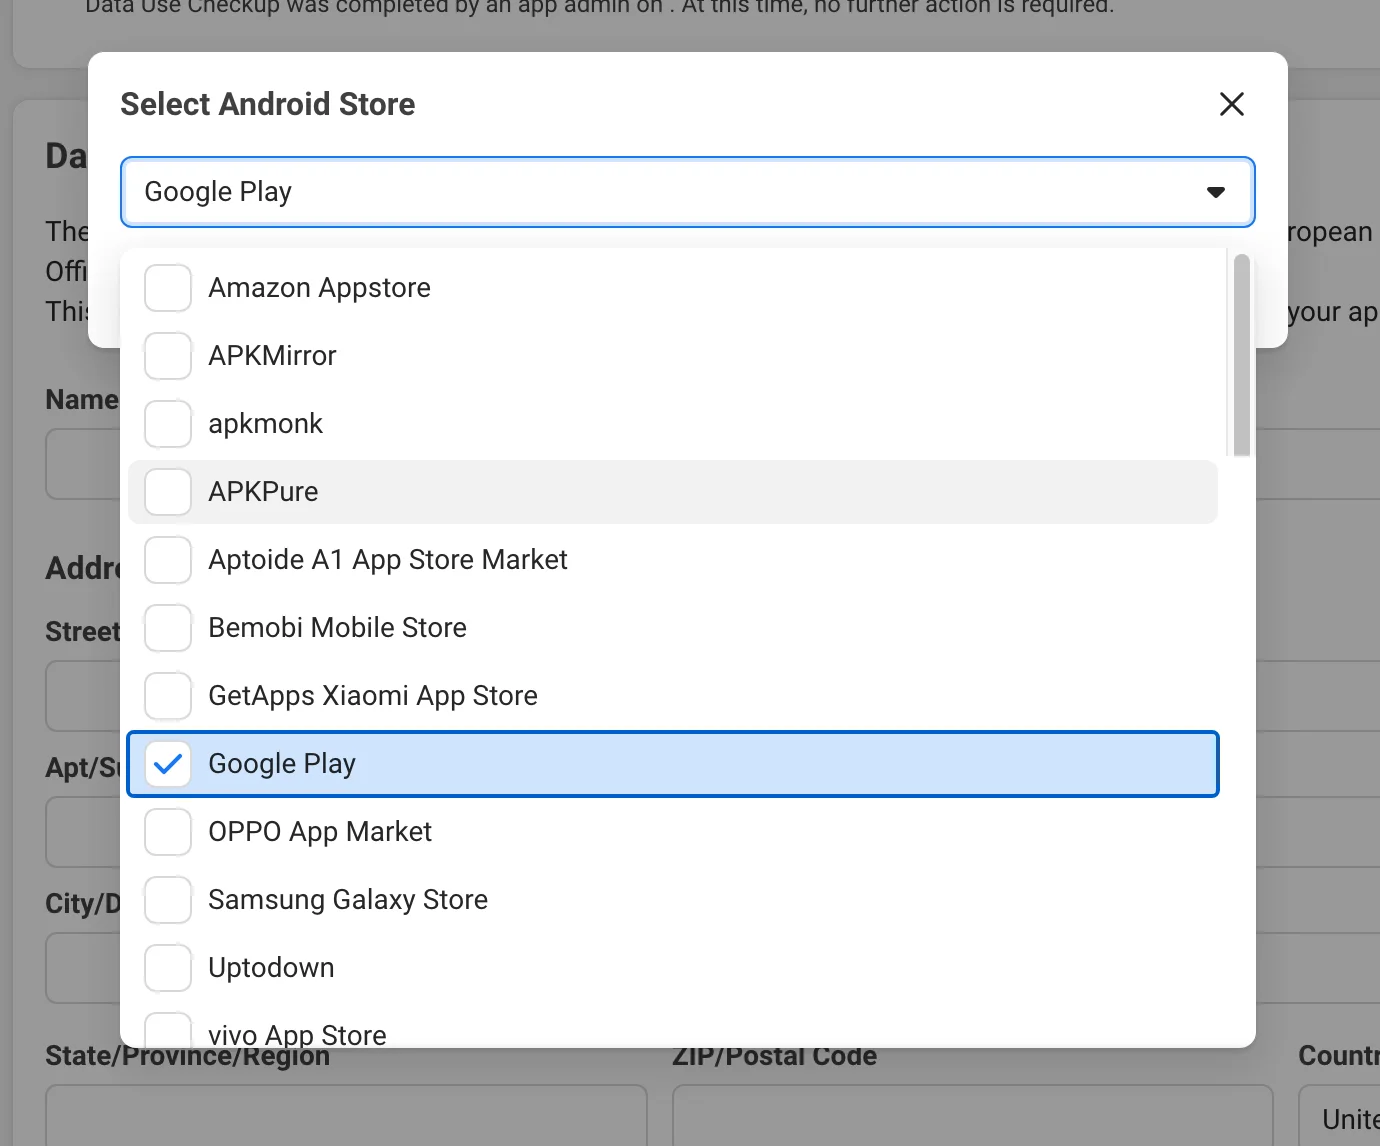
Then select Google Play from the dropdown and click Next.
Pic 22
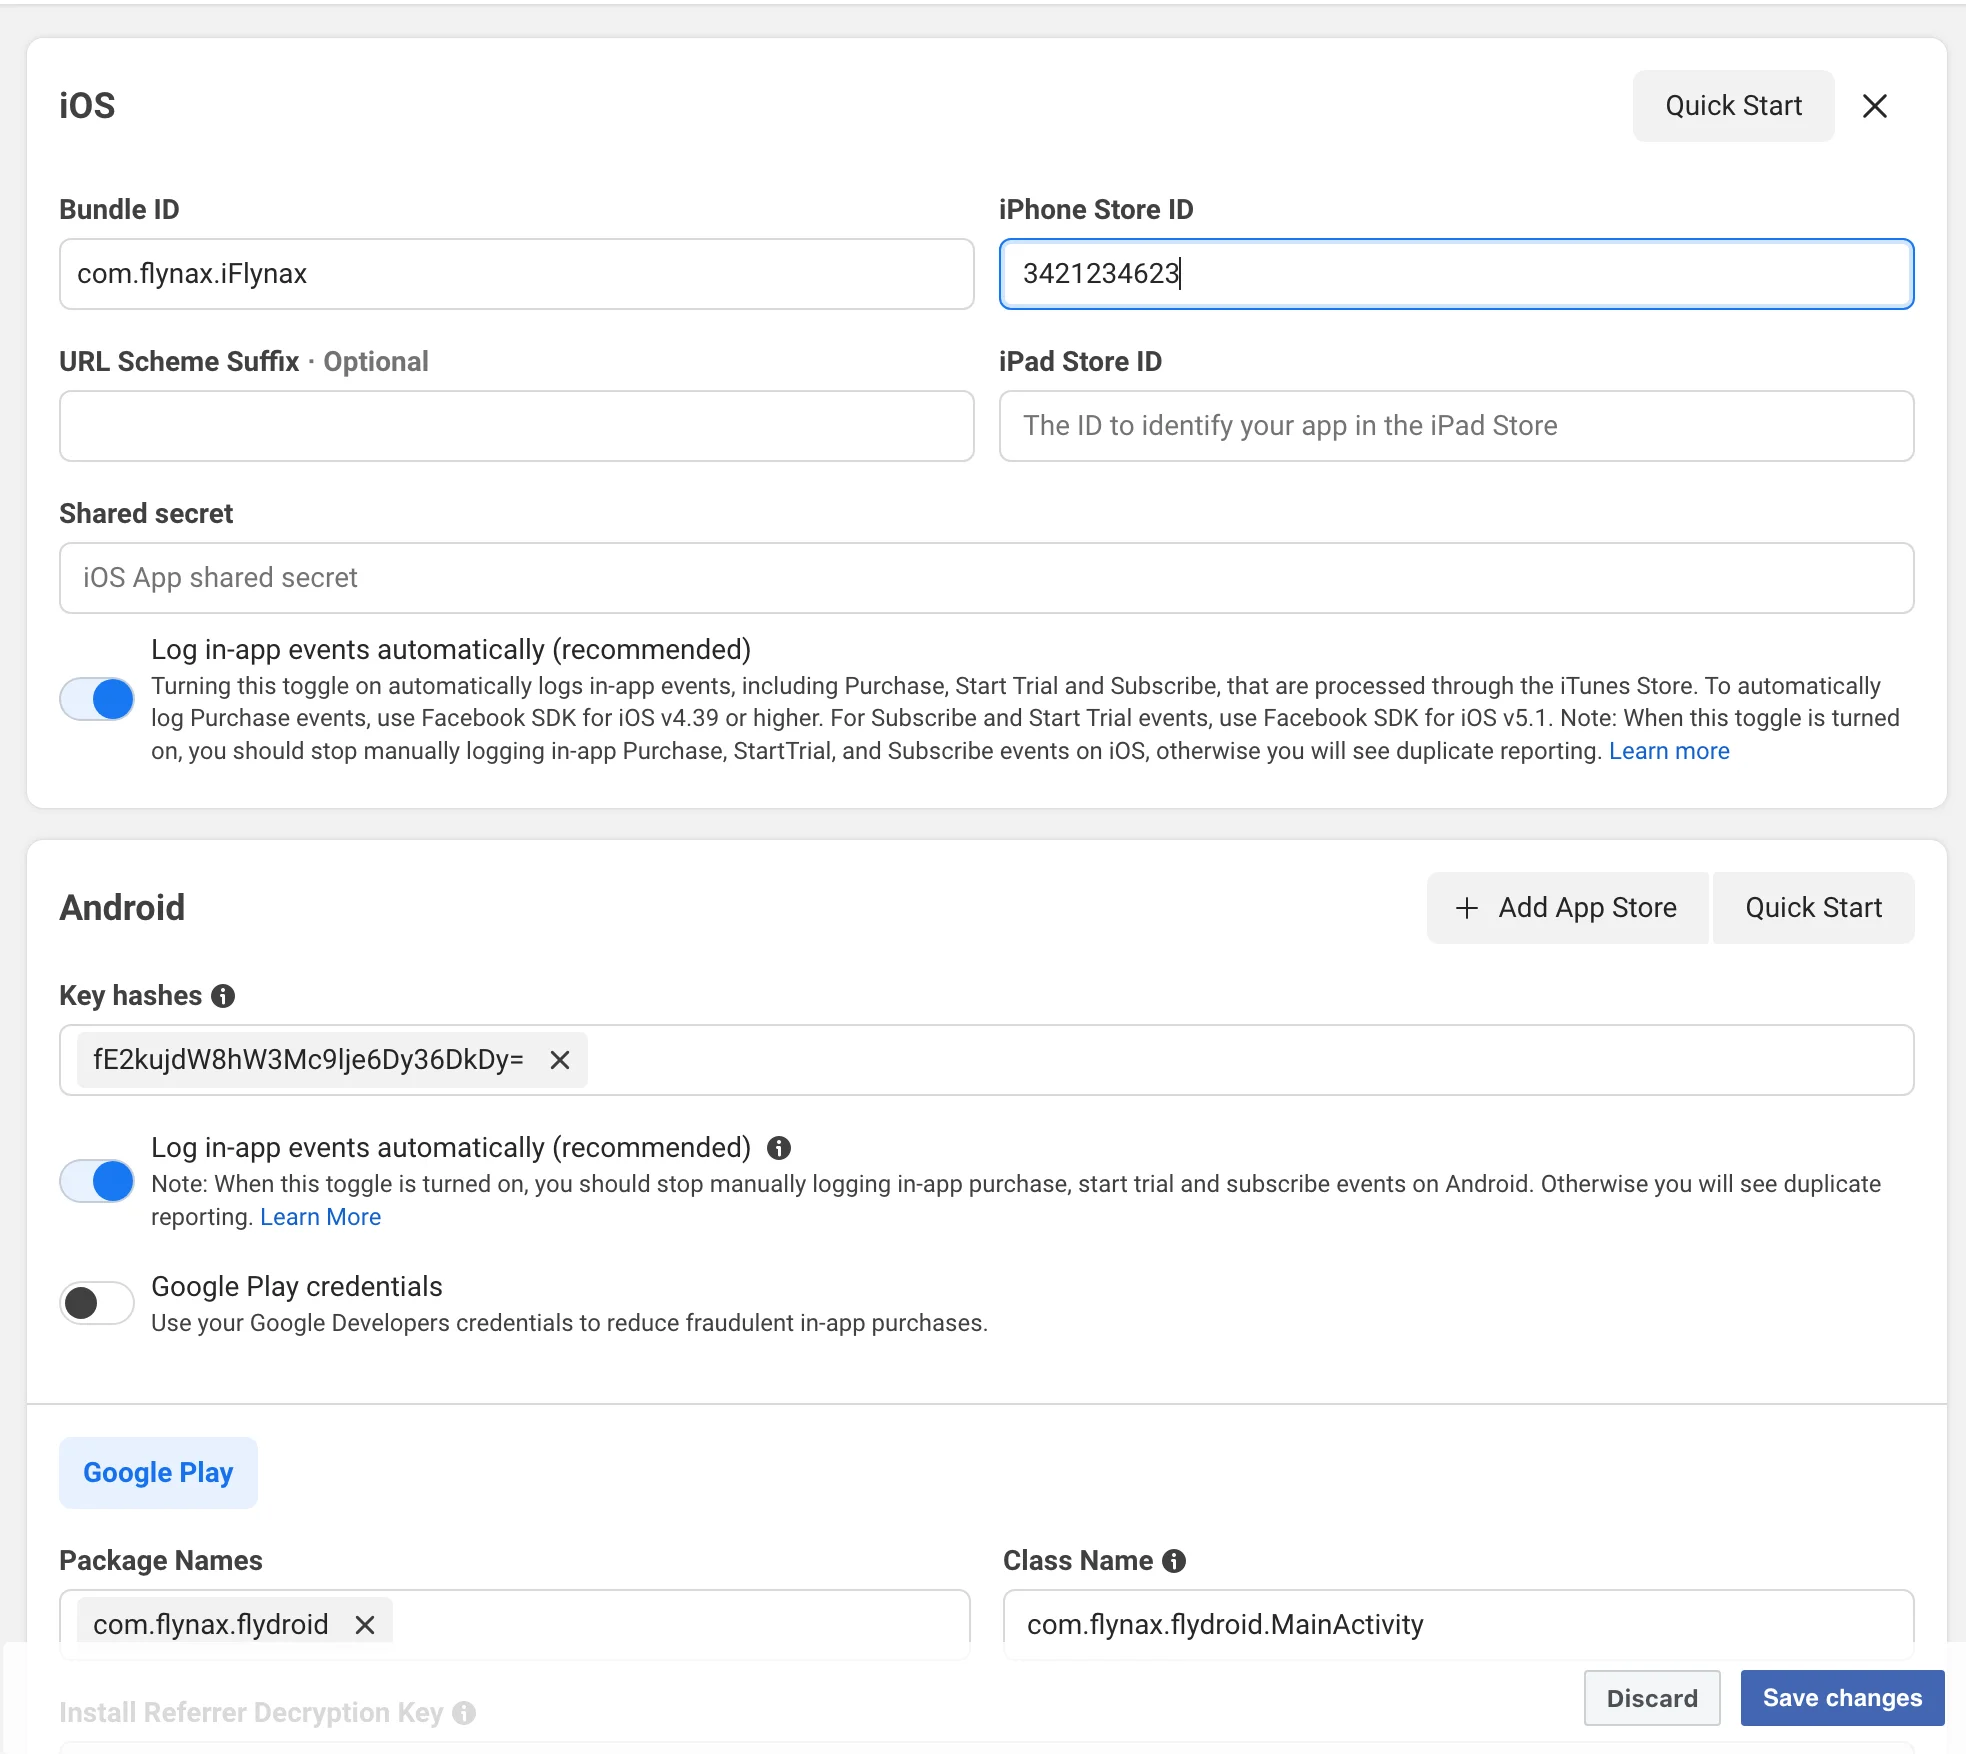
Scroll down to the Android section and enter the details in the Key hashes, Package Names, and Class Name (Main Activity) that you got in the request in the following way.
Pic 23

Click Save changes. Done!
Adding the ability to log in with Facebook in the iOS App #
If you run an iOS App then scroll down to the bottom of the page (App Settings > Basic), and click Add Platform. Select iOS from the pop-up and click Next. You will see an iOS section on the page (above the Android section). Fill in the following fields, the details for which we sent you in the request – Bundle ID, iPhone Store ID, iPad Store ID.
Pic 24
Click Save changes. Done!