To complete the Request Contracts Form for Paid Applications, please follow these step-by-step instructions:
- First, go to iTunes Connect and sign in with your Apple ID account;
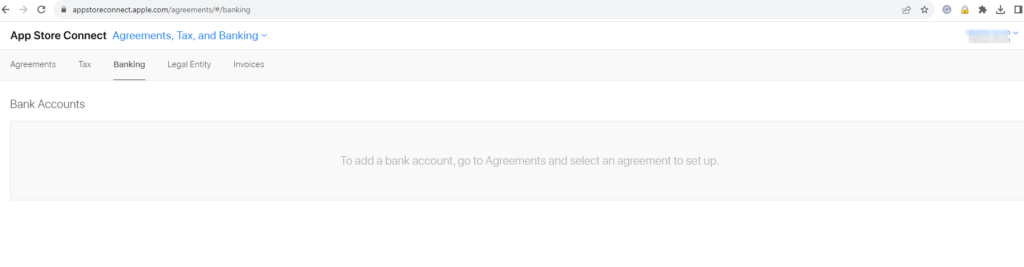
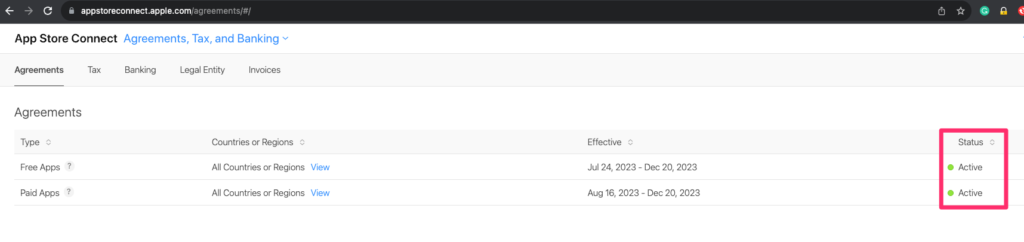
- Click Agreements, Tax, and Banking;
- Click the Request button for Contract Type Paid Applications;
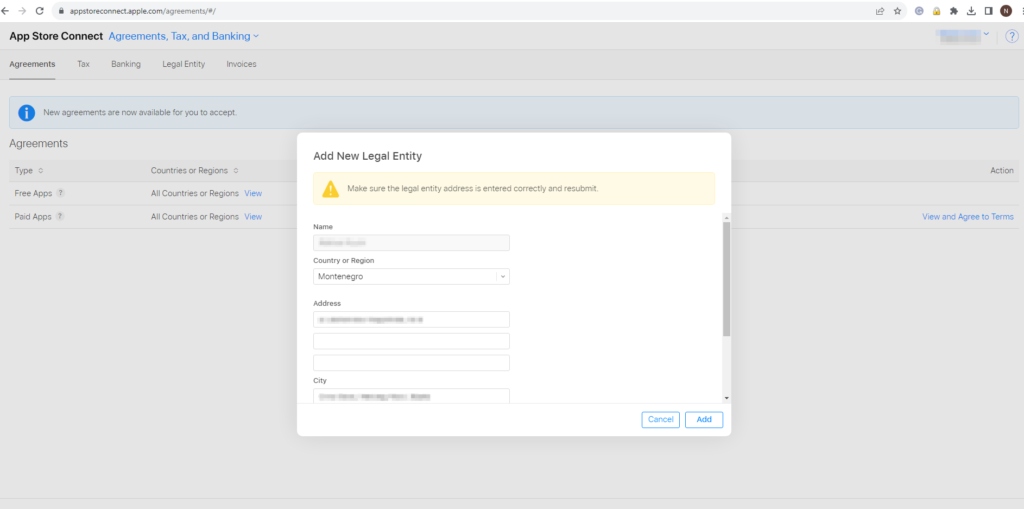
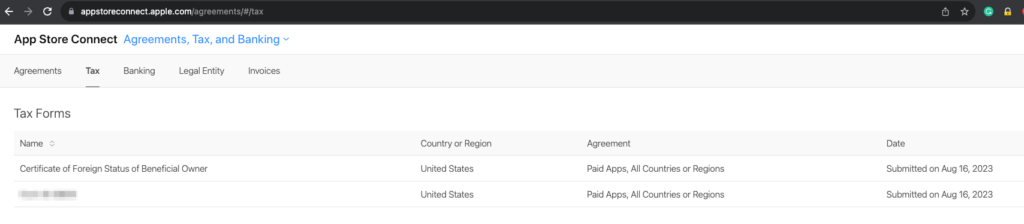
- Set up Contact Info, Bank Info, and Tax Info for the Paid Applications contract.
![](https://blog.flynax.com/wp-content/uploads/2023/10/Screenshot_1-1024x268.png)
![](https://blog.flynax.com/wp-content/uploads/2023/10/Screenshot_2-1024x509.png)
![](https://blog.flynax.com/wp-content/uploads/2023/10/Screenshot_3-1024x224.png)
![](https://blog.flynax.com/wp-content/uploads/2023/10/Screenshot_4-1024x267.png)
![](https://blog.flynax.com/wp-content/uploads/2023/10/Screenshot_5-1024x182.png)
![](https://blog.flynax.com/wp-content/uploads/2023/10/Screenshot_6-1024x203.png)
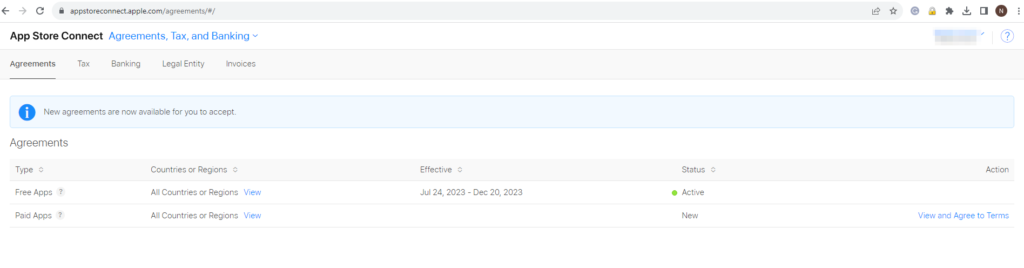
Ensure that both the Free apps and Paid apps options are green and active.
![](https://blog.flynax.com/wp-content/uploads/2023/10/Screenshot_7-1024x242.png)
Upload a new build for the App with new packages during the Add Listing stage
![](https://blog.flynax.com/wp-content/uploads/2023/10/Screenshot_8а-1024x400.png)
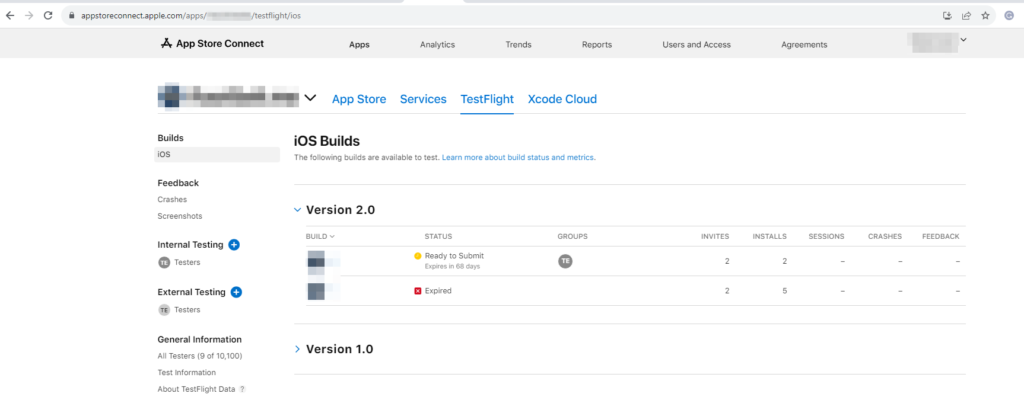
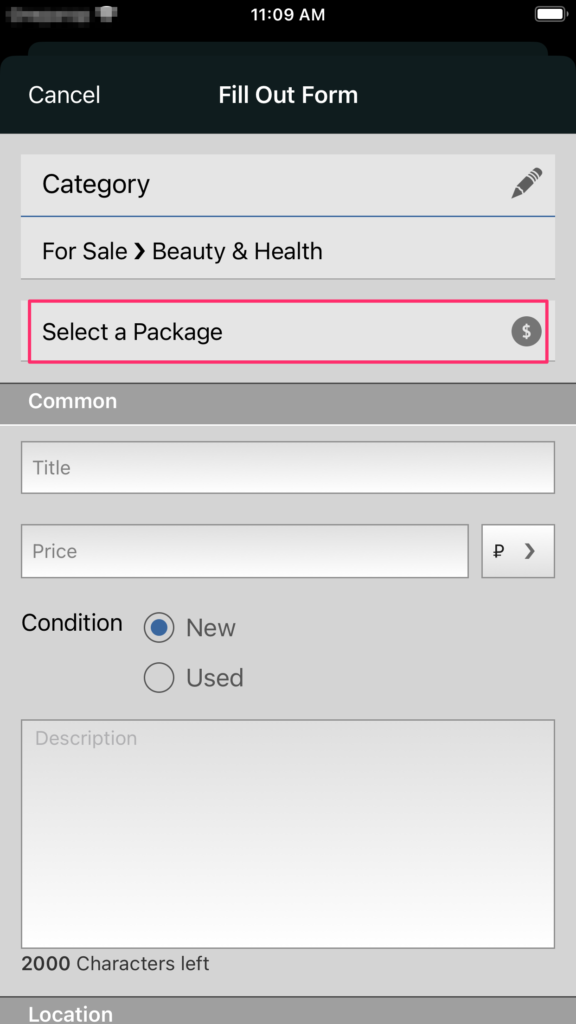
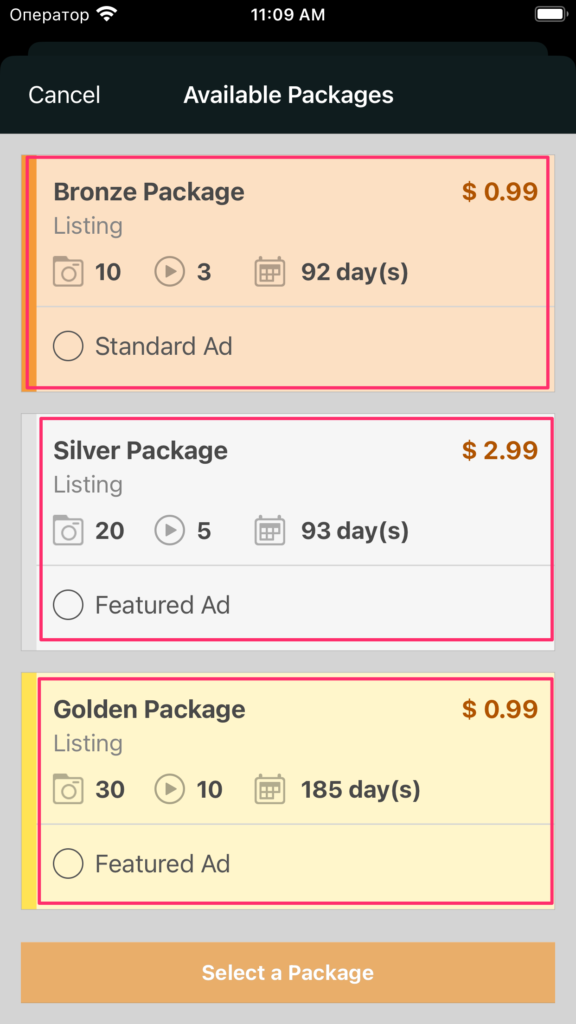
When testing the app using the TestFlight service, take screenshots of the packages the app offers.
![](https://blog.flynax.com/wp-content/uploads/2023/10/Screenshot_9-576x1024.png)
![](https://blog.flynax.com/wp-content/uploads/2023/10/Screenshot_10-576x1024.png)
![](https://blog.flynax.com/wp-content/uploads/2023/10/Screenshot_11-576x1024.png)
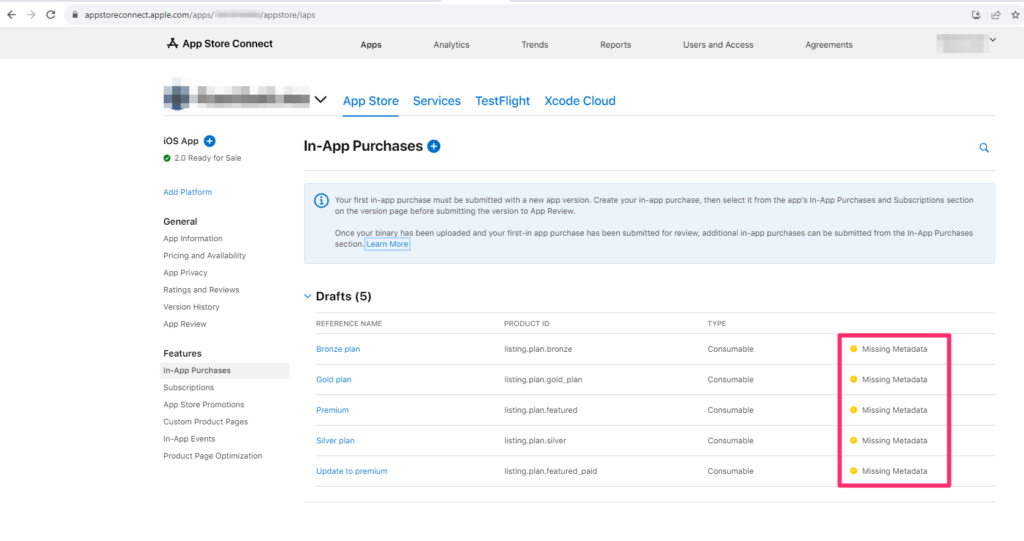
Once you have the screenshots of the packages ready, proceed to create In-App Purchase products in your Apple account:
- Go to the main page of AppStoreConnect.
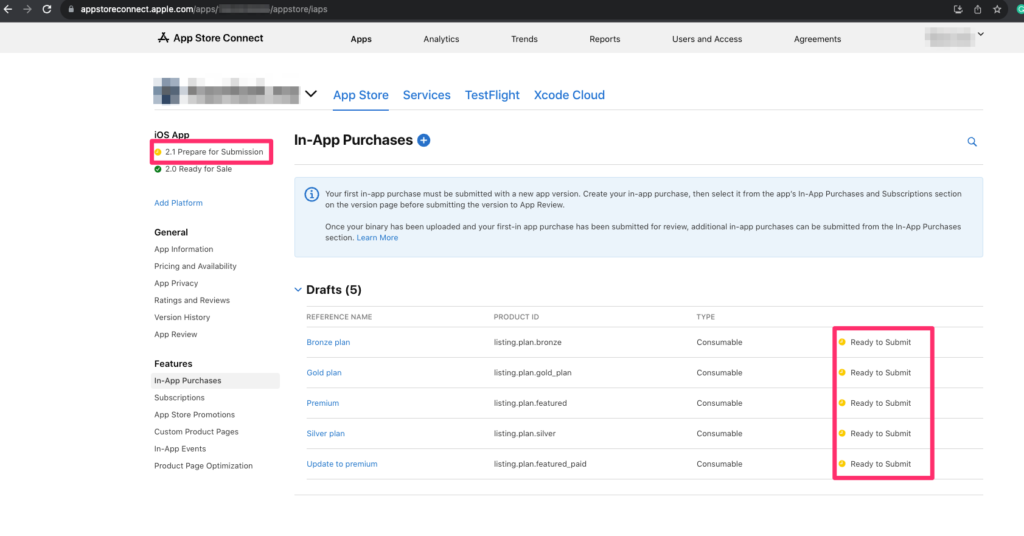
- Click My Apps and select your App. Then, click the In-App Purchase tab in the menu.
- Click the (+) button to add In-App Purchases.
- Select the Type as Consumable.
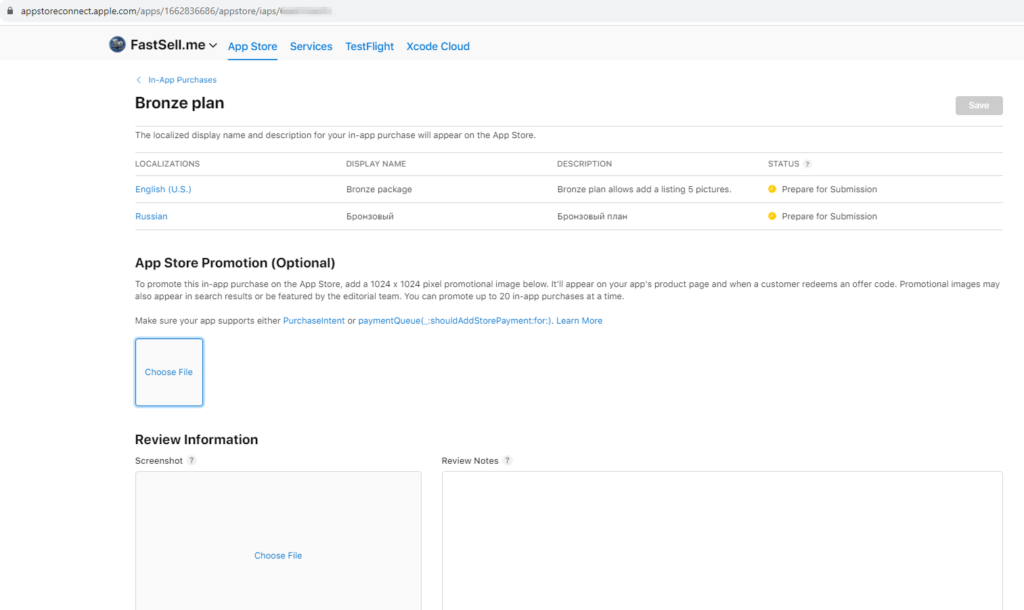
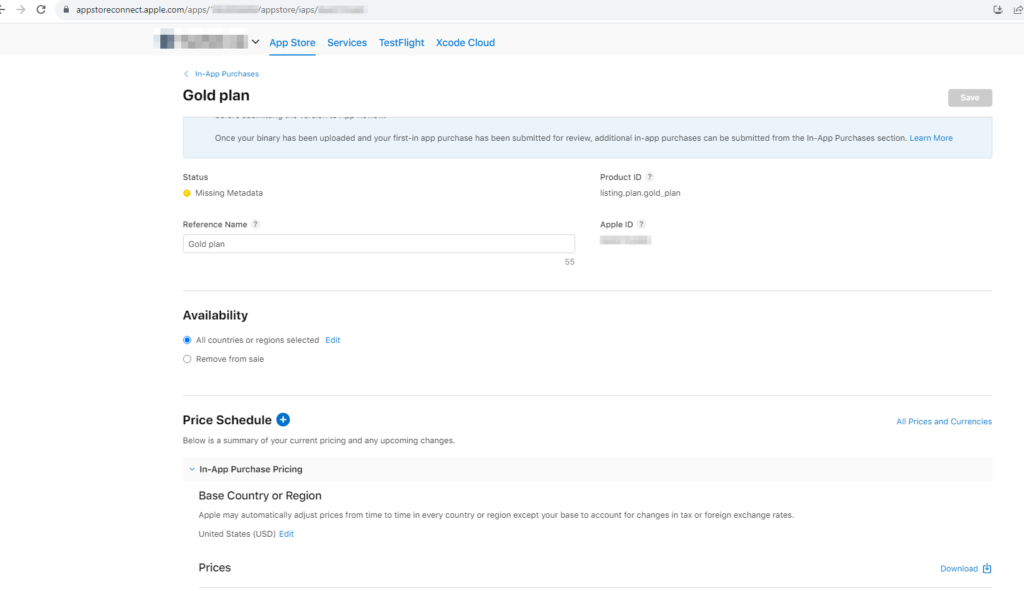
- Enter a reference name and a product ID for this In-App Purchase.
NOTE: The Product ID must have the following format: listing.plan.gold
Where listing.plan. is a required prefix, and gold is your listing plan key. If listing.plan. is the prefix, your product ID should be in the format: listing.plan.gold_plan.
![](https://blog.flynax.com/wp-content/uploads/2023/10/Screenshot_12р-1024x541.png)
![](https://blog.flynax.com/wp-content/uploads/2023/10/Screenshot_13-1024x610.png)
![](https://blog.flynax.com/wp-content/uploads/2023/10/Screenshot_14-1024x454.png)
![](https://blog.flynax.com/wp-content/uploads/2023/10/Screenshot_15-1024x591.png)
![](https://blog.flynax.com/wp-content/uploads/2023/10/Screenshot_16-1024x507.png)
![](https://blog.flynax.com/wp-content/uploads/2023/10/Screenshot_17-1024x474.png)
![](https://blog.flynax.com/wp-content/uploads/2023/10/Screenshot_19-1024x536.png)
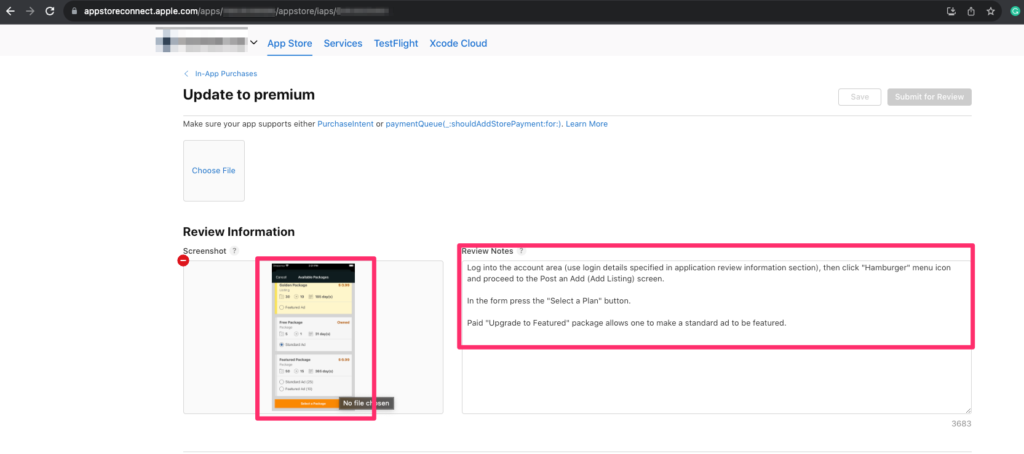
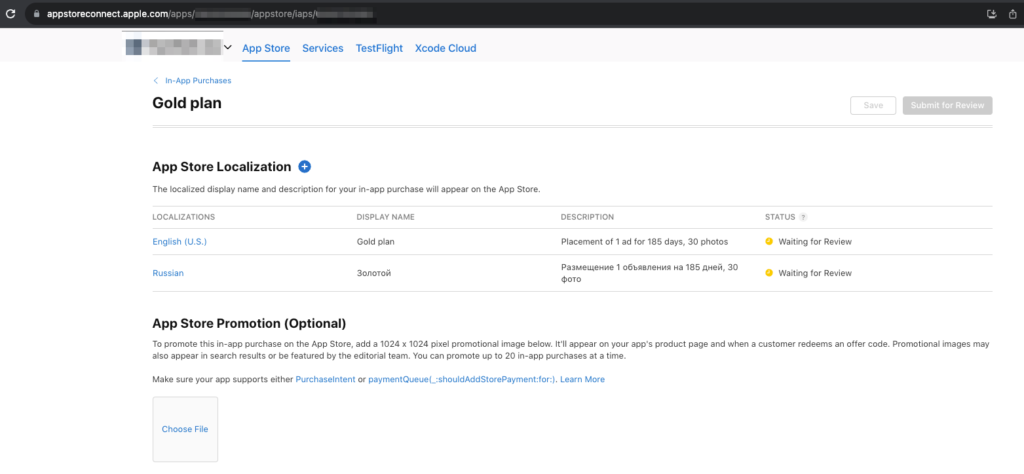
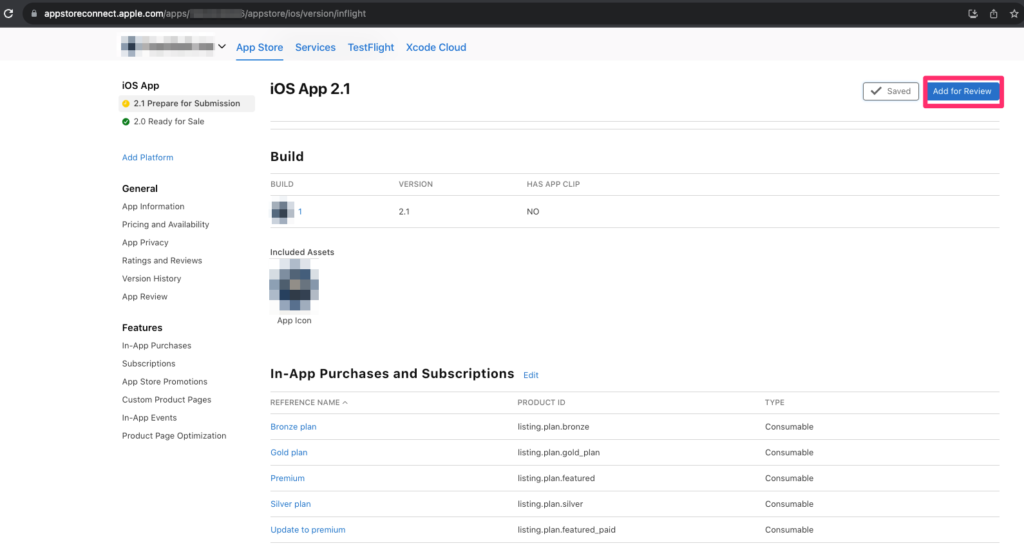
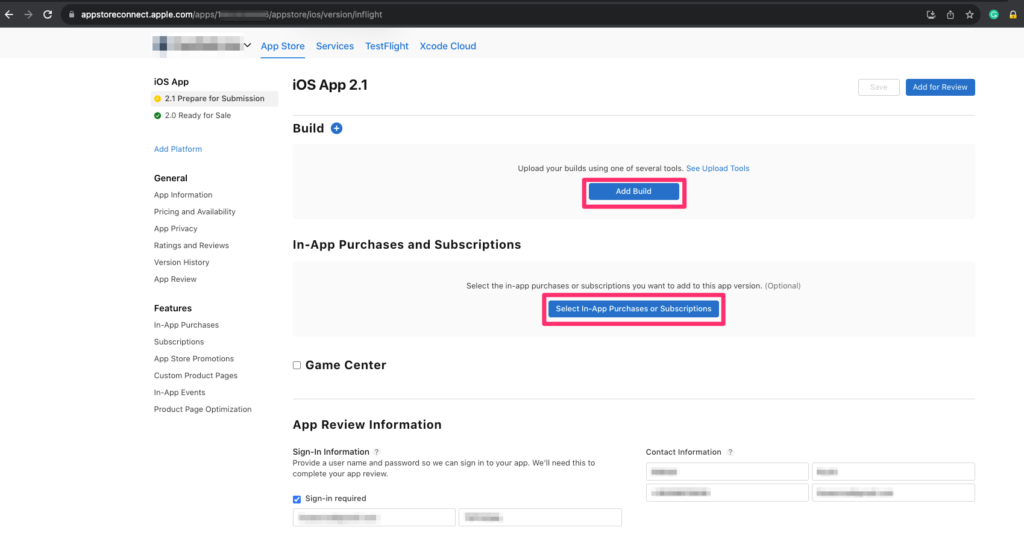
After you have added the In-App Purchases, you need to submit a new app build with the packages for review.
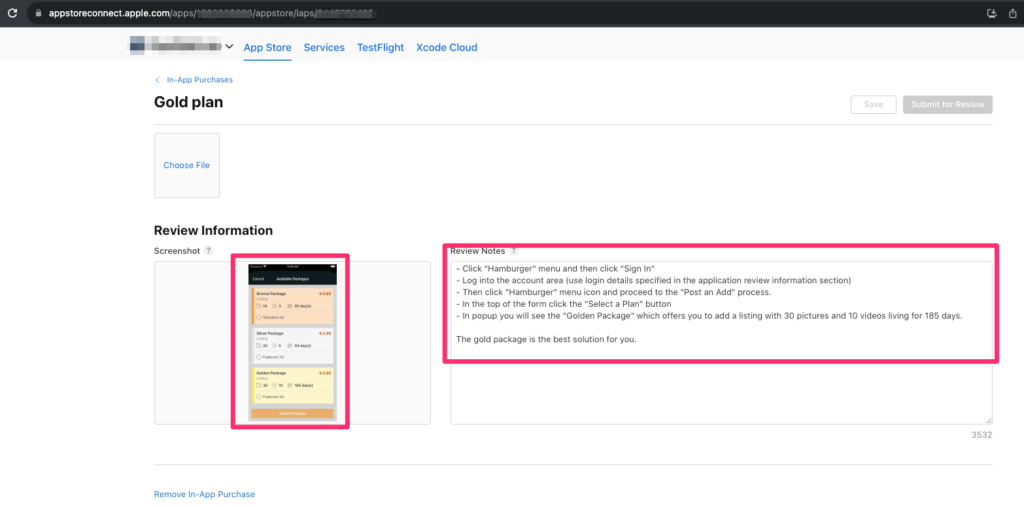
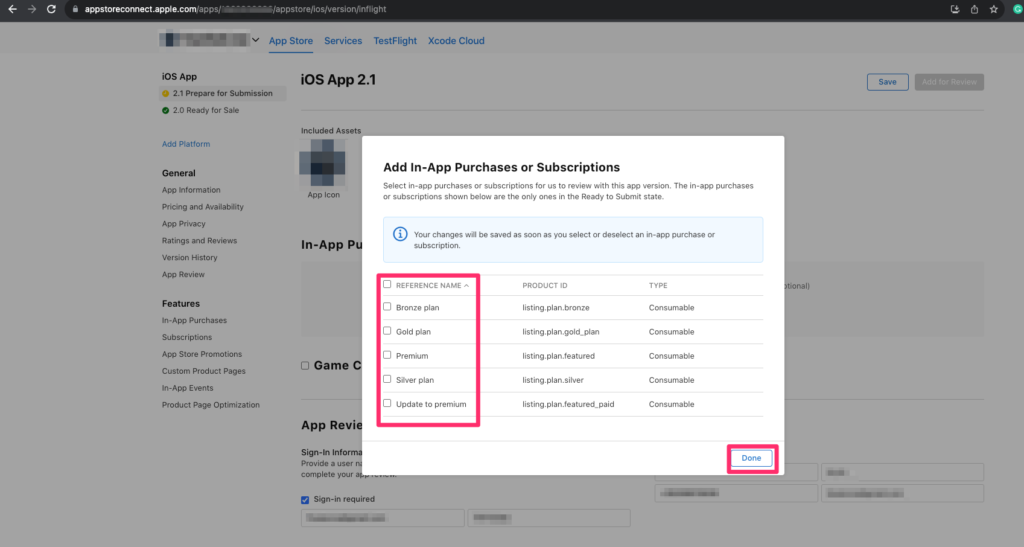
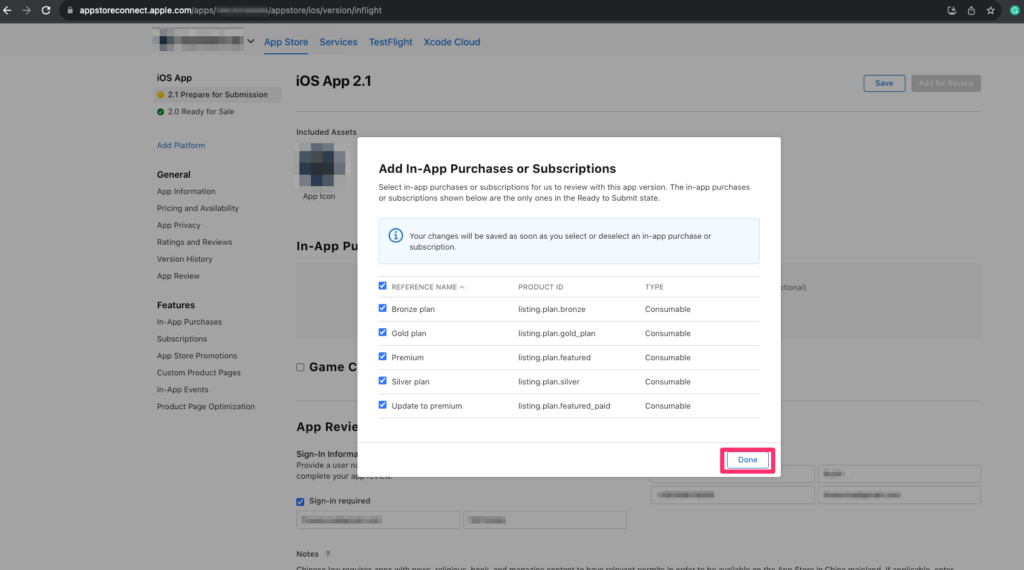
Specify the in-app Purchases you prepared for the build.
![](https://blog.flynax.com/wp-content/uploads/2023/10/Screenshot_20с-1024x542.png)
![](https://blog.flynax.com/wp-content/uploads/2023/10/Screenshot_21-1024x547.png)
![](https://blog.flynax.com/wp-content/uploads/2023/10/Screenshot_22-1024x570.png)
Don’t forget to include account sign-in information for tests, as required by the Apple support team to check the functionality of the packages.
![](https://blog.flynax.com/wp-content/uploads/2023/10/Screenshot_23-1024x529.png)
![](https://blog.flynax.com/wp-content/uploads/2023/10/Screenshot_24-1024x530.png)
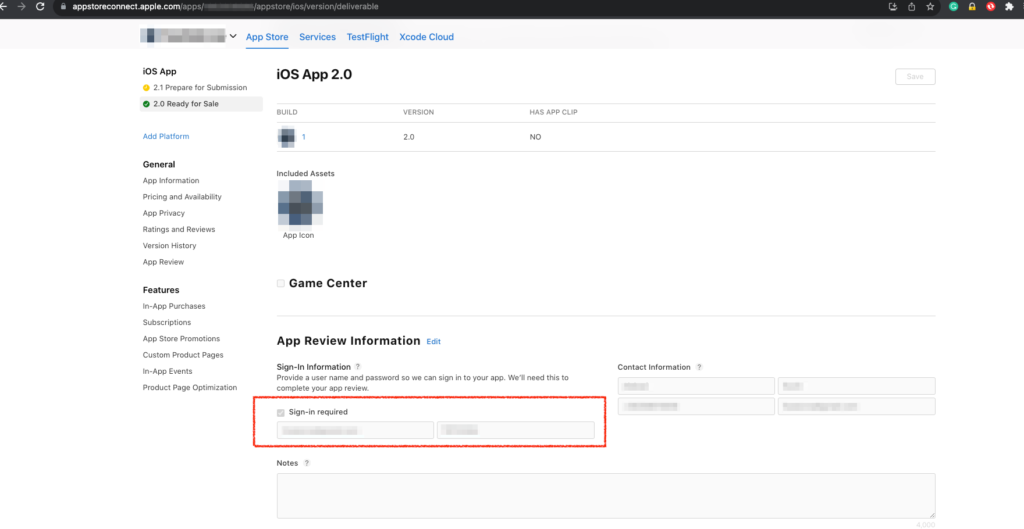
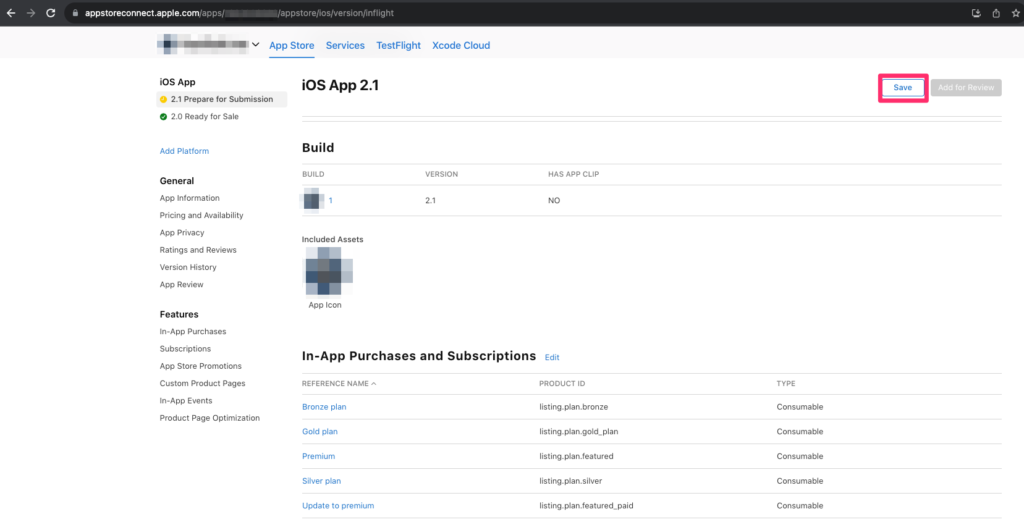
Once all the fields are filled in with the necessary information, you can press the Add for review button and await a response from the Apple team.
![](https://blog.flynax.com/wp-content/uploads/2023/10/Screenshot_25-1024x559.png)